- Like
- Digg
- Del
- Tumblr
- VKontakte
- Buffer
- Love This
- Odnoklassniki
- Meneame
- Blogger
- Amazon
- Yahoo Mail
- Gmail
- AOL
- Newsvine
- HackerNews
- Evernote
- MySpace
- Mail.ru
- Viadeo
- Line
- Comments
- Yummly
- SMS
- Viber
- Telegram
- Subscribe
- Skype
- Facebook Messenger
- Kakao
- LiveJournal
- Yammer
- Edgar
- Fintel
- Mix
- Instapaper
- Copy Link
Last month our co-op spent some time learning about a few countries in Asia. As part of the lesson with the older group {grades 4 and up}, we worked on an art project tying in a few different themes: blue and white pottery from China and cherry blossoms from Japan.
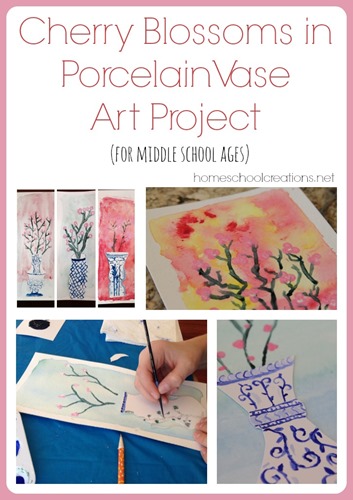

After looking on Pinterest for some ideas {the vase from this one, the background from this one, and the color mixing on white/blue porcelain from here}, we merged a few projects together to put together a fun art project that the kids loved – and the results were FABULOUS! The kids learned some watercolor techniques, practiced mixing colors and shading, and experimented with several different mediums. Want to tag along on our project?
Supplies We Used:
-
Scissors
-
blue, white, black, and pink tempera paints
-
qtips
Our time frame: 3 hours start to finish
Grades: 4th – 8th
- Learning Watercolor Techniques
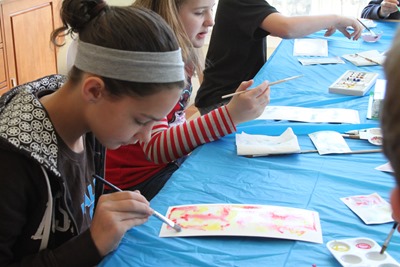
Our first part of the lesson was spent learning how to use watercolor Paper. We used liquid watercolors {these are different than cake watercolors, fyi}. We spent time talking about how to create the right shade of color we wanted {we used yellow, blue, green, and red for our choices}.
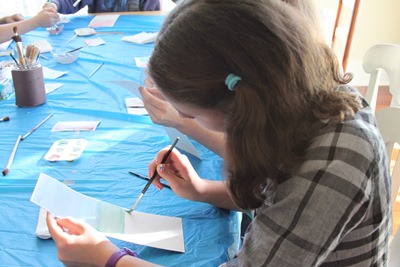
Each child had a piece of watercolor paper that was 1/3 of an 11”x14” piece of paper {watercolor paper is fairly pricey}. We practiced on some scraps before tackling the actual paper. The kids learned about the watercolor wash technique and that the watercolors will adhere to the parts of the papers that are wet.
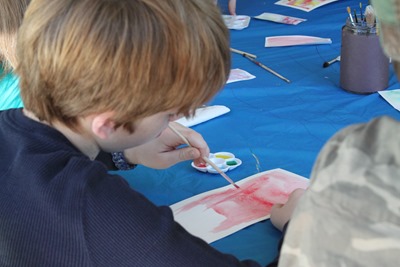
If you look at the backgrounds on their projects, you’ll notice there is a white border. Part of the fun was leaving an area that wasn’t wet when they applied the watercolor wash. A few kids practiced the controlled wash, while a few others tried the open drip technique. {Much fun all around}.
Great video tutorial to learn a few basic watercolor techniques:
- Learning About Blue and White Porcelain
While our watercolor backgrounds were drying, we had a short lesson on the history of blue and white porcelain and talked about the Willow Pattern story. While the Willow pattern isn’t from China, it was fun to talk about, especially to note some of the details in the pattern and how the pottery could tell a story.
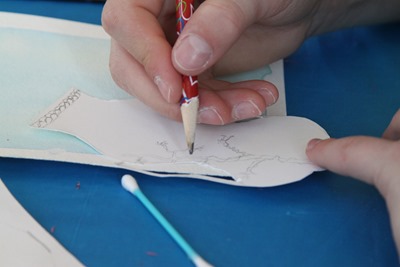
Once the history lesson was finished, each child sketched a vase design on their Bristol Paper. Although we asked the kids to attempt a simple design, several decided to work on a more intricate pattern. The kids cut out their vases and then designed a pattern for their vase.
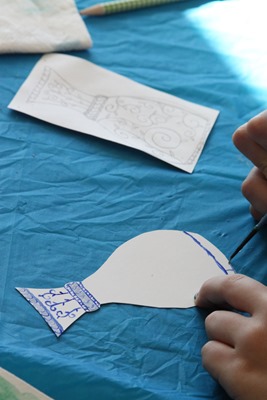
We mixed together blue and white tempera paint to make six varying shades of paint. Using their choice of colors, they painted their vases following their patterns and set them aside to dry.
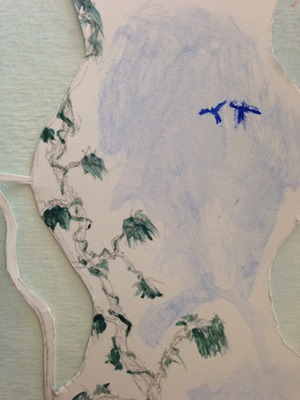
One of the boys in our group did such an amazing job on his design. He was pushed for time {and would have done so much more}, but his vase was the most intricate {notice those thin handles and remember this was a vase that is about 3” tall} and a well thought out design including the two birds from the Willow pattern story.
Adding Cherry Blossoms
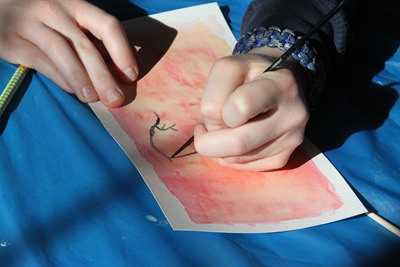
Once the vases were completed, we pulled out black tempera paint to paint branches coming out of our vases. The kids each placed their vases on their watercolor backgrounds to estimate where the branches would need to be shown coming out of the vase {each child had a different vase design and the vases were not yet adhered to the watercolor paper}.
Note: we were going to use India ink, but forgot to pick some up at the store. I would definitely recommend the ink vs. tempera for more of a ‘pop’ on the branches.
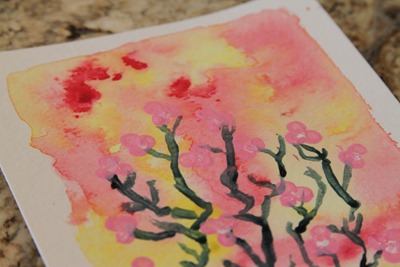
After the branches were in place, we used q-tips to dot pink and white tempera paint ‘cherry blossoms’ on the branches. Most of the kids did a grouping of pink dots with a single white dot center.
Once everything was dry, we used a double sided tape to adhere the vase to the watercolor paper, and we were done! Here’s a look at all the finished projects:
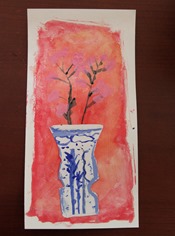 boy, 4th grade boy, 4th grade |
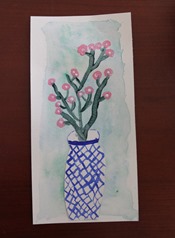 girl, 5th grade girl, 5th grade |
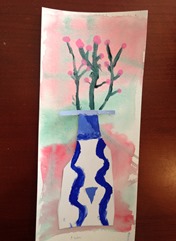 boy, 5th grade boy, 5th grade |
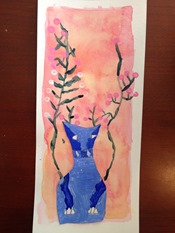 boy, 6th grade boy, 6th grade |
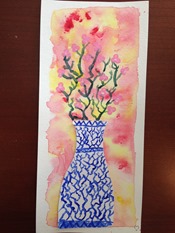 girl, 6th grade girl, 6th grade |
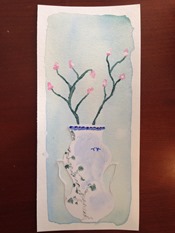 |
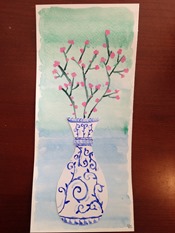 girl, 7th grade girl, 7th grade |
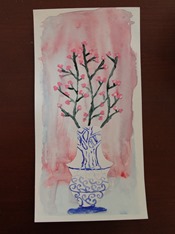 girl, 8th grade girl, 8th grade |
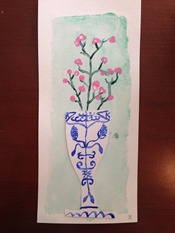 boy, 8th grade boy, 8th grade |
This honestly was one of my favorite lessons that we’ve done together with the co-op – and one of those that makes me excited to do more. Hope you enjoyed it too! Please feel free to leave any questions, because it is highly possible I forgot something! {grins}
Other Art Lessons for Children:
Helpful Links:




 The printables shared on this site are FREE of charge unless otherwise noted, and you are welcome to download them for your personal and/or classroom use only. However, free or purchased printables are NOT to be reproduced, hosted, sold, shared, or stored on any other website or electronic retrieval system (such as Scribd or Google docs). My printables are copyright protected and I appreciate your help in keeping them that way.
If you download and use some of my printables and then blog about them, please provide a link back to my blog and let me know - I'd love to see how you are using them! Please be sure to link to the blog post or web page and not directly to the file itself. Thank you!
What a lovely idea! The kids all did such a great job. I love how it’s more of a multi-step project – perfect for older kids.
This is going in my list of art projects to do!
Our kids had so much fun working on this – thanks, Tonia. :) Definitely plan to do more like this!
This is beautiful, Jolanthe — I think I’m going to head out tomorrow and get the supplies and do this one with Anna. Right now in Challenge A they are learning to draw Asia from memory – and memorizing capitals. Challenge A doesn’t include any art, so this would be a lovely tie-in with her geography. I’m going to look into the story you mention, too. These are just gorgeous!
There are a few clips of the story on YouTube that you can watch too – both short and long. Have fun!
Gorgeous idea! Each and every one of the projects turned out just lovely. Would frame every single one. Very cute!!
The parents love them…
Beautiful! I’m sure the children will have fond memories about the process and will proudly display their creations as home.
Thank you very much for sharing this at the Finishing Strong LInk-up!
This is fabulous! I love that this one art project incorporated several art mediums and Asian cultures. The kids’ work is beautiful!
One of my favorite projects we’ve worked on so far!