- Like
- Digg
- Del
- Tumblr
- VKontakte
- Buffer
- Love This
- Odnoklassniki
- Meneame
- Blogger
- Amazon
- Yahoo Mail
- Gmail
- AOL
- Newsvine
- HackerNews
- Evernote
- MySpace
- Mail.ru
- Viadeo
- Line
- Comments
- Yummly
- SMS
- Viber
- Telegram
- Subscribe
- Skype
- Facebook Messenger
- Kakao
- LiveJournal
- Yammer
- Edgar
- Fintel
- Mix
- Instapaper
- Copy Link

Well then. The past few days we managed to get a whole heap of snow. And by a heap, I mean pushing the 2 foot mark. We’ve done all the typical obligatory snow activities: snow angels, snow forts, snowball fights, shoveling (that last one may not be the biggest hit, but hey).
Our in-laws recently delivered a gallon of maple syrup, and my husband grew up enjoying maple syrup candy (aka “Wax on Snow” as it is called up there!) during the winter season (when you grow up in upstate New York there is a lot of snow to be had!). We called his mom to get the instructions on how to make it and – SO SIMPLE (and yummy)!
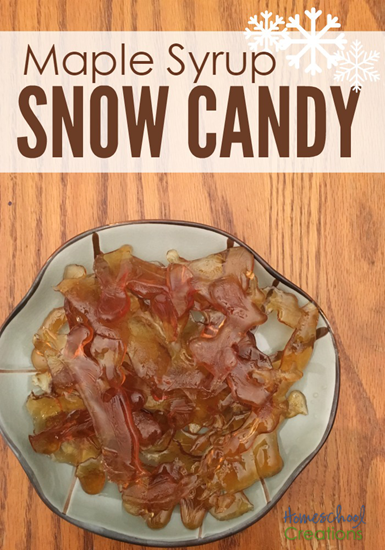
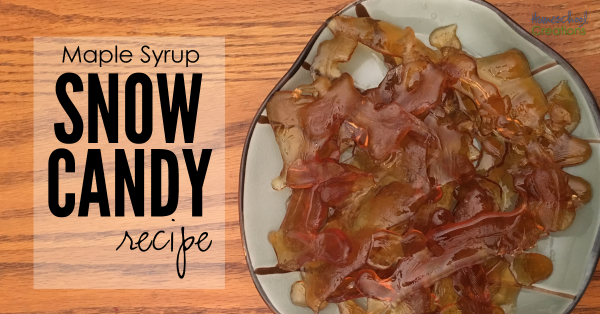
Maple Syrup Snow Candy Recipe
You’ll only need to gather a few things to make the maple syrup snow candy recipe. We definitely recommend using pure maple syrup – because YUM! It hasn’t been tested using other syrup.
-
1 cup maple syrup
-
a saucepan
-
candy thermometer
-
big bowl of packed snow
-
wax paper
Directions:

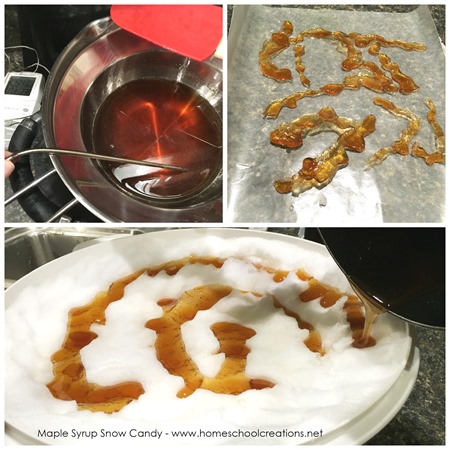
- Bring maple syrup to a boil over medium high heat in a medium saucepan.
- Continue stirring until temperature reaches 235 degrees. Syrup will be thickened slightly.
- Remove pan from heat.
- Pack snow well in a large bowl and test a small amount of syrup by drizzling over snow. If it doesn’t sink in too far, it is ready to pour!
- Slowly drizzle the heated maple syrup over snow – have fun making designs. The thinner your pour the more brittle it will be.
- Once cooled down and hardened, removed from snow and place on wax paper.
- Enjoy!

Note: We tried bringing it to temperature using a double boiler, but ended up pouring it into a saucepan and heating it directly over the heat that way.


 The printables shared on this site are FREE of charge unless otherwise noted, and you are welcome to download them for your personal and/or classroom use only. However, free or purchased printables are NOT to be reproduced, hosted, sold, shared, or stored on any other website or electronic retrieval system (such as Scribd or Google docs). My printables are copyright protected and I appreciate your help in keeping them that way.
If you download and use some of my printables and then blog about them, please provide a link back to my blog and let me know - I'd love to see how you are using them! Please be sure to link to the blog post or web page and not directly to the file itself. Thank you!
Leave a Comment