- Like
- Digg
- Del
- Tumblr
- VKontakte
- Buffer
- Love This
- Odnoklassniki
- Meneame
- Blogger
- Amazon
- Yahoo Mail
- Gmail
- AOL
- Newsvine
- HackerNews
- Evernote
- MySpace
- Mail.ru
- Viadeo
- Line
- Comments
- Yummly
- SMS
- Viber
- Telegram
- Subscribe
- Skype
- Facebook Messenger
- Kakao
- LiveJournal
- Yammer
- Edgar
- Fintel
- Mix
- Instapaper
- Copy Link
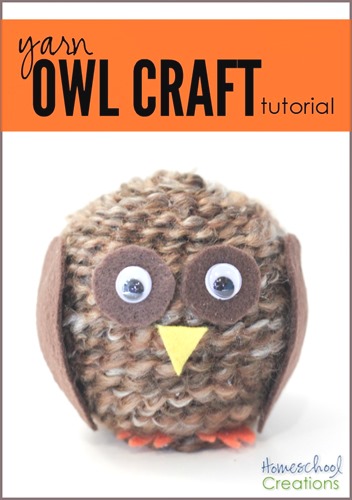

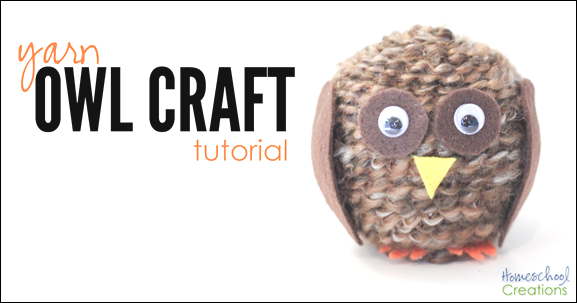
We have owls of all sizes in the works at the moment, because this yarn owl craft is just too cute!! We started out with one size of owls, but quickly ended up trying a few different sizes as well, especially when the googly eyes, felt, and yarn were in abundance!
The girls initially made something similar while we were camping, but we tweaked it to make it easier – and cuter!
Yarn Owl Craft Tutorial
Want to make one (or four) as well? I promise these are so very cute and will make some great decorations around the house. Picture a little owl family nestled in the corner of a bookcase…
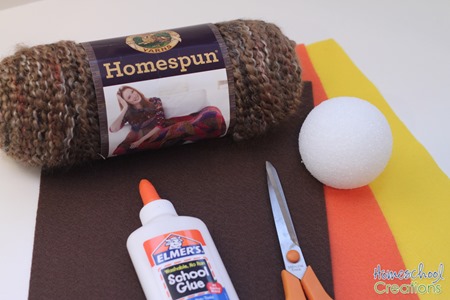
Supplies needed:
- felt: yellow, orange, brown (white optional)
- Elmer’s glue
- dark brown yarn – we chose a multi-colored version)
- googly eyes
- 2.5” Styrofoam balls (we also have 2” and 1.5” that we’re trying out)
- scissors
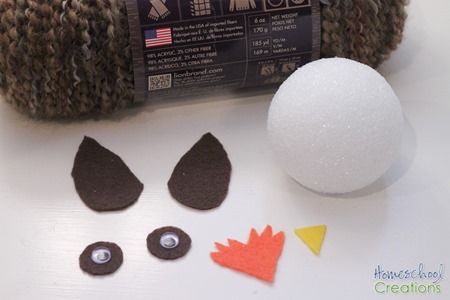
Based on the size of your styrofoam ball, cut your felt to size: wings, feet, beak, and circles for around the eyes.
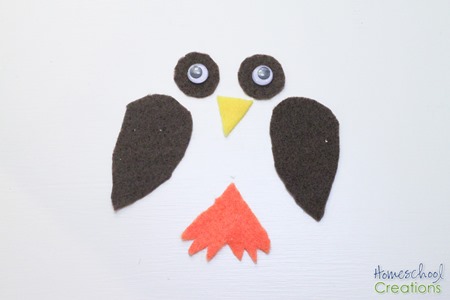
Lay them out – and start picturing how cute this little owl is going to be.
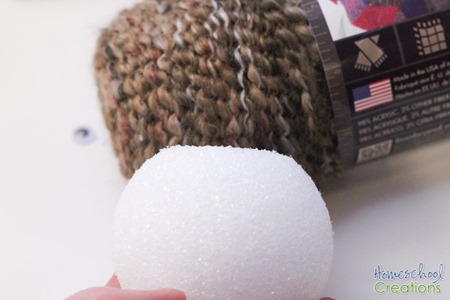
Use the scissors to shave a flat area onto the bottom part of the styrofoam ball (if you can figure out where the bottom is…). You’ll need this area to make the owl stand without rolling over.
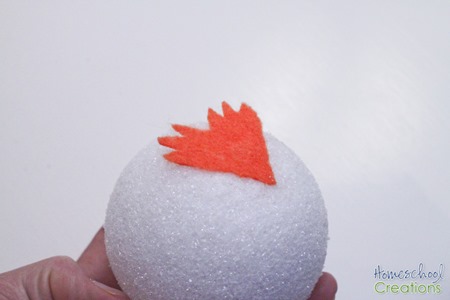
Use glue to stick the feet onto the flat area of the styrofoam ball. Wait a few minutes to let the glue dry.
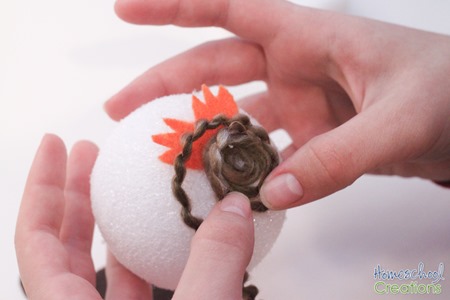
Apply a small circle of glue to the bottom area and being coiling the yarn in a circle.
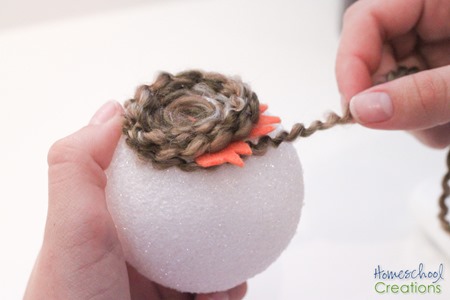
Continue coiling and secure with a little glue. When you get closer to the top of the feet, begin wrapping the yarn around the opposite side of the felt feet, so you can wrap the yarn around the remainder of the styrofoam ball.
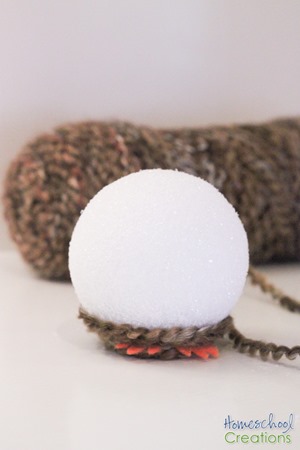
Secure with just a little bit more glue, but the styrofoam ball will hold the yarn well as you continue to wrap the yarn around the ball.
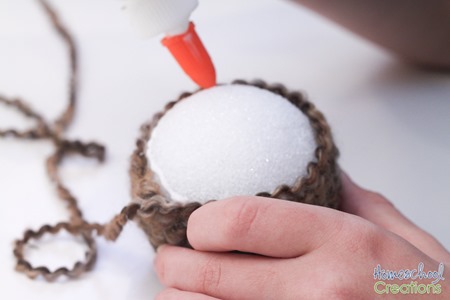
As you get closer to the top part of the ball where it gets smaller in size, use a little bit of glue to begin securing the yarn again.
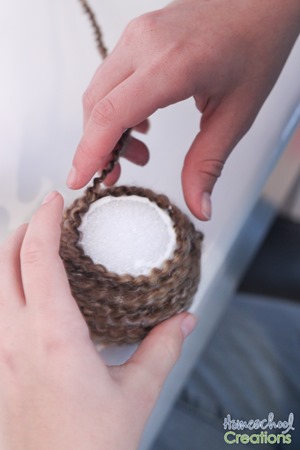
Continue wrapping, watching for gaps in the yarn so you don’t see any of the styrofoam ball through the yarn.
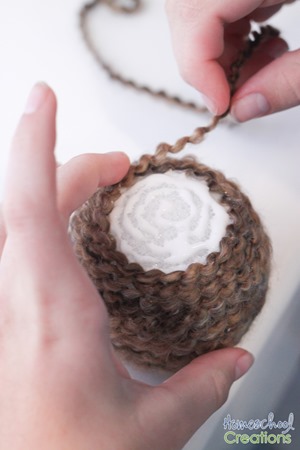
Wrap some more.
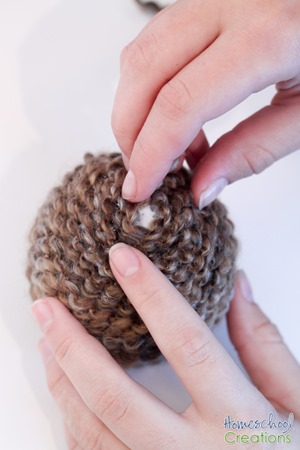
Finish up the remainder of the coiling and wrapping, securing with glue until every area of the ball is covered.
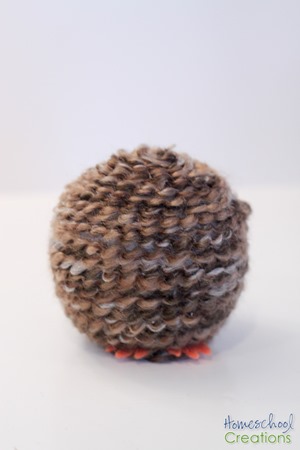
Stand your little owl buddy up and prepare him/her for finishing.
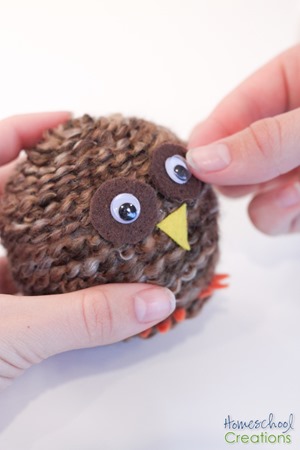
Add your owl’s eyes, beak, and wings. and then pull out the rest of your supplies – because you are going to want to make more of these little cuties!





 The printables shared on this site are FREE of charge unless otherwise noted, and you are welcome to download them for your personal and/or classroom use only. However, free or purchased printables are NOT to be reproduced, hosted, sold, shared, or stored on any other website or electronic retrieval system (such as Scribd or Google docs). My printables are copyright protected and I appreciate your help in keeping them that way.
If you download and use some of my printables and then blog about them, please provide a link back to my blog and let me know - I'd love to see how you are using them! Please be sure to link to the blog post or web page and not directly to the file itself. Thank you!
This is such a cute craft! I’ve got it bookmarked for Five in a Row — Owl Moon!
That would be a great time to use it!!