- Like
- Digg
- Tumblr
- VKontakte
- Buffer
- Love This
- Odnoklassniki
- Meneame
- Blogger
- Amazon
- Yahoo Mail
- Gmail
- AOL
- Newsvine
- HackerNews
- Evernote
- MySpace
- Mail.ru
- Viadeo
- Line
- Comments
- SMS
- Viber
- Telegram
- Subscribe
- Skype
- Facebook Messenger
- Kakao
- LiveJournal
- Yammer
- Edgar
- Fintel
- Mix
- Instapaper
- Copy Link

One of the things that I’ve loved about our Chemistry science program (aff link) for Zachary this year is the hands-on aspect of the program. He is a boy that needs a little something to do with his hands every now and then, so it has fit in very well for us. As we’ve been learning about atoms together the last several weeks, Building atom models and getting a 3D look at how an atom might actually appear has been a great way to visualize what we’re talking about. Quite obviously, these models are not to scale and a whole lot larger than the real thing. (grins)
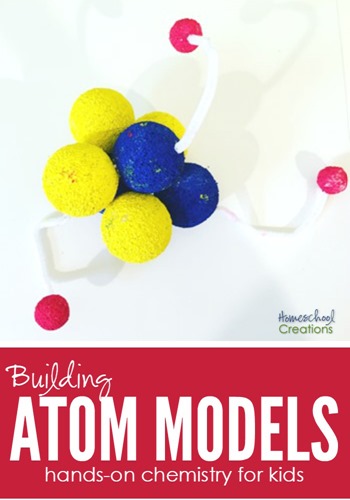
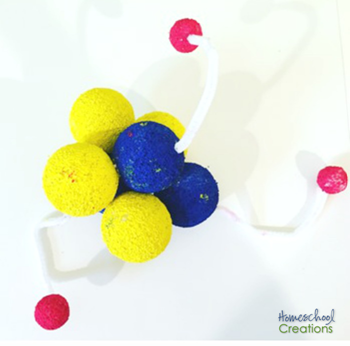
In our model we used Styrofoam balls to represent the protons, neutrons, and electrons. In an atom, the protons and neutrons are in the nucleus (the center of the atom), and the electrons surround the atom. In diagrams you often see the electrons represented by elliptical lines moving around the nucleus.

Building Atom Models
We chose to build a model of a lithium atom and used the following supplies. If you would like to make a different atom, the number of styrofoam balls will differ based on the number of neutrons, protons, and electrons in the atom. See below for how to calculate those numbers.
-
7 styrofoam balls – we used ones that were about 2” in diameter
-
3 styrofoam balls about 1 inch in diameter
-
3 pipecleaners
-
toothpicks
-
red, yellow, and blue paint
-
paintbrushes
-
Paint four of the 2” balls yellow (neutrons) and three of the balls blue (protons).
-
Paint the 1” balls red (electrons).
-
Using the toothpicks, connect the yellow and blue balls together, making sure they touch each other. We broke out toothpicks in half so they wouldn’t poke through too much.
-
Connect each electron (red balls) to one of the protons (blue balls) using the pipe cleaners.
The model was a great way for us to understand a little better how atoms look. It was fun to talk about how many balls we would need to make some of the other atoms such as gold (79 protons/electrons and 118 neutrons – that would be a very large model!). We definitely figured it would be easier to stick to some of the more smaller numbered atoms on the periodic table!
To Build Different Atom Models
If you are trying to figure out how many neutrons, protons, and electrons an atom has, there is a way to work it out without needing to look up each atom one at a time. Each atom has an atomic number and an atomic weight. The atomic number tells you how many protons and electrons that atom contains. The neutrons are determined by looking at the atomic weight of the atom, rounding it up to the nearest whole number, and subtracting the number of protons. Usually you can find both numbers on your periodic table of elements.
Atomic weight = Protons (atomic number) + Neutrons
Additional Atom Model Ideas

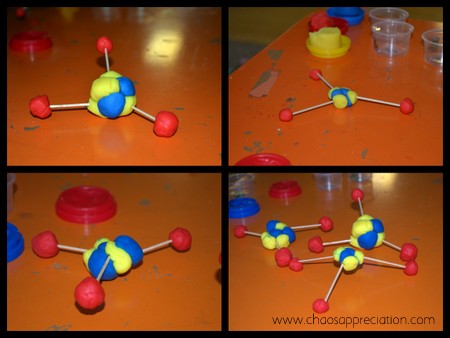
Don’t care for styrofoam balls? Check out this idea on the Bright Idea Press blog using playdough (secretly I almost wish I would have seen this version first). Zachary loved creating and painting the model we did though, but I’m filing away this idea to use another time!

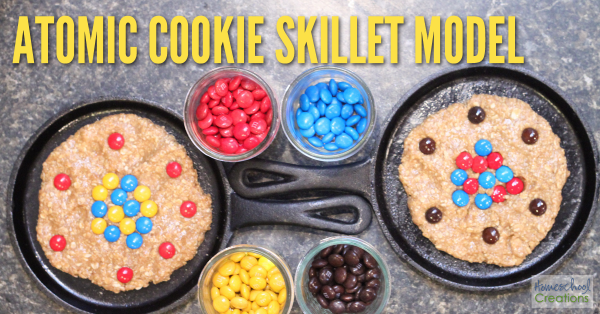
A few weeks ago we made edible atom models – and we enjoyed every single bite! Check out our atomic cookie skillet models for the recipe and instructions.
If you’d like to learn more about the homeschool chemistry program we are using, you can find out more here. Feel free to check out the rest of our homeschool curriculum choices as well!


 The printables shared on this site are FREE of charge unless otherwise noted, and you are welcome to download them for your personal and/or classroom use only. However, free or purchased printables are NOT to be reproduced, hosted, sold, shared, or stored on any other website or electronic retrieval system (such as Scribd or Google docs). My printables are copyright protected and I appreciate your help in keeping them that way.
If you download and use some of my printables and then blog about them, please provide a link back to my blog and let me know - I'd love to see how you are using them! Please be sure to link to the blog post or web page and not directly to the file itself. Thank you!
Leave a Comment
You must be logged in to post a comment.