20 Best Tips

Cherry Blossoms in Porcelain Vase Art Project – Asian Theme Art Lesson

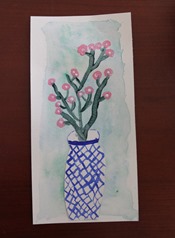
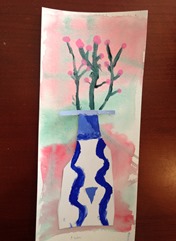
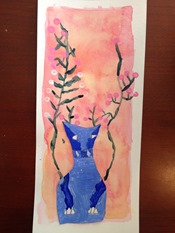
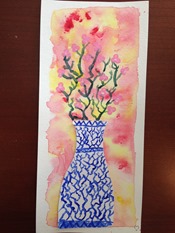
Last month our co-op spent some time learning about a few countries in Asia. As part of the lesson with the older group {grades 4 and up}, we worked on an art project tying in a few different themes: blue and white pottery from China and cherry blossoms from Japan. 
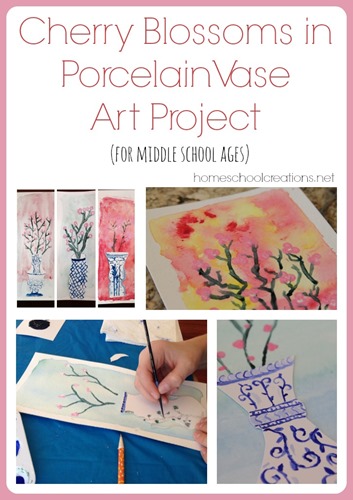
Cherry Blossom in Porcelain Vase art project from Homeschool Creations


After looking on Pinterest for some ideas {the vase from this one, the background from this one, and the color mixing on white/blue porcelain from here}, we merged a few projects together to put together a fun art project that the kids loved – and the results were FABULOUS! The kids learned some watercolor techniques, practiced mixing colors and shading, and experimented with several different mediums. Want to tag along on our project?

Supplies We Used:

Our time frame: 3 hours start to finish            


Grades: 4th – 8th

    Learning Watercolor Techniques

watercolor techniques

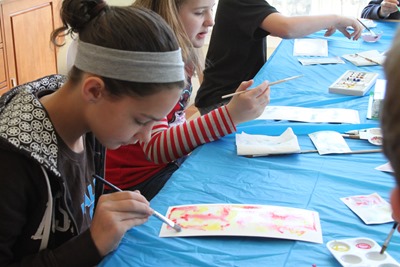
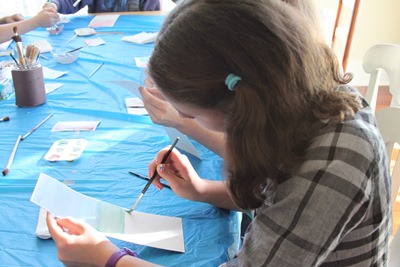
Our first part of the lesson was spent learning how to use watercolor Paper. We used liquid watercolors {these are different than cake watercolors, fyi}. We spent time talking about how to create the right shade of color we wanted {we used yellow, blue, green, and red for our choices}.
watercolor techniques

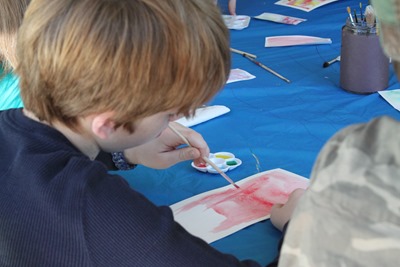
Each child had a piece of watercolor paper that was 1/3 of an 11”x14” piece of paper {watercolor paper is fairly pricey}. We practiced on some scraps before tackling the actual paper. The kids learned about the watercolor wash technique and that the watercolors will adhere to the parts of the papers that are wet.
watercolor techniques

If you look at the backgrounds on their projects, you’ll notice there is a white border. Part of the fun was leaving an area that wasn’t wet when they applied the watercolor wash. A few kids practiced the controlled wash, while a few others tried the open drip technique. {Much fun all around}.

Great video tutorial to learn a few basic watercolor techniques:

Watercolor techniques
    Learning About Blue and White Porcelain

While our watercolor backgrounds were drying, we had a short lesson on the history of blue and white porcelain and talked about the Willow Pattern story. While the Willow pattern isn’t from China, it was fun to talk about, especially to note some of the details in the pattern and how the pottery could tell a story.
Asia Art Lesson-19

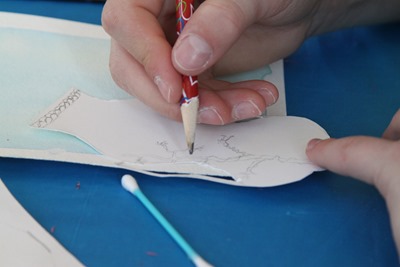
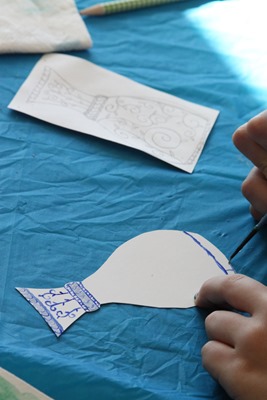
Once the history lesson was finished, each child sketched a vase design on their Bristol Paper. Although we asked the kids to attempt a simple design, several decided to work on a more intricate pattern. The kids cut out their vases and then designed a pattern for their vase.
Asia Art Lesson-9

We mixed together blue and white tempera paint to make six varying shades of paint. Using their choice of colors, they painted their vases following their patterns and set them aside to dry.

Couch Coop October - January-45

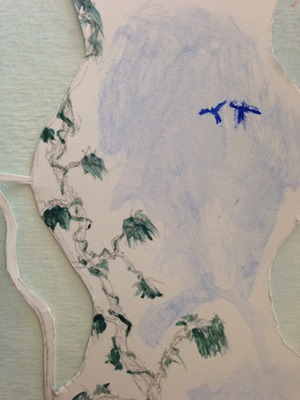
One of the boys in our group did such an amazing job on his design. He was pushed for time {and would have done so much more}, but his vase was the most intricate {notice those thin handles and remember this was a vase that is about 3” tall} and a well thought out design including the two birds from the Willow pattern story.

Adding Cherry Blossoms
Asia Art Lesson-16

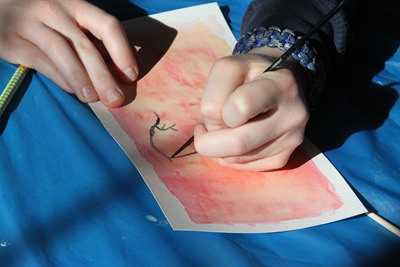
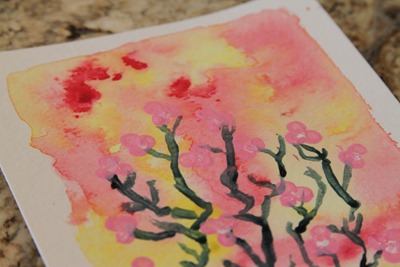
Once the vases were completed, we pulled out black tempera paint to paint branches coming out of our vases. The kids each placed their vases on their watercolor backgrounds to estimate where the branches would need to be shown coming out of the vase {each child had a different vase design and the vases were not yet adhered to the watercolor paper}.

Note: we were going to use India ink, but forgot to pick some up at the store. I would definitely recommend the ink vs. tempera for more of a ‘pop’ on the branches.
Asia Art Lesson-37

After the branches were in place, we used q-tips to dot pink and white tempera paint ‘cherry blossoms’ on the branches. Most of the kids did a grouping of pink dots with a single white dot center.

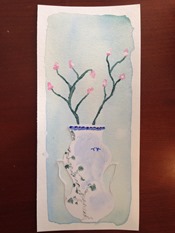
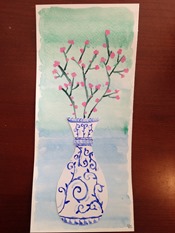
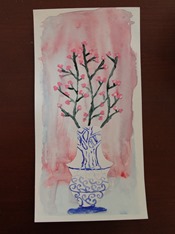
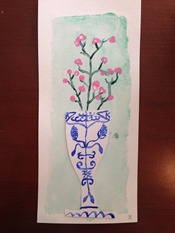
Once everything was dry, we used a double sided tape to adhere the vase to the watercolor paper, and we were done! Here’s a look at all the finished projects:
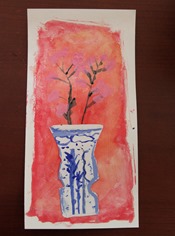
Asia Art Lesson-27boy, 4th grade Asia Art Lesson-32girl, 5th grade Couch Coop October - January-35boy, 5th grade
Couch Coop October - January-34boy, 6th grade Couch Coop October - January-36girl, 6th grade Couch Coop October - January-43
Couch Coop October - January-37girl, 7th grade Asia Art Lesson-42girl, 8th grade Couch Coop October - January-32boy, 8th grade

This honestly was one of my favorite lessons that we’ve done together with the co-op – and one of those that makes me excited to do more. Hope you enjoyed it too! Please feel free to leave any questions, because it is highly possible I forgot something! {grins}


Other Art Lessons for Children:

Helpful Links:

First Grade Homeschool Art Lessons from Home Art Studio

Be sure to read through – there is a special coupon code for you to grab! We received the First Grade DVD from Home Art Studio to review and are excited to share our experience with you!

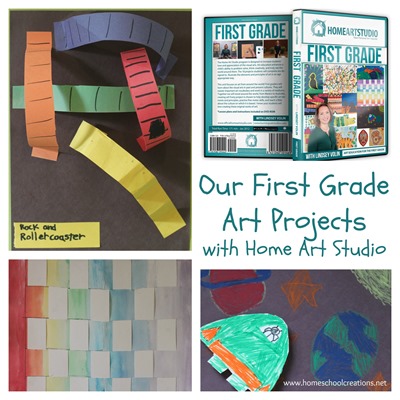
First Grade Art Projects with Home Art Studio

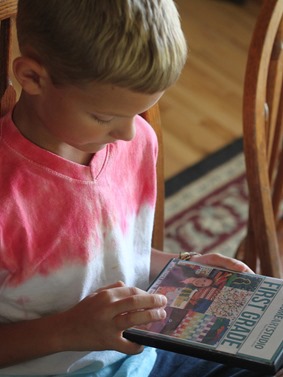
Before the year is finished, our school room walls are going to be covered with fun artwork thanks to Home Art Studio. Our first grader has been captivated by the lessons and projects. He is frequently found carrying around the DVD for First Grade Art. Since the very first lesson, he has asked every single day if he can work on another lesson.

About First Grade Art from Home Art Studio

First Grade Art Home Art Studio

If teaching art is something that makes you nervous, you are going to love Home ARt Studio. With the First Grade Art DVD, your child will have a personal art teacher, Ms. Lindsay Volin. Each lesson is guided by Ms. Volin, and first graders learn about art through different world cultures. In addition to the art projects that use a variety of art mediums, art vocabulary is discussed.

Included in the First Grade DVD:

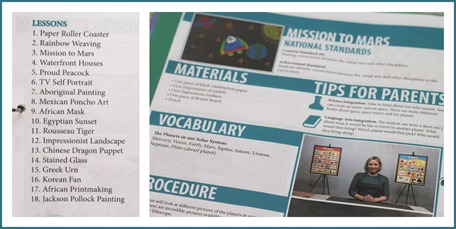
  • 18 art projects instructed by video
  • PDF lesson plans with picture instructions

Having the lessons on DVD is very helpful, because children can pace themselves on the projects. When needed, the lesson can be paused until a part is completed, and then the DVD can be turned back on to continue the lesson.

The lesson structure and simple instructions are perfect for kids to follow along independently {with mom nearby, just in case}. Each of the lessons we’ve worked on so far has been broken up into two segments, so we can take our time working on a project and spend two days a week on our art lesson.

Home Art Studio First Grade Lesson Plans

The PDF lesson plans are so handy! The plans can be printed out and stored in a binder to see what supplies are required for upcoming lessons. The pdf plans also give parents a quick overview of each art lesson, including vocabulary words and tips for parents to extend the art activity in other learning areas of science, language, social studies and math.

Supplies are not included with the DVD, but a full supply list is available via Jerry’s Artarama or you can purchase supplies at your local art store. So far we have needed only a few basic supplies that we didn’t already have on hand, but they were very easy to find and we were able to quickly start our lessons.

How We’re Using Home Art Studio

First Grade Home Art Studio DVD

When I say that Kaleb is loving the lessons from Home Art Studio, I am not joking. He literally carries the DVD case around with him, talking about the different projects and asking when we will be able to finish them all. For now, he has been working on one project a week, and the lesson is broken up over the period of two days.

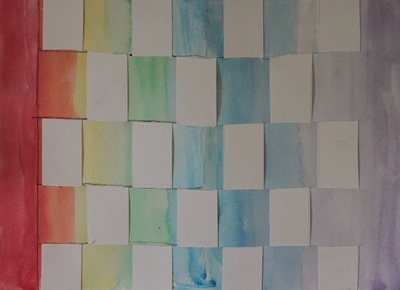
Rainbow Weaving from Home Art Studio

our Rainbow Weaving project

Although this DVD is geared for first grade, a few of the other kids are sneaking in and working on the lessons as well. The Home Art Studio program is perfect for using with multiple children. The projects are fun, colorful and really – art is great no matter what age you are!

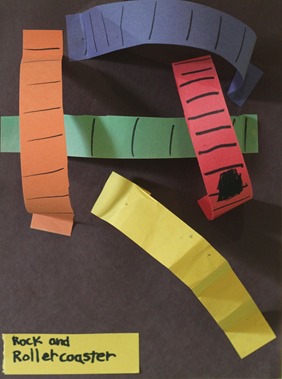
Paper Roller Coaster Home Art Studio

our Paper Roller Coaster project

This year a small co-op that we are participating in is studying world geography and cultures, so the first grade DVD theme of art from around the world tied in perfectly with our school year. I’m hoping that we can even use a few of the projects with the younger children during our studies!

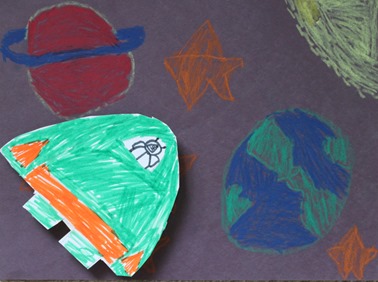
Mission to Mars Home Art Studio

our Mission to Mars project

Supplies can seem overwhelming, but we can use many of the items we purchased on future projects: items such as oil pastels, construction paper, tempera paint, etc…, and they may be supplies that you already have on hand.

Overall, we are excited to use Home Art Studio this year (and in years to come) and believe it is a great resource for families! Be sure to visit the Home Art Studio site and view one of their sample lessons so you can get an idea on how the program is set up.

Discount Code for Home Art Studio

We all love to save money right? Use the coupon code HSC2013A for your Home Art Studio purchase from Jerry’s Artarama and you can save up to 30%!

  • Buy 1-2 DVDs, and receive 20% off your order
  • Buy 3 or more DVDs and receive 30% off your order
    Hope the codes help you out. Enjoy!


Jolanthe Signature

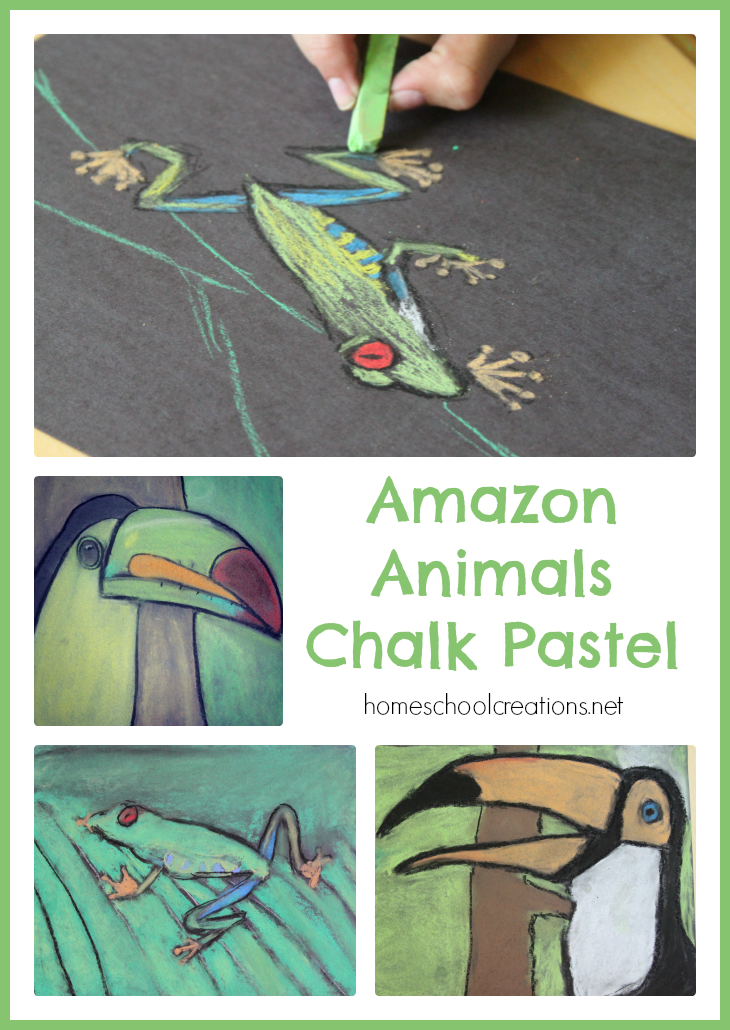
Amazon Animals Chalk Pastel

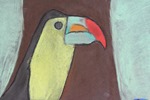
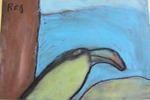
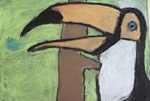
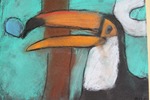
Last year you may remember me sharing a few of the chalk pastel projects that we worked on thanks to Tricia at HodgePodge. This year, for one of our co-op projects, I somehow managed to sign myself up for the Amazon region art spot with the older group of kids.

Amazon Animals Chalk Pastel

Relying on all the fun we had last year with the chalk pastels and knowing how forgiving they can be, we pulled together a fun Amazon Animals Chalk Pastel project for the kids using a few basic supplies {see a version of this project at Deep Space Sparkle}.

  • 9×12 black paper {we used construction paper because it’s what we had handy, but in the future I would use something different}
  • Chalk Pastels
  • Oil Pastels {to outline}
  • And LOTS of baby wipes. Lots, people.

Amazon Animal Chalk Pastel-10

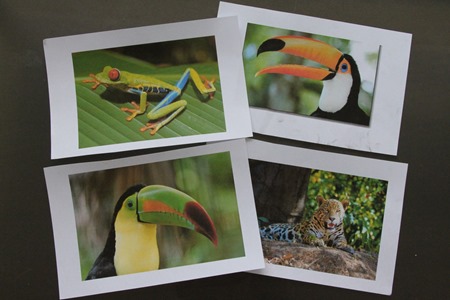
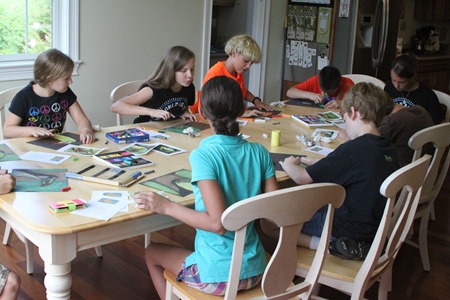
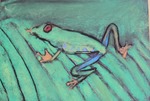
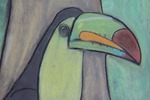
Each of the children {ages 8 to 13} chose a picture of a frog, bird, or animal that had been printed out prior to the class {I printed out a few pictures via a Google image search}.

Amazon Animal Chalk Pastel-14

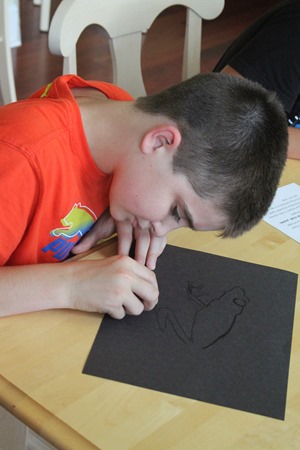
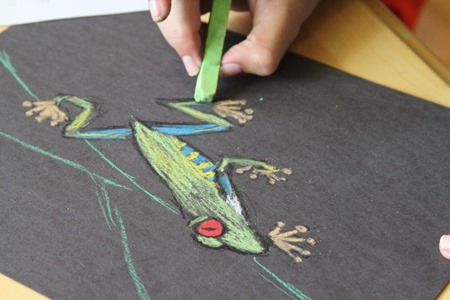
They lightly sketched their version of the image onto their paper using a black oil pastel and then colored it in with the chalk pastels.

Amazon Animal Chalk Pastel-19

Once the chalk pastels had been smudged, outlines of the picture were retraced to make it ‘pop’.

Amazon Animal Chalk Pastel-17

The kids all had a blast creating their projects and we think they turned out great!

Amazon Animal Chalk Pastel Amazon Animal Chalk Pastel-3 Amazon Animal Chalk Pastel-4
Amazon Animal Chalk Pastel-5 Amazon Animal Chalk Pastel-6 Amazon Animal Chalk Pastel-7
Amazon Animal Chalk Pastel-8 Amazon Animal Chalk Pastel-9 Amazon Animal Chalk Pastel-2


Resources for Chalk Pastel Art

Here are a few projects we’ve worked on using chalk pastels and also a few resources in case you would like to work on one with your family:

Fall Art Tutorials Seasonal Chalk Pastel Bundle


Van Gogh Sunflower Art Project from See the Light

We received this product at no cost in exchange for our honest review. All opinions expressed are solely mine.

Sunflowers Art project from See the LightI’ve mentioned before that pulling out art supplies is enough to put me into a bit of a frenzy. And want to avoid another project forever and ever {amen}.

The Art Projects from See the Light have been a wonderful addition to our homeschool curriculum this year. Not only are the lessons taught step-by-step, they do NOT involve a multitude of art supplies, and all of our kids {ages 6 through 11} have wanted to participate in them.

That, my friends, is a win-win for me. All I have to do is gather the needed supplies and we are on our way to learning about a new artist, technique and completing another beautiful project.

Sunflowers Art Project

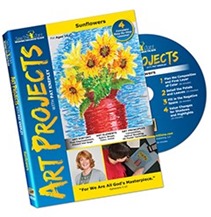
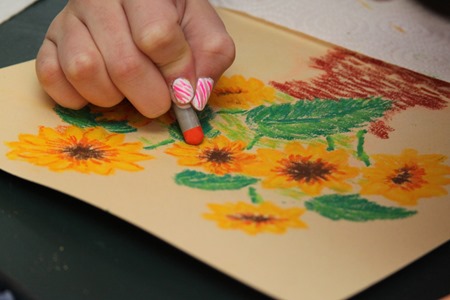
The newest art project dvd from See the Light is called Sunflowers. This art lesson focuses on the style and artwork of Vincent Van Gogh. The lesson is recommended for children ages 10+, but all of our children wanted to work on the lesson {ages 6+} and were able to do so with a little additional help from me.

The Sunflowers Art Project has 4 video lessons with guided step-by-step instruction as well as art history lessons on the life and style of Vincent Van Gogh. The entire DVD is about 2 hours in length, but the lessons take a little longer since you will want to pause them occasionally to work on the art project.

A breakdown of the video lesson content:

1. Plan the Composition and First Layer of Color (26 minutes)

2. Detail the Petals and Leaves (25 minutes)

3. Fill in the Negative Space (26 minutes)

4. Value Changes for Shadows and Highlights (23 minutes)

Our Sunflowers Art Project

See the Light Sunflower Van Gogh project-2

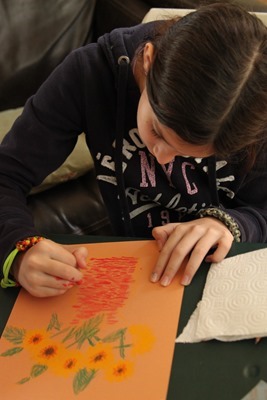
Our tv and DVD player are in the living room, so we set up a table there, gathered all of our art supplies, and started working on our projects together. Supplies needed were simple to gather and we had all but one thing on hand:

  • An 11″ by 14″ piece of pastel or charcoal paper – tan, grey or light blue
  • Set of oil pastels (at least 24)
  • Stack of paper towels or paper napkins
  • Several artificial sunflowers
  • Baby wipes to clean hands

See the Light Sunflower Van Gogh project-006

During the lessons we not only learned a lot about art technique and using oil pastels, but we all learned quite a bit about the life of Vincent van Gogh. I love how these lessons not only focus on a project, but so much of the life and works of the artist.

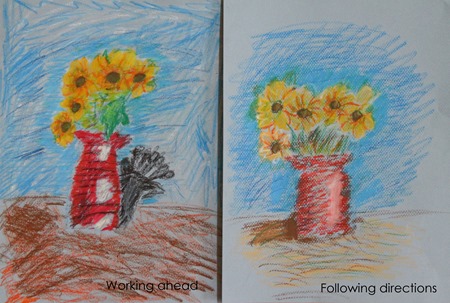
Before I go further, I’m going to admit that a certain 8 year old decided to not follow directions and work ahead of the teaching. Which resulted in immense frustration on his part. It was very hard for me to let him not listen, but resulted in a great life lesson on why we shouldn’t rush ahead and should follow directions from the teacher.

See the Light Sunflower Van Gogh project-following directions

Can you see the difference? There were tears, but by the end of the lesson, Zachary was so proud of his re-worked pastel, there were smiles all around, and one of those ‘life lessons’ that he can be reminded of in the future and have a tangible example of the importance of listening.

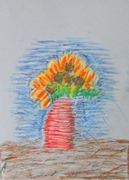
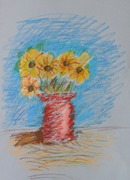
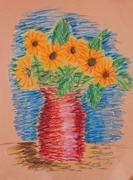
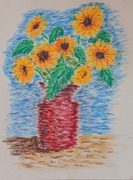
Want to see our finished projects? The sunflowers below are in order of the ages of our kids: Kaleb {6}, Zachary {8}, McKenna {10}, and Laurianna {11}. Although targeted for ages 10+, all of our kids {ages 6 to 11} participated in the Sunflowers art project.

See the Light Sunflower Van Gogh project-Kaleb age 6See the Light Sunflower Van Gogh project-Zachary age 8See the Light Sunflower Van Gogh project-McKenna age 10See the Light Sunflower Van Gogh project-Laurianna age 11

Find Out More

Sunflowers is one video that is a part of the Art Projects from See the Light. You can purchase the DVDs individually {$14.99/ea} or purchase the entire year of nine art projects based on famous artists and receive a bonus cartooning video. We personally own the Art Class year 1 series and are working through that, but love these special projects.

I cannot recommend the Art Class and Art Project series enough. Both have made such a great addition to our homeschool time and make it incredibly easy to teach art with confidence. We now have several of the projects hanging on the walls of our homeschool room because they have turned out so beautifully!

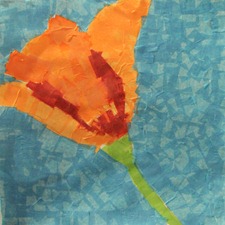
Poppy Collage project

Be sure to check out the See the Light blog as well. They often share FREE art lessons with their readers.

Georgia O’Keefe Art Study – Poppy Collage Art Project

This post is our honest review of a product that we received for free. All opinions expressed are solely mine.

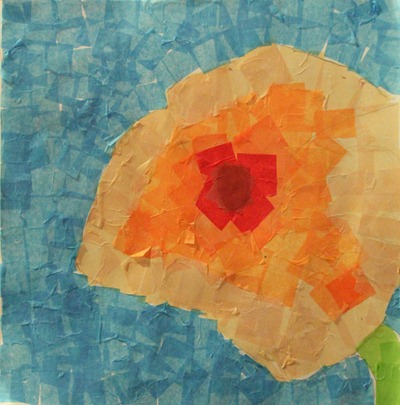
The Poppy Collage art project from See the Light has been one of my FAVORITE art projects with our kids so far. We are using the year 1 art curriculum from See the Light this year, but Poppy Collage is part of the Art Project series from artist Pat Knepley.

Our kids have really enjoyed the art lessons on dvd and I love that the teaching and history behind the lessons are all included in the four step-by-step lessons. Poppy Collage does have a little bit of prep involved {cutting tissue paper and gathering the few supplies}, but otherwise the lessons are full of art history taught from a Biblical perspective.
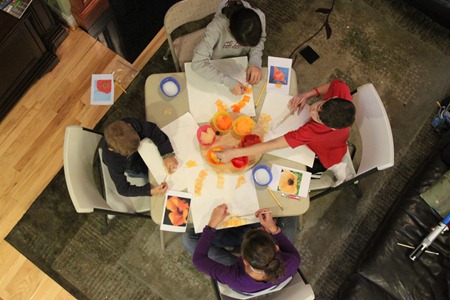
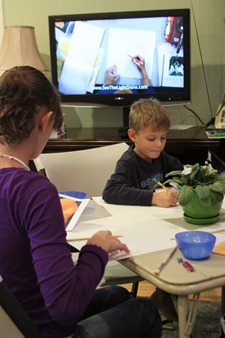
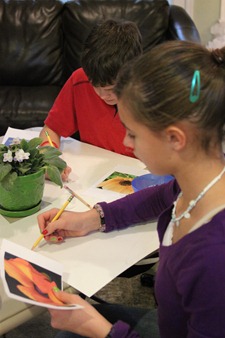
Poppy Collage focuses on the artwork of Georgia O’Keefe and her gorgeous close-up paintings. Throughout the lessons, teacher Pat Knepley shares the about the life of O’Keefe, different paintings and styles that O’Keefe worked on throughout her career, and then teaches children art elements and principles using different mediums.

The Poppy Collage Art Project

The video includes 4 step-by-step lessons and although the segments range from 17 to 22 minutes, you need to allow about 1 hour per lesson to work on the project. Our kids would pause the video every now and then to work on what the session assignment and would then resume watching. Here’s a look at the breakdown of the four lessons:

THE ABSTRACTED FLOWER DRAWING (22 minutes)

TISSUE PAPER COLLAGE TECHNIQUE (20 minutes)

LAYERING TRANSLUCENT HUES (21 minutes)

FINAL DETAILS TO CREATE INTEREST (17 minutes)

Creating Our Collages

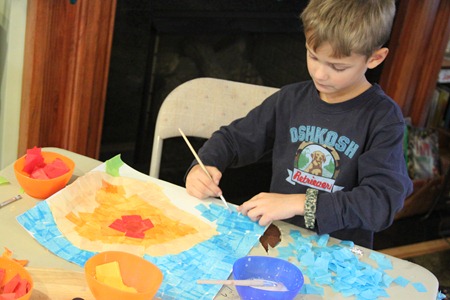
Our kids set up camp in the living room around a table so they could see the video better and we put all of the supplies in the center of the table. We did have a live plant at first, but used some real pictures of poppies for the project as well.

Poppy Art Project from See the Light-9737

Poppy Art Project from See the Light-9726 Poppy Art Project from See the Light-9723

Long after the older kids were finished with their project, Kaleb was hanging out in the living room and finishing up the background of his poppy collage. He was so particular about this one!

Poppy Art Project from See the Light-9747

As a mom without a lot of art history knowledge {or memory – ahem}, I love how the video covers not only the history of the artist and famous pieces, but also the techniques and processes used in artwork. If I tried to explain art terms and model how to do something it can be really difficult, but the videos easily show the kids how to do certain techniques {and I can even participate along too!}.

Supplies for the projects are simple – glue, pencils, tissue paper, poster board, etc… no hunting around for some crazy things that I’ve never heard of before. Although targeted for ages 10+, all of our kids {ages 6 to 11} participated in the Poppy Collage art project.

Our Poppy Collage Projects

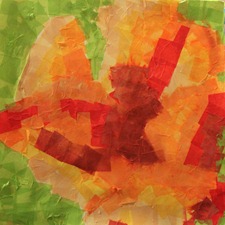
Each one of the kids created a project that was definitely ‘showcase’ worthy, leaving us with the question of how to display all of the artwork around the house! For now a few are displayed in the schoolroom and one child claimed the artwork as her own and has it hanging over her bed. Here’s a little peek at the girls’ work…
Poppy Art Collage-11yearoldLaurianna, age 11 Poppy Art Collage-10yearoldMcKenna, age 10

While all of the kids created beautiful pieces, I was really amazed at the time and detail that Kaleb took with his project. Occasionally I would see McKenna lean over to help him with a few things, but he faithfully sat and finished his project and was SO excited when it was finished {me too!}.

Poppy Art Collage-6yearold

Note: Zachary did one as well, but he didn’t want me to take a picture of it because his did not have a ‘filler’ background, so he thought it wasn’t as nice as the other kids {it was!}. His is hanging above his school desk where we can all see it still. Smile

Find Out More

Poppy Collage is one video that is a part of the Art Projects from See the Light. You can purchase the DVDs individually {$14.95/ea} or purchase the entire year of nine art projects based on famous artists and receive a bonus cartooning video. We personally own the Art Class year 1 series and are working through that, but love these special projects. The kids are excited to work on another project soon!

These lessons have been so fun for us to work on and we can’t wait to share more with you soon!


Our family was given a copy of Poppy Collage to use and review. All opinions expressed in this post are solely mine.

Art Projects Galore and a Service Project

Preschool Corner

Can someone please tell me where our week has gone? While it has been a light and FUN week at our house, somehow the time managed to just slip by us. We actually spent very little time in our schoolroom – but lots of time around the rest of the house reading the stashes of Christmas books and just enjoying time together.

Believe it or not, I have little photographic evidence of our week. My camera and/or phone has been elsewhere during the week {or a certain mom may have been distracted and neglected to use it}.

A Service Project

Our entire family {minus Daddy} spent most of Tuesday with a group of friends making fleece blankets for children at a local shelter. The kids all helped tie knots on the simple blankets, made Christmas cards for the children receiving the blankets, and had fun together.

Kaleb and I worked on a blanket together {a fun print that Kaleb said reminded him of Africa} and in all our group finished over 20 blankets. The goal was to make sure each child at the home had a blanket of their very own, since these were families that no longer have a place to call home.

Lots of Artwork

You’ll just have to believe me when I tell you that the art projects in this house were in ABUNDANCE this week. If you listened closely enough, you were likely to hear the joyful shrieking of our children when they found out we were making up for lost art time this week.

While the mere mention of ‘art’ makes me hide all of the supplies in sheer terror, our children begin dancing in delight at the prospect of making our home even more of a disaster than they typically do in a day. Just keeping it real here….

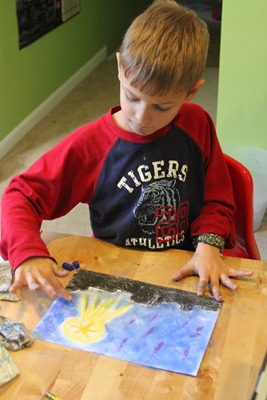
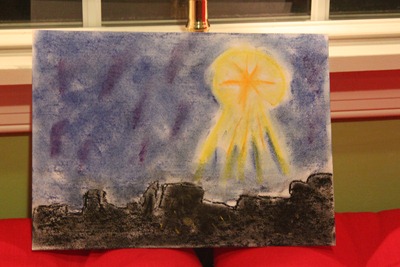
The only one that we have picture evidence of is the Christmas Star Chalk Pastel that we worked on thanks to HodgePodge {she has a tutorial you will want to check out!}.

Pastel Art project

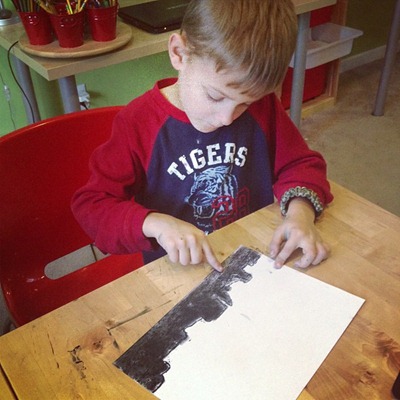
The chalks came out this week and there were smudges of fingerprints everywhere – on faces, tables, wall, and paper. The kids worked on the Christmas Star Chalk Pastel using the tutorial from HodgePodge. Kaleb said his favorite part is the smudging. Imagine that!

Star of Bethlehem Chalk Pastel-9761

Kaleb was very careful getting the details of his ‘just so’ and adding some color to the night sky.

Star of Bethlehem Chalk Pastel-9769

The finished project!!! I have to tell you – the kids are pumping out so many great art things lately, it’s making it hard to figure out what to hang up in our house and where to put it all {although that is a GREAT problem to have!}.

How in the world do you all solve the art dilemma in showcasing all of the designs?

We do have a few more art projects planned for next week including the Christmas tree in the snow and the Christmas ornament. I may have to get another chalk pastel set soon because the kids are enjoying these so much!! A bit ago we worked on a chickadee pastel that was much fun too!

That’s the quick look at our week – how was YOUR week?

Preschool Links

Ready to Link Up?

Share what you are doing with your kids! Please link your exact blog post to the Mr. Linky below and link back here too! Grab a button for your post below and be sure to take a minute to visit the person who linked up before you. You can read more in the updated guidelines for Preschool Corner. By linking up, you are granting permission for me to share your wonderful ideas and pictures with others in periodic show-and-tell posts.

Be specific in your ‘link title’. Leave either your blog name or theme and provide an age range for your activities. Something a little like this:

Police Officer Theme {ages 4-5}


Preschool Corner


Jolanthe Signature affiliate button

Apologia Educational Ministries ~ producing resources to help homeschool families learn, live, and defend the Christian faith.


Maestro Classics ~ introduce great music and classics stories to children with this classical music series. Don’t miss their newly released Carnival of Animals that you will want to check out!