20 Best Tips

Seasonal Tic Tac Toe Board

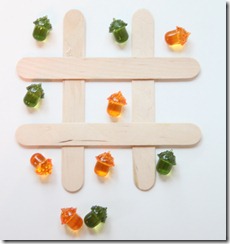
Kaleb still hasn’t grasped the game of tic tac toe, but that doesn’t mean he doesn’t enjoy trying to play it. Rather than using paper to play games, I put together a Tic Tac Toe board using a few simple items. 

IMG_8501

Want to make your own? 

You’ll need:

  • hot glue
  • 4 popsicle sticks
  • season playing pieces

Make it: 

It’s super simple. I promise. Hot glue the popsicle sticks together to form a tic tac toe board. The end.

Right now we’re using acorns as our playing pieces and we can change out the pieces as the seasons change. You can find some inexpensive decorative pieces at a local dollar store. 

Just wanted to share something quick and easy with you!! Quick…assuming it doesn’t take you 10 minutes to find your hot glue gun {like it did me}.

Homeschool Village ~ Heart for the Arts

Homeschool Village

This weeks topic at the Homeschool Village: A Heart for the Arts. Post a picture of your homeschooler enjoying art and what you are planning on teaching!

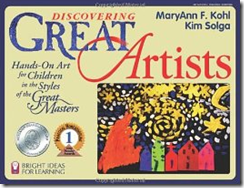
Until about 2 days ago, I wasn’t certain exactly what we were going to do for art {other than arts & crafts, rice & beans projects}. Cindy from Along the Way let me borrow one of her books {which I promptly spilled coffee on and hence committed myself to using that book for our art time this coming year…Discovering Great Artists by MaryAnn Kohl.

image

Ok, I kid {somewhat}. The books is actually what I was looking for ~ art activities for kids based on famous artist along with a brief bio on each artist. We’re going to get together with Cindy and her kids twice a month and learn about a different artist and try our hand at some different art techniques.

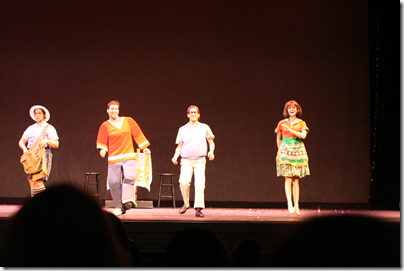
Other than painting and drawing, we love to see plays from time to time {depending on what is available and how much they are!}. Flat Stanley has been one of our favorite plays so far! Stanley got flattened by the big ol’ bulletin board below.

image image

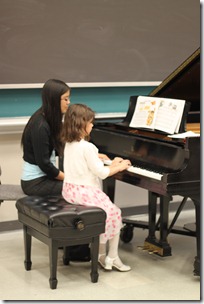
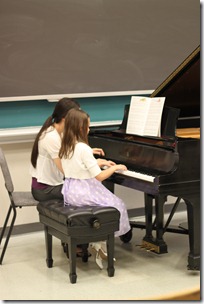
And as far as music goes…this past spring, both girls took piano lessons and also had their first recital! Practicing was hard for McKenna, but she wrote her own song to play for the recital too ~ it was cute!

IMG_4175 IMG_4179

What do you as a family enjoy doing for art and fine arts? Leave a comment and be sure to visit Homeschool Village and see what other moms are sharing about this topic!

Jolanthe Signature affiliate button

Preschool Corner ~ Carousel Art Supply Organizer

Preschool Corner

This week I’ve been putting together new furniture, putting the finishing touches on our revised workbox system, and making some fun little additions to our ‘classroom’ {i.e. our dining room}. Some of the fun put me a little out of my comfort zone.

I’ll be the first to admit that I start twitching whenever the kids start talking about getting the art supplies out. As in, I don’t like messes. At least in my own house. If you’d like to invite us over to do a project at your house, I’d be happy to dig in…{grins}. Kaleb tends to be a little artist…but not in places I would like to actually see art. Walls, rugs, himself. Generally markers stay out of sight, out of {his} mind.

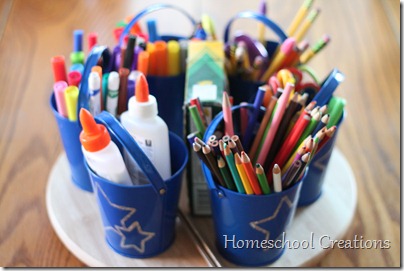
BUT I saw this lovely homemade art carousel at See Jamie Blog and decided that it would be great to have on our table {thanks Kris for highlighting in in the Homeschool Showcase!!}. Although we don’t have an Ikea nearby, I jumped in the car as soon as I could and headed to Target to check out their dollar section to try to re-create my own version.

I was able to find a lazy Susan {$8 in the housewares section} and six tin pails {$1/ea from the dollar section} and hot glue some magnets on to help keep the tins in place {i.e. so they don’t go flying off when the kids spin the thing like crazy}. Jamie gives a little more detail on how she put it together, but it’s super easy to do ~ enough that you might just want to make one of your own!

homemade art carousel

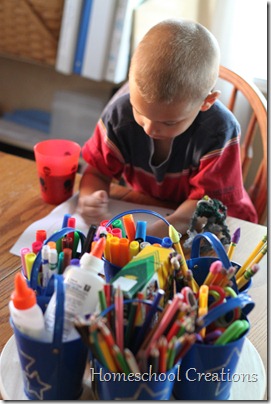
The result? A HUGE success with all of our kids, especially Kaleb. He has been a drawing fiend this week, dropping pictures into my lap and describing them to me in vivid detail ~ volcanoes with hot lava coming out, rainforests…it’s been amazing to hear him talk about things that I didn’t even realize he KNEW about. :)

homemade art carousel

Otherwise, our week has been full of reading, working on our new ‘chore charts’ {I’ll be sharing those soon}, swimming, reading and … reading a lot more. Here are some of our current favorite books ~ I’m in LOVE with this series of Usborne books!!

Ready to Link Up?

Share what you are doing with your kids! Please link your exact blog post to the Mr. Linky below and link back here too! The updated guidelines can be found here if you need them.
 
 Photobucket

Preschool Corner ~ No Bells and Whistles

I can tell you all honestly that things aren’t always all bells and whistles here. :) There are weeks when I feel like I pull out all the stops…and then others when we’re doing a little bit of this and a little bit of that.

Not to mention the weather was GORGEOUS this week, so we took a nature walk and got LOTS of exercise!

Zachary was chomping at the bit to go outside every day, so he was literally throwing work on the table and begging to do things ~ as in three math pages a day {thinking he was getting off easily…}.  Because he was so eager…he failed to realize that he was doing some rather lovely subtraction problems ~ and he was doing them well.

Reading well…and learning more verses to finish up his Awana book {he was so proud}.

Little Mr. Kaleb had much fun doing some practical learning this week ~ sorting clothes with Mommy. Short sleeves vs. long sleeves. Shorts vs. pants. Jackets vs. sweatshirts. Girls vs. boys. Lots and lots of sorting. Helping Mommy wash clothes {lights and darks} and organize. The boy loves to help organize! :)

Despite the fact that we’re technically near the end of the year, we’ve switched around our routine a little bit so that the boys are doing all of their ‘stuff’ with me at the beginning of our day ~ after our calendar time. When we’re done, they have a set activity to play together and then have free time while I work with the girls. All in all, it’s working out much better for us all and it’s been one of those ‘duh’ weeks for me {as in, why didn’t we do this sooner?}.

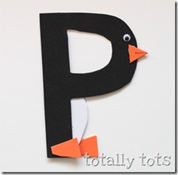
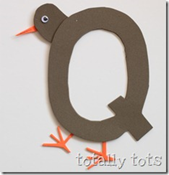
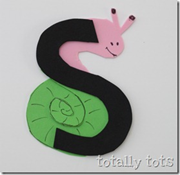
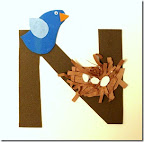
Before I forget, here are a few more alphabet crafts. Click on the picture to go to the ABC post.

Penguin craft Quail craft

Rabbit craft Snail craft

How did your week go? :) Did you conquer a MOUNTAIN of activities or go from day-to-day and have fun together? Leave a comment and let me know!

Don’t forget that we’ll have a bunch of great giveaways linked up here starting Sunday. I have a couple preschool-related giveaways planned, so stay tuned!

Ready to Link Up?

Share what you are doing with your kids! Please link your exact blog post to the Mr. Linky below and link back here too! The updated guidelines can be found here if you need them.
 
 Photobucket

Alphabet Crafts

At the beginning of the year I was posting the alphabet crafts that we were making during our preschool time ~ up until the letter F.

I didn’t quit, but have been sharing them over at Totally Tots as part of the weekly Now I Know My ABC’s time. If you are interested in seeing them and making them along with your kiddos, you can click on the thumbnail images below and you will be taken directly to the post showing how to make the craft.


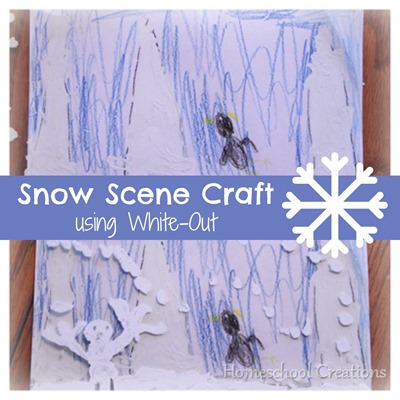
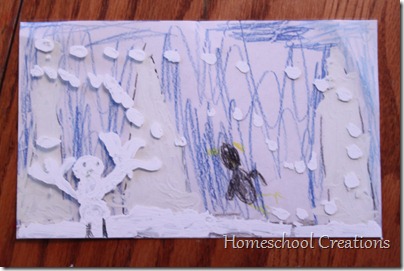
White-Out Snow Craft

Snow-scene-craft-using-white-out.jpg

All of our kids had a great time working on this craft ~ especially Kaleb. Actually, Kaleb had way too much fun. By fun, I mean that Kaleb was painting his face with the white-out brush, painting the table, took a lick of white-out, and then dropped it on the floor.  Now I’m trying to figure out how to get white-out off my wood floor.

IMG_2967

BUT the end result was much better than the actual process, so maybe MY misfortune can help you all find a better process. :)

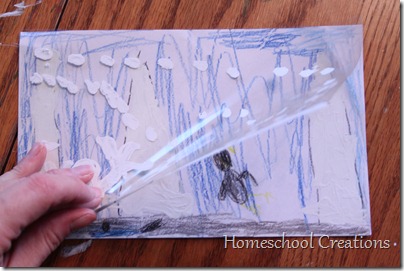
The project is actually two layers ~ a transparency sheet lays over top of a picture that your child has colored. Then you add ‘snow’ to the picture by painting on the transparency layer.

IMG_2969

What You’ll Need:

  • a jar of white-out
  • white paper
  • clear tape
  • colored pencils
  • transparency sheets
  • scissors or paper cutter

How to Make Your Snow Scene:

Our pictures were a half sheet of paper {5 1/2” x 8 1/2”}.

  • Cut your sheet of paper and overhead transparency sheet in half so that they are the above size. You can use a full sheet if you want to also.
  • Tape the transparency sheet to the top of the paper on one of the sides, so that you can open it like a book.
  • Have your child color a scene/picture on the paper using colored pencils or crayons.
  • Flip the transparency over top of the picture and let your child add snow to the picture scene.

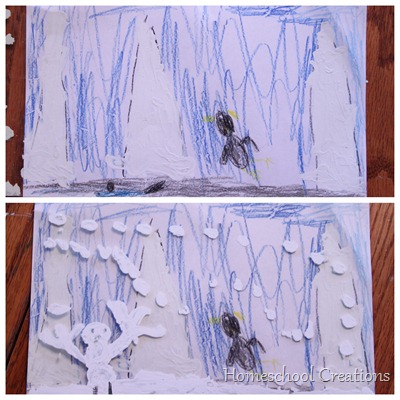
Here is how Zachary’s picture looked with and without his snow.

White Out Painting