20 Best Tips

Yarn Owl Craft Tutorial

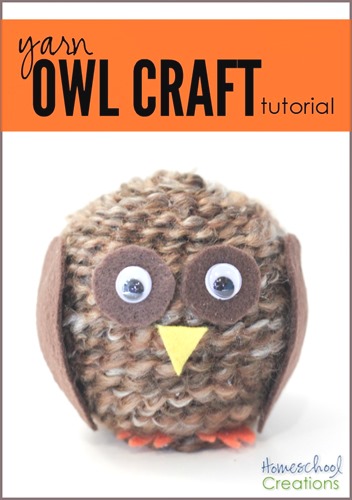
yarn owl craft tutorial from Homeschool Creations


We have owls of all sizes in the works at the moment, because this yarn owl craft is just too cute!! We started out with one size of owls, but quickly ended up trying a few different sizes as well, especially when the googly eyes, felt, and yarn were in abundance!

The girls initially made something similar while we were camping, but we tweaked it to make it easier – and cuter!

Yarn Owl Craft Tutorial

Want to make one (or four) as well? I promise these are so very cute and will make some great decorations around the house. Picture a little owl family nestled in the corner of a bookcase…
Yarn Owl Craft tutorial {%{% Homeschool Creations 2015

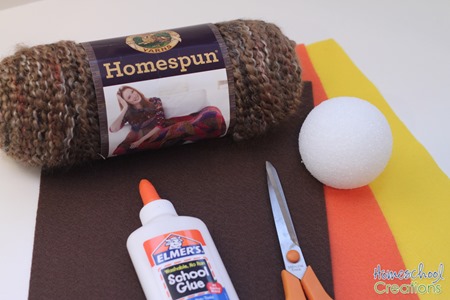
Supplies needed:

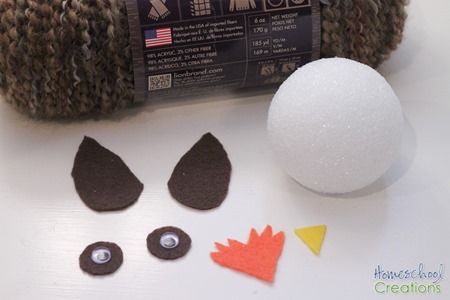
  • felt: yellow, orange, brown (white optional)
  • Elmer’s glue
  • dark brown yarn – we chose a multi-colored version)
  • googly eyes
  • 2.5” Styrofoam balls (we also have 2” and 1.5” that we’re trying out)
  • scissors

Yarn Owl Craft tutorial {%{% Homeschool Creations 2015-2

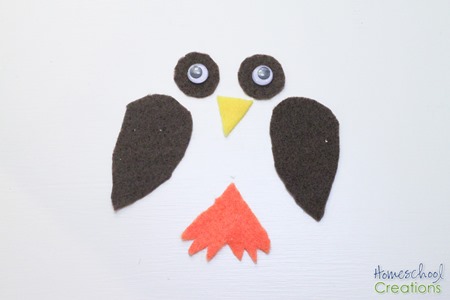
Based on the size of your styrofoam ball, cut your felt to size: wings, feet, beak, and circles for around the eyes.
Yarn Owl Craft tutorial {%{% Homeschool Creations 2015-3

Lay them out – and start picturing how cute this little owl is going to be.
Yarn Owl Craft tutorial {%{% Homeschool Creations 2015-15

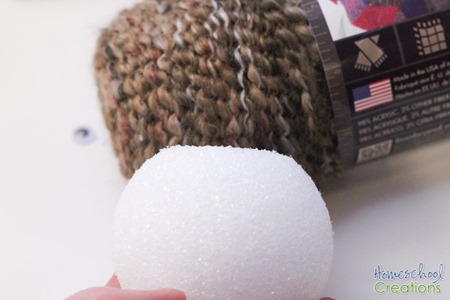
Use the scissors to shave a flat area onto the bottom part of the styrofoam ball (if you can figure out where the bottom is…). You’ll need this area to make the owl stand without rolling over.
Yarn Owl Craft tutorial {%{% Homeschool Creations 2015-4

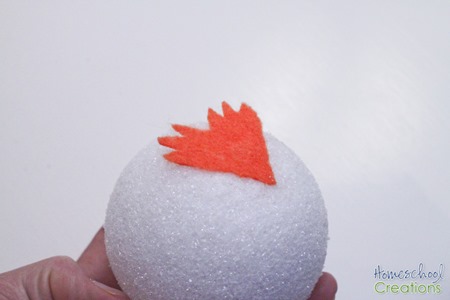
Use glue to stick the feet onto the flat area of the styrofoam ball. Wait a few minutes to let the glue dry.
Yarn Owl Craft tutorial {%{% Homeschool Creations 2015-5

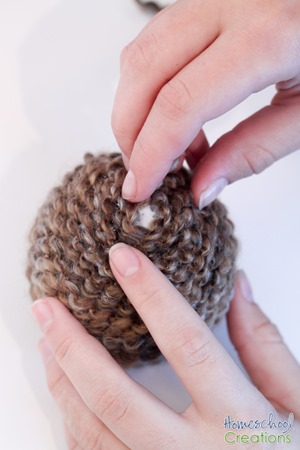
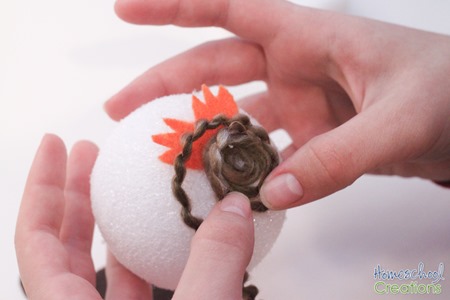
Apply a small circle of glue to the bottom area and being coiling the yarn in a circle.
Yarn Owl Craft tutorial {%{% Homeschool Creations 2015-6

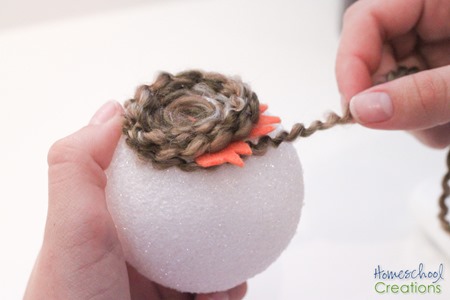
Continue coiling and secure with a little glue. When you get closer to the top of the feet, begin wrapping the yarn around the opposite side of the felt feet, so you can wrap the yarn around the remainder of the styrofoam ball.
Yarn Owl Craft tutorial {%{% Homeschool Creations 2015-7

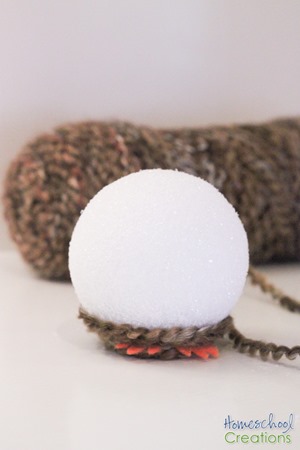
Secure with just a little bit more glue, but the styrofoam ball will hold the yarn well as you continue to wrap the yarn around the ball.
Yarn Owl Craft tutorial {%{% Homeschool Creations 2015-8

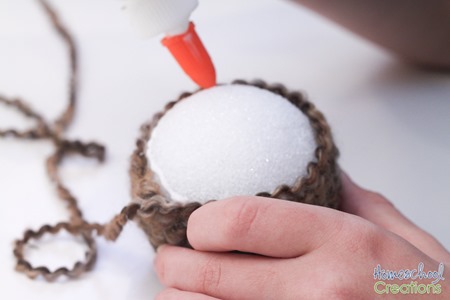
As you get closer to the top part of the ball where it gets smaller in size, use a little bit of glue to begin securing the yarn again.
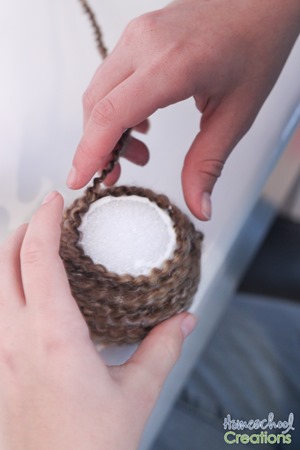
Yarn Owl Craft tutorial {%{% Homeschool Creations 2015-9

Continue wrapping, watching for gaps in the yarn so you don’t see any of the styrofoam ball through the yarn.
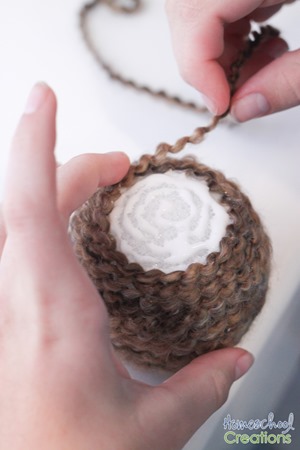
Yarn Owl Craft tutorial {%{% Homeschool Creations 2015-10

Wrap some more.

Yarn Owl Craft tutorial {%{% Homeschool Creations 2015-11

Finish up the remainder of the coiling and wrapping, securing with glue until every area of the ball is covered.
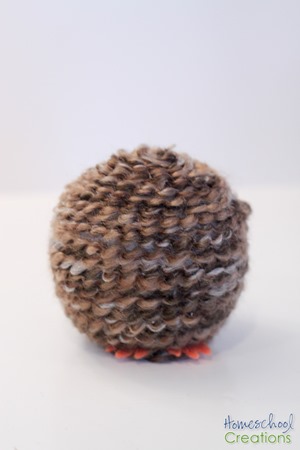
Yarn Owl Craft tutorial {%{% Homeschool Creations 2015-12

Stand your little owl buddy up and prepare him/her for finishing.
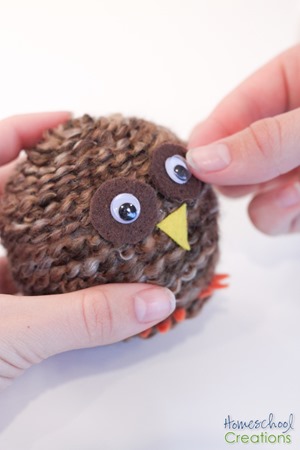
Yarn Owl Craft tutorial {%{% Homeschool Creations 2015-13

Add your owl’s eyes, beak, and wings. and then pull out the rest of your supplies – because you are going to want to make more of these little cuties!
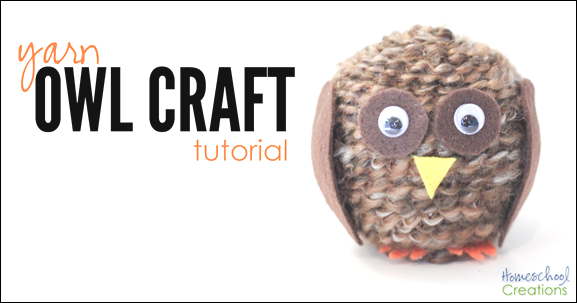
yarn owl craft tutorial from Homeschool Creations

DIY Chalkboard Cupboard #idhtbptbb

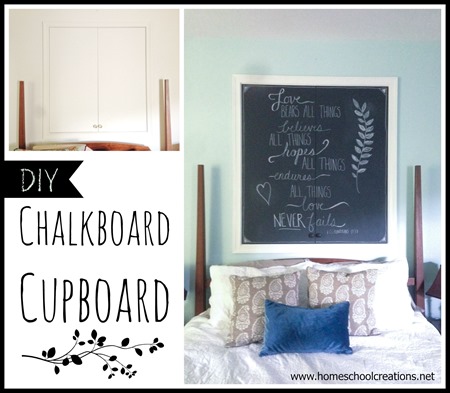
DIY Chalkboard Cupboard

Ever since reading The Nesting Place by Myquillin Smith several months ago, I’ve been trying to take a few more ‘risks’ in decorating our house.  Essentially that means stepping back from the fear of doing it all wrong (because that’s the camp I usually live in) and stepping out (sometimes on a limb) and just DOING something rather than wallowing in that fear. (Oh…this spills over into so many areas of our lives, doesn’t it?)

To give you an example, we had family pictures that sat, unhung, for years because I was afraid of a few silly nail holes. In my head they had to be aligned ‘perfectly’ – and well, really, they just needed to get up on the wall and I needed to be brave with the hammer. They aren’t perfect, but it’s ok. The main point of Miquillin’s book – it doesn’t have to be perfect to be beautiful (#idhtbptbb). Truthfully, this has been such a challenge to me this year.

ugliest cupboard in the world before-1

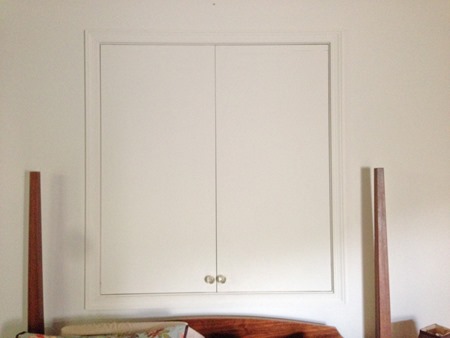
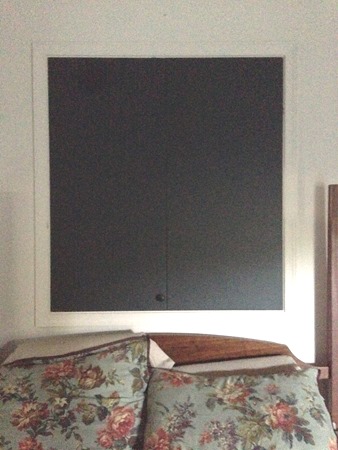
Out of all the rooms in our home, our bedroom has been untouched for the most part for the last 4.5 years. Blah walls with no paint and the UGLIEST CUPBOARD in the world stuck smack dab above our bed. Apparently it was meant to host a projection TV, and that is just not going to happen in our bedroom. Really – the cabinet is huge, framed in, you can’t miss it, and it has been driving me buggy.

The Inspiration

rachel anne ridege chalk board tutorial

photo courtesy of Rachel Anne Ridge

Rick and I debated for a very long time on what exactly to do with this crazy wall/cupboard. After visiting a donkey in Texas and seeing the above gem, a little light bulb went off over my head – changeable art via a chalkboard! My friend Rachel made a chalkboard using an out-of-date picture frame (that’s her above with her daughter Lauren). If you’d like to she how she made hers using glass, watch this YouTube video.

Anyhow – that giant chalkboard was hanging over her guestroom bed and triggered the ‘aha’ moment. While knowing you can paint walls and glass with chalkboard paint, somehow it just never crossed my mind that I could paint the doors of this cabinet (yep, I’m quick like that!). That little revelation saw me spending this past weekend working on a complete bedroom overhaul while my hubby was out of town. Because why work on one simple, little project when you can cram a complete redo into a weekend project, right?  I wanted to surprise him (I sorta did – he snuck home early and caught me painting), and we absolutely love, love, love the results!

The Process

Ugliest cupboard in the world

Painting with chalkboard paint was so simple and I just needed a few items for this project:

I worked on painting the doors with Benjamin Moore Chalkboard paint and found some cute gray knobs to replace the faceted glass knobs that graced the doors. The chalkboard paint could be tinted any color, so I went with a slate gray color (1610) – not too dark or light. Using a 4” mini roller I applied 3 coats of paint over the course of 48 hours and then let it ‘cure’ for a few days. (p.s. A little paint goes a long way!! I only purchased a quart of paint and didn’t even use 1/3 of the quart…need to find more projects…off to Pinterest!!)

The Finished Chalkboard Cupboard

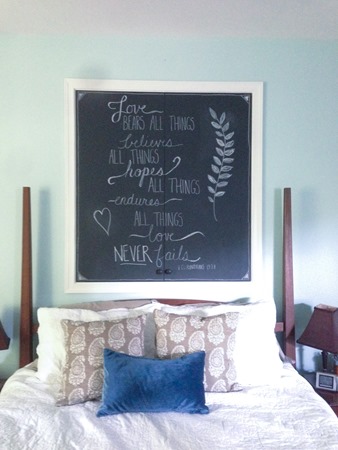
This weekend, while painting the walls of our room, I also painted the trim around the cupboard with a glossy white to make it ‘pop’ even more. Before adding any text to the board, we rubbed a piece of chalk over the entire chalkboard surface to prep the board. I haven’t wet it down, but used a soft cloth to erase and clean it.

DIY chalkboard cupboard completed-1

This is the finished wall (and new bedding). I am absolutely loving it. Over the last few weeks I’ve been finding fun chalkboard prints and quotes and pinning them for inspiration. The verse above is my attempt at this pin – not perfect by any means, but not too shabby for a first try either!

Really, the fact that the ‘artwork’ can be changed at any point based on season or mood – well, that just makes it even more fun! I’m now eyeing The Complete Book of Chalk Lettering to work on lettering and more projects!

And nope, I know this isn’t a typical homeschool post, but in many ways it is. My room is a haven for me. When it’s messy and crazy, it truly throws me off. Of all the rooms in our house that we try to stay on top of, this is it (well, that and the kitchen counters!). This completed project makes me want to sit in my room and just relax. Breathe. ENJOY a few minutes of rest – and well, we all need that, don’t we? Especially when we are surrounded by our kiddos all day (wink).

If you need me – I’ll be in my room.

Homemade Beach Sand Sensory Bin – DIY Tutorial

The last few weeks we’ve been talking about the beach and ocean with the 3 year old co-op class. Talking about it is fun, but getting a chance to play in the sand is even better, right? Unless you live hours and hours from the beach and you don’t want to buy a ginormous bag of sand.

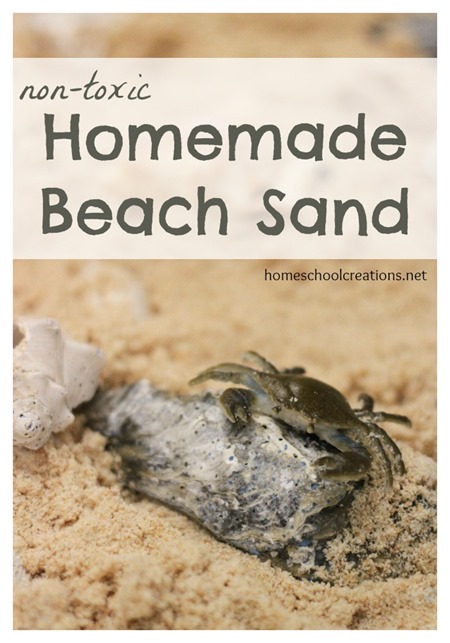
homemade beach sand recipe


Instead we made something quick and so simple (I promise you this is so easy!!), that kids can help make it with you.  AND If they ingest a little, it will be ok too, since it uses non-toxic ingredients!

homemade beach sand sensory box fun

Items Needed for Homemade Beach Sand:

  • 5 cups whole wheat flour
  • 3/4 to 1 cup cooking oil (we used coconut oil)
  • mixing bowl
  • large plastic tub or trays
  • Seashells Toob or real seashells
  • Plastic crabs (I wouldn’t recommend real ones – grins)

Mix the flour and the oil together in a mixing bowl (dear moms, this can be highly therapeutic and relaxing – just sayin’). You can add up to 1 cup of oil to your ‘sand’ – it just depends on how sticky you would like it to be.

homemade beach sand sensory box-1

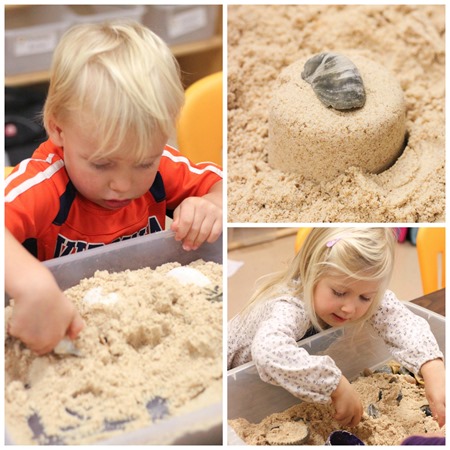
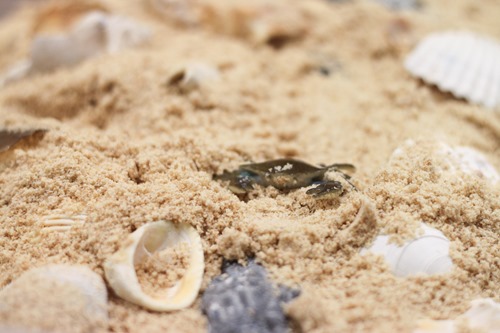
The kids in our class loved it. We added a bunch of seashells and a mini crab to the bin just for fun, along with a few things to scoop and build little sandcastles. Our homemade beach sand is stored in a 15 quart Rubbermaid container (we made 3 batches).

homemade beach sand sensory box-4

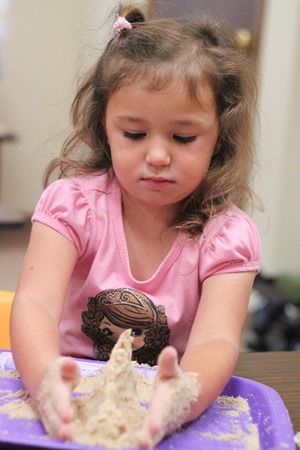
When there were too many kids wanting to play in the bin, we poured some out on a tray so they could continue with the fun. You can see from the picture above that the ‘sand’ does a great job sticking together so kids can form and create, just like they can with real sand!

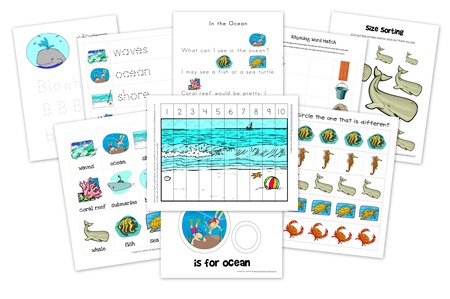
Free Ocean Printable Pack

Ocean CollageIf you’re planning a beach or ocean theme, you might be interested in the Ocean Printable Pack.

Book Go-alongs


Find more fun Preschool Packs on my website along with many other helpful {and free} Preschool Printables. Enjoy!


Note: This beach sand recipe does contain gluten, so those of you with gluten-free kiddos will obviously not want to use this. Sorry!