20 Best Tips

Cup Holder STEM Challenge

Cup holder #STEM challenge project for kids

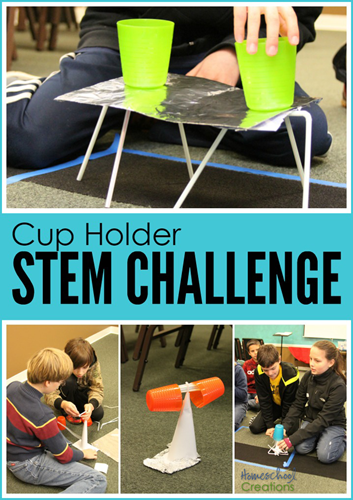
If you were given a piece of paper, tinfoil, six straws, two paperclips, two pieces of string, two pipe cleaners, three mailing labels, and an envelope – and then had five minutes – would you be able to build a structure that could support two cups while getting both cups off the ground and as far apart from each other as possible? Years ago our girls did this same Cup Holder STEM  challenge together with much success, so I thought it would be fun to try again on a larger scale.

This semester I am working with a group of six graders in our co-op in a STEM or building class. One of the things that our family (and another co-op class) enjoyed in the past were Instant Challenges. Essentially, the children are given a set of objects and a challenge to build something specific within an allotted amount of time. The bulk of our Instant Challenge STEM ideas come from this site and we tweak them to make them work for us. The main thing I love about these challenges are they involve simple (and inexpensive) items that are easy to find and give some fun results in a short amount of time.

The Cup Holder Challenge
Cup Holder Stem Challenge-8

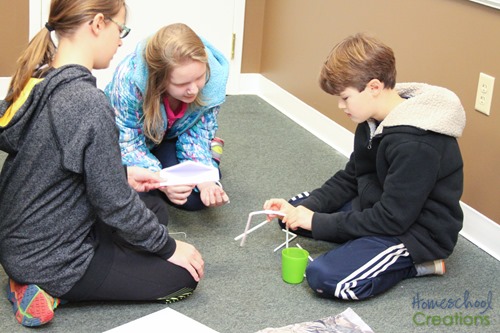
For our first class, we introduced the overall structure of what we would be working on and broke the kids up into four teams (class of eleven, so one team has only two). Each team had at least one boy and one girl to balance it out. The kids were ‘scored’ on teamwork first and then based on completion of the challenge.

In all honesty, the challenge didn’t go quite as easily as I (or the kids) thought it was – a bit of a surprise to me, but I do think we figured out the why behind our issue…read on!


Breaking Up into Teams

Each team (between 2-3 children) was given 2 minutes to come up with a design, 6 minutes to work on their cup holder structure, and then show how their structures worked, compare designs, and make improvement suggestions to other teams or for their own structure.

Challenge: Create a structure that holds two cups as high as possible and as far apart as possible. Each team has 2 minutes to design, 7 minutes to create, and 1 minute to test their structure.

Materials: 6 straws, 1 piece of paper, a piece of tinfoil, 3 mailing labels, 2 paperclips, 2 pieces of string, 1 envelope, 2 pipe cleaners, and 5 pennies

The Results

One of the things that I love about these challenges is seeing the creativity and difference that each group comes up with in their designs. Even though they each have the same set of supplies, their brains are all whirling in different directions and putting those items together in alternate ways.

As each of the groups were working, the other mom and I walked around the room observing, offering suggestions if needed, and giving time updates.

Group 1

Cup Holder Stem Challenge-4

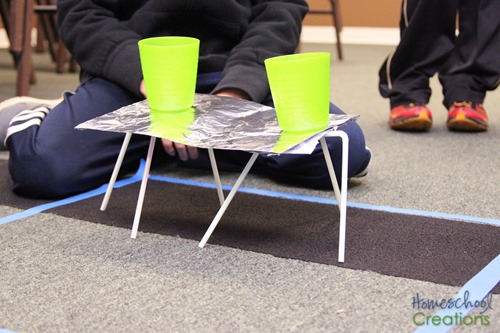
Out of all of the groups, Group 1 was the only one to have a completed structure at the end of the original challenge time period. They were able to transfer their structure to the middle of the room, set it up, explain their building process, and support the two cups.

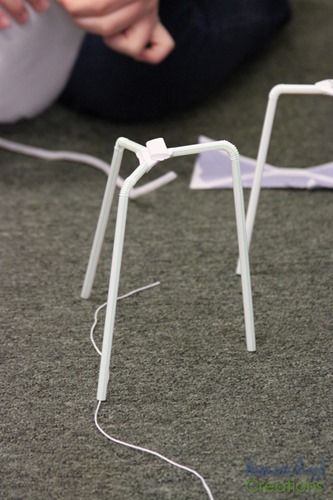
They wrapped their paper in tinfoil and added the envelope for extra support on the main ‘shelf’ of their structure. Pipe cleaners and string were used to hold the straw legs together.
Cup Holder Stem Challenge-18

Their main focus was the base support, which definitely worked to their advantage. While it wasn’t raised from the floor as much as they wanted, it was a solid structure as long as the straws were all balancing properly.

Completed structure: cups were 6“ off the floor and ” apart.

Group 2
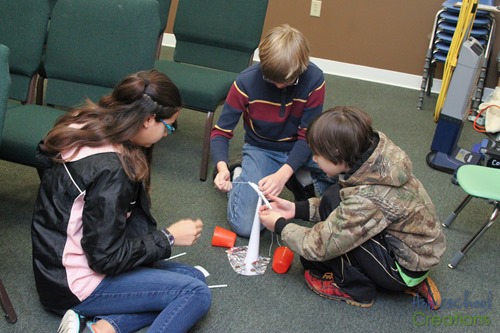
Cup Holder Stem Challenge-15

This group almost had a structure that supported the cups, but the moment they let go of the cups, their structure tipped over. They built for height, but had a base that wasn’t sturdy enough, despite the tinfoil, to support the two cups.
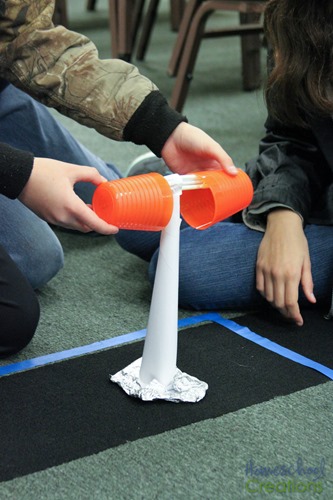
Cup Holder Stem Challenge-21

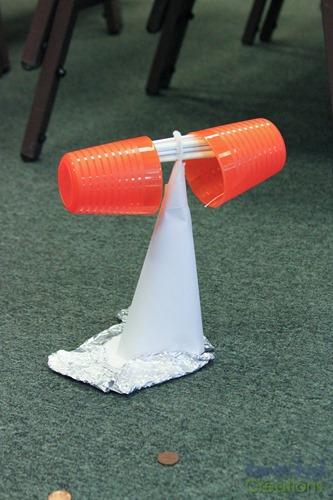
Their paper and envelope were rolled in a cone shape, with tinfoil as their base support. The straws were then adhered to the cone using the mailing labels.

Overall their concept was good, but not quite there. Their ‘aha’ moment came during our group suggestion time (see below) when they were able to modify it a bit based on a recommendation from another team.

Completed structure: cups were 0“ off the floor and 0” apart.

Group 3
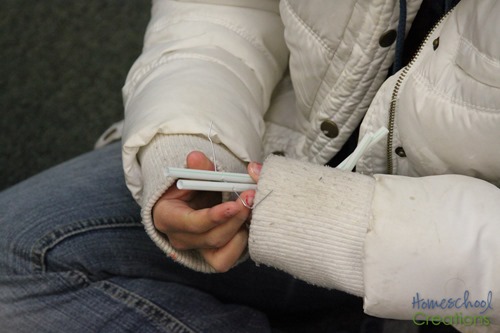
Cup Holder Stem Challenge-12

This team had some fun ideas and creative ways to hold things together (paper clips pushed through the straws), but their overall structure ended up with zero height. They tried to connect the straw and have them in an elongated “U” shape, but then they couldn’t get their straws to stay up and support weight.
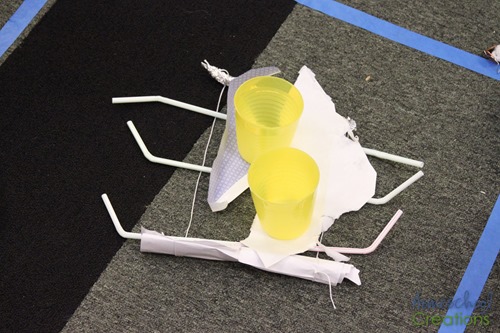
Cup Holder Stem Challenge-23

They also used up several of their supplies (by rolling or crumpling), so there really wasn’t much help that could be given to create a working structure. They had a great attitude about their mistakes.

Completed structure: cups were 0“ off the floor and 0” apart.

Group 4
Cup Holder Stem Challenge

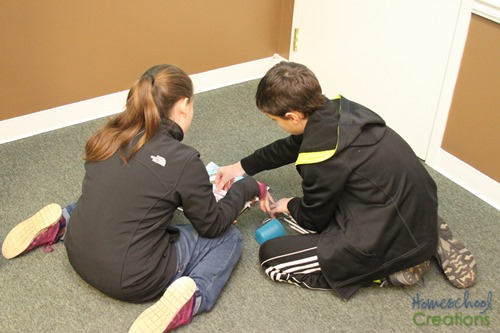
This team was the smallest of the four, and while the two started out with a good idea (again wanting to build it as tall as they could), they quickly realized they didn’t have enough base support when it came time to balance cups on either side of their structure.
Cup Holder Stem Challenge-24

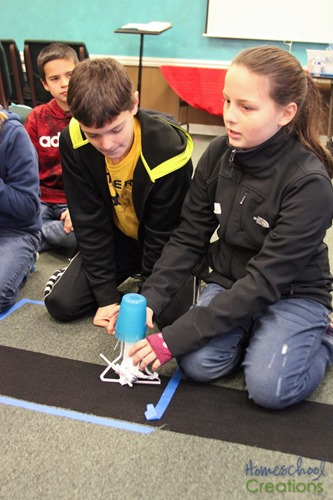
They ended up trying to use the straws in a triangle-shaped base, which did work well to give support, but they weren’t able to get any distance between the two cups and instead stacked them on top of each other.

Completed structure: cups were 3“ off the floor and 0” apart.

Making Improvements and Suggestions

As we came together as a group, some of the kids were a bit frustrated their structures weren’t completed. Three of the teams were given an extra six minutes to continue building – and they still had nothing that really worked. Many of them had already used the bulk of their supplies in a way that couldn’t be recycled (tinfoil crumpled up or paper ripped), so they were stuck.
Cup Holder Stem Challenge-27

Each team was given a chance to explain their initial idea and what they thought worked best or didn’t work how they envisioned. We then talked through what they could have tried differently and what may have been a better use of their resources. Overall it was a very encouraging time for the kids and they definitely walked away with some ideas to build it better. One group (Group 2) took a few minutes to tweak their design by cutting the bottom of their cone and spreading out the bottom of the paper and returned a few minutes later with a working structure!

What We Realized

While the bulk of our groups didn’t have a completed structure at the end of the challenge (which was puzzling to me at first), we realized that many of them were over-thinking their designs. Rather than focusing on a stable structure, they focused on making their structures be the one that put the cups the highest off the ground so they could earn more points. They could have kept it very simple (made a more table-like structure) and even gotten it done more quickly.

We also spent some time talking about how in real life things are built and require support in various ways (bridges, pyramids, etc…). The kids thought for our next challenge they need more time to design and build, but I’m honestly leaning more toward the lesser of the time so they can keep their designs simple and get done what needs to be accomplished. We’ll keep you posted on further challenges in the upcoming weeks!

Additional STEM Challenges


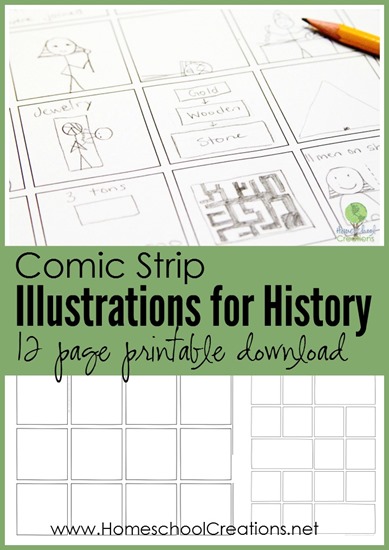
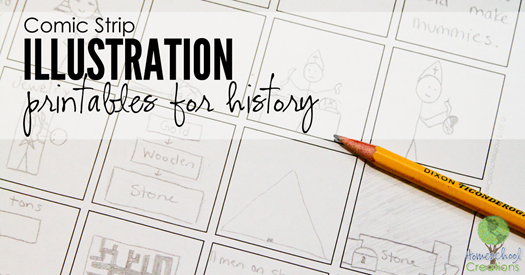
Comic Strip Illustrations for History – Free Printables

comic strip illustrations for history - 12 page printable download Homeschool Creations

One of the BEST things that we’ve ever done for our history time has been letting the kids illustrate their history lessons. While taking notes works well for the older ones at times, more often than not, they really enjoy sketching out what they are learning.

Here’s the thing – they are recalling SO much more! At the end of our lessons, they are cracking up and retelling me more information from the heart of our lessons, and their recall is stretching far beyond what it has in the past. All thanks to a simple comic strip style piece of paper.

Illustrating history with comic strips {%{% Homeschool Creations-1

We’ve used coloring pages in the past to go along with our history studies as well as letting the kids build with Legos, but these pages for illustrating what they ‘hear’ from our reading have been a wonderful compromise because they appeal to the kids’ artistic side (and it is so much more quiet compared to the stirring of Legos!).

Coloring pages, Legos, and other ideas all  have their time and place during our lesson time, don’t get me wrong! We haven’t thrown out every other method, but while the kids are enjoying this way to learn and recall history, we are going to run with it!

Illustrating history with comic strips {%{% Homeschool Creations-5

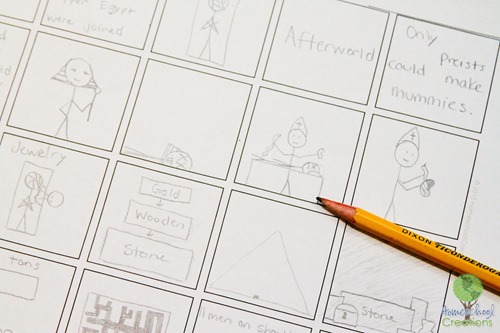
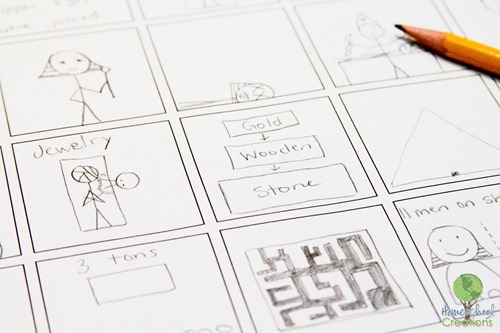
The kids are all using stick figures and just a plain ol’ No. 2 pencil for their sketching (we can thank Grapevine for the stick figure love). Above you can see McKenna’s work when we were talking about the ancient Egyptians and the process of mummification. (I may have cracked up when I saw the picture of Pharaoh in a not-so-living state.)

Because I was getting tired of sketching out grid after grid on blank paper for them (mainly Kaleb) every single day, I put together a collection of comic strip style templates for them to use when illustrating their lessons.

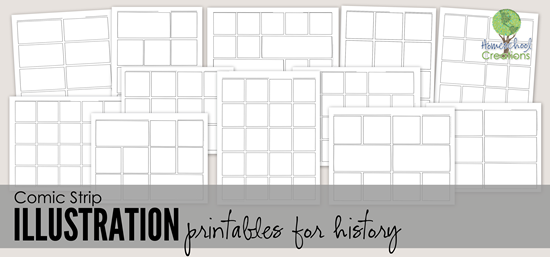
comic strip illustration sample pages - Homeschool Creations

There are 12 different layouts in the pdf file (linked below). Some of the pages are in landscape format (our favorite) and several in portrait (the file will appear all landscape, so just pay attention to the placement of the lines where kids can write the lesson topic and the date or their name). Since Kaleb doesn’t draw quite as many pictures, there are some with only 12 squares, several with rectangles for larger scenes, and a few with up to 20 squares for illustrating.

comic strip illustration printables for history {%{% Homeschool Creations

Download the Comic Strip Templates HERE.


Hope these are a help to you all as well!

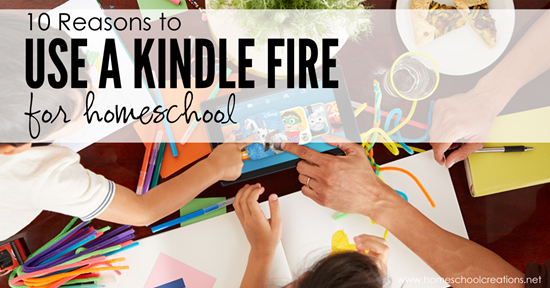
10 Reasons to Use a Kindle Fire for Homeschool

10 reasons to use a kindle fire for homeschool - Homeschool Creations

The Kindle Fire has become one of our go-to resources during our homeschool time and is one of our favorite homeschool supplies. Aside from the lovely price point (psst – don’t miss the deal below!), there are many reason to LOVE the convenience of the Kindle Fire.

Kindle fire pre-order for $50

Currently the Kindle Fire 8GB 7”  has a GREAT pre-order price – $49.99! Click here to find out more!

Reasons to Use a Kindle Fire for Homeschool

Classic eBooks are often free (or greatly discounted) – as a go along for our high school literature class, this has been a fabulous resource! We can bookmark places in the ebooks, highlight portions to remember (without messing up a paper book), notes can be typed along.

Curriculum eBooks can be easily loaded onto the Kindle and save shelf space. Several of the programs that we use offer an ebook version (both our Literature and Geography classes did last year). We loaded the eBook version onto the Kindle for our daughter to use, and the physical copy went on the shelf for me to reference. 

Clickable links are easy to navigate when you are already using a device. This may seem obvious, but there are books that offer links in them and while a physical copy means I need to type out the URL, we can just click through and see the link.

Schoolwork while traveling is much easier (and lighter). The Kindle takes up much less room and allows for more freedom when we are on the road.

Kindle ebooks are often cheaper than paperback versions – and readily accessible. While we take advantage of our library all the time, sometimes we need a book a little more quickly and can find it very cheap (especially the classics!). They are all books we can keep and save for the future too! Our library is over 1/2 hour away, so the time and gas we save purchasing an eBook sometimes outweighs the free library borrowing. Don’t forget too that your library may offer eBooks to borrow!

Finding sheet music and tuning the guitar is simple for music. Our oldest is working on guitar lessons, and her Kindle has become invaluable to her as she practices. She can tune her guitar using an app and quickly find needed sheet music as well.

Listening to music while working is helpful. Sometimes the schoolroom can get a little crazy, so our oldest pops in  headphones and listens to her favorite music to keep surrounding distractions to a minimum.

A thesaurus and dictionary are always at hand! Much to my children’s chagrin, they really have no excuse for using weak words in their papers (grins). I’m a stickler for having them expand their vocabulary, so those are two tools that are frequently used as apps.

Parental controls are available to set, including times for the device to ‘shut off’ – not that we ever have to worry about that (wink).

Video clips or online tutorials can be found when needed. There are times when I am working with one of our other children and our oldest needs a little math help. She often will hop on YouTube quickly to find a tutorial for the problem. We also use it to look up video clips that fit in with our history studies. Our boys may be rather happy to look up LEGO building ideas (grins).


10 reasons to use a Kindle fire for homeschool fb2

We aren’t big on apps overall (call me a mean mom) and have kept our Kindle Fires primarily for schoolwork, although Pinterest browsing and email time are also allowed via the Kindle. While our kids don’t have their own Kindles (they are shared devices), it has allowed for a little more freedom and independence for our older children – and a better understanding of how easy it is to get sucked into various devices…watching the time disappear.

What ways has a Kindle helped your homeschool time? 

* Kindle Fire images courtesy of Amazon

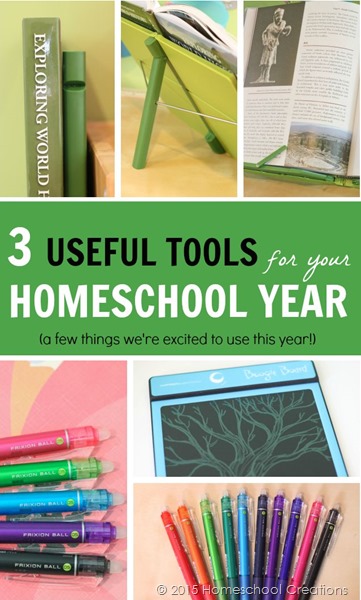
3 Useful Tools for Your Homeschool Year

Three useful tools for your homeschool year


Next week officially starts our homeschool year. Lord have mercy, I am not ready yet!! While there are a few homeschool supplies we love and use daily, this year we found three new items that we can’t wait to get started on using – and I’m sure will become things we wondered how we ever did without. Two of these the kids get to use and the last one is a mom-only – no kids are allowed to swipe my supplies! (Yes, I may get a bit territorial at times, I’ll admit it!)

Folding Bookstand

useful homeschool tools-7

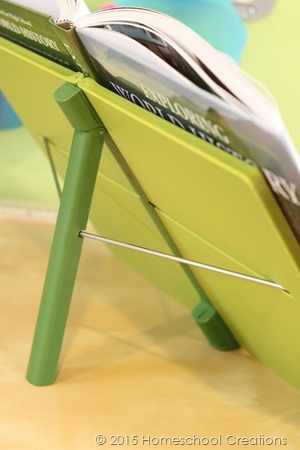
Laurianna has a lot of larger textbooks this year in high school and this would have been so handy to have last year as well! The folding bookstand is really compact and opens/closes easily so she can take it with her to co-op and quickly prop it up on her desk to hold one of her books, save a little desk space, and keep her place in the book.

It’s actually a cookbook holder, but will definitely do the job, especially with those larger books. Above you can see a quick video of how it works.

Boogie Board eWriter

useful homeschool tools

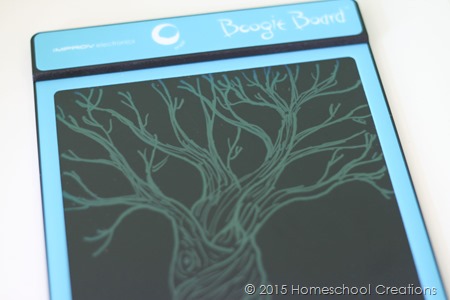
Sometimes there are things that you just don’t want to use paper for or don’t necessarily need to have a record of. The kids will all be using the Boogie Board LCD tablet for spelling and a few other subjects that will allow us to work on the tablet and then erase it when we are done.

There is a special pen that writes on the board, so you can doodle, draw, or take notes to your heart’s content. When you are done and need a clean slate, you push a button at the top and the entire contents erase, leaving you with a fresh screen. The kids have already been having a blast drawing pictures and using it for their math work.

For us, this will also be handy when traveling and we don’t want to bring a bunch of extra paper (yes, I’m one of the moms that might make her kids do school work when we travel). There are bluetooth versions available which would sync your notes to your computer, but for now the standard board should be great for us (especially since this is 1/4 of the price)!

Erasable Pens

pilot frixion pens

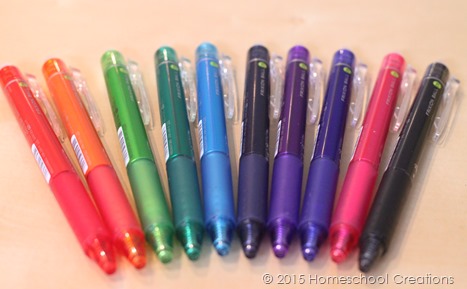
These are the ‘mom-only’ supplies. Yes, they are fun and the kids will enjoy them, but sometimes I like to have something for just me. For the last year and a bit I’ve been using the Pilot Frixion pens but this year bought a set that is clickable – meaning I don’t have to take the cap off (and lose it). The eraser of the pen stays in place and the set comes in a variety of colors too. Being able to erase any mistakes = heaven. And ten colors – yes, please.

My color-coding brain did a happy dance when I saw the clickable version of these pens.

Seriously they have been the best pens ever. The ones I used last year were so handy for correcting papers, because I like using pen, but hate that when I make a mistake I have to scribble everything out. I like a smaller point too on my pens, so the .05 size is perfect for using in my planner or correcting or anything.


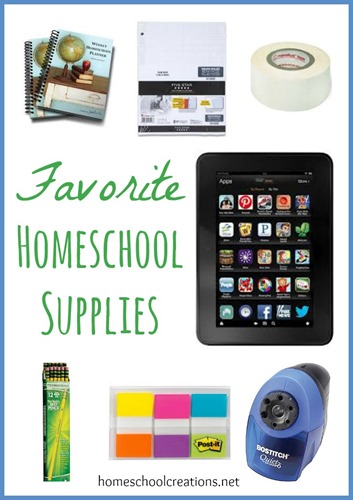
Homeschool Supplies We Love

Here’s a peek at a few of our other favorite homeschool supplies as well. Do you have a useful tool or supply that has helped your homeschool time? I’d love to hear about it – leave a comment and share!

Have Homeschool Questions? Check out the 2015 Omnibus

Homeschool Questions

If you are a new, or even seasoned homeschool parent, there are inevitably questions that plague go through your mind. I’ll admit there have been some nights I’ve lost sleep while turning over answers in my head.

  • Am I doing enough with my children?
  • What do my kids need to know?
  • I have little ones too – how am I supposed to balance all of it?
  • Where in the world do I get started?
  • Do I have to schedule – and how to I figure out where to begin?
  • Are we expected to eat AND keep up with school?
  • What am I going to do with this high schooler?
  • Can I even do this?
  • (and the list goes on and on…right?)

Homeschooling can be overwhelming. You don’t even have to be a first year homeschooler to realize that! But do you know what is wonderful? There are so many resources and supports available to help us navigate the years and endless questions.

The Omnibus

Once a year, the iHomeschoolNetwork shares the Homeschool Omnibus as a one week special – and THIS week, from August 3rd through the 9th, is your week to take advantage of the savings and resources for just $25. Inside you will find some very helpful resources, no matter what stage of homeschooling you are in. Below I’ve highlighted over $80 of homeschool helps to consider.

Homeschooling 101

Homeschooling 101 Resources

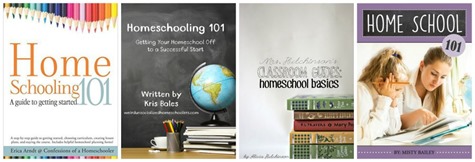
Instead of just one, there are THREE ebooks (from Confessions of a Homeschooler, Weird Unsocialized Homeschoolers, Mrs. Hutchinson, and Misty Bailey). Each of these ladies offers a unique perspective and insight on various homeschool questions, and these books are a great place to start for answers! All are included in the Omnibus.

Creating a Schedule that Works

Scheduling Tools

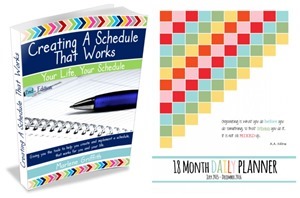
Have questions on how to figure out a day-to-day schedule? This ebook from Marlene Griffith with printable worksheets will help you break your day down into bite-sized pieces and create a working schedule. ($5.00)

The planner I personally use is also included, and includes month at a glance sheets, weekly planning pages, room for meal planning, and scheduling life in general! The planning calendar runs from July 2015 through December 2016. ($3.99)

Included in the Omnibus.

Planning Tools for Busy Moms

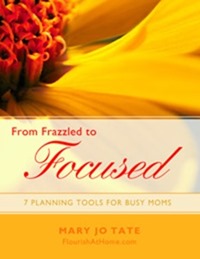
From-Frazzled-to-Focused-COVER-sm

It really is possible to have a peaceful and balanced life (I promise). Mary Jo Tate has some great tips in her ebook From Frazzled to Focused along with customizalbe planning forms to help you figure out your priorities and what to take action on in your life. ($3.99)

Included in the Omnibus.

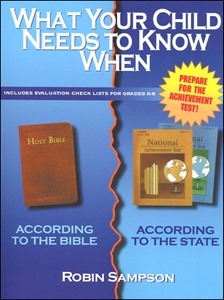
What Your Child Needs to Know When

what your child needs to know when

One of the biggest questions we ask as homeschool parents is “Am I doing enough? This book answer this question and even includes academic evaluations along with checklists for grades K-8. ($24.95)

Included in the Omnibus.

Planning Your Homeschool Day

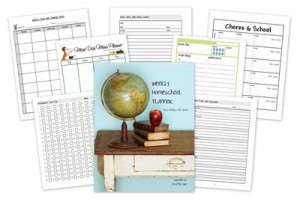
Planner-snapshot.jpg

If you need a homeschool planner, the Weekly Homeschool Planner is one you can use year after year. It is an editable and reusable pdf file that you can save to your desktop, add in your lesson plans, and either view it on your desktop or print off if you need a physical copy. ($20.00)

Included in the Omnibus.

The above resources are valued at over $80, but this week each one of them is included in the Omnibus for just $25. (I may have mentioned that a few times prior).  While I’ve only highlighted a few of the ones I know would be helpful in answering some of the questions I’ve had over the years, I would encourage you to read on!

Why Should You Consider the Omnibus?

iHomeschool Network's 4th annual Omnibus sale • the original homeschool bundle

diy-banner

One thing I am most excited about with the Omnibus is the resource list available for parents of tweens and teens. We have a daughter that is officially now in the high school years, and there are many things that can be overwhelming! This year’s Omnibus has mp3’s and ebooks dedicated to teaching during those years – and I can always use encouragement in this area!

Take a peek through the Omnibus pdf catalog for all of the items included in this year’s sale. As a quick summary of what is included:

  • 124 total resources: 47 MP3s and 77 ebooks from 100 speakers/authors
  • resources from preschool through high school
  • total value is $754
  • cost is $25 (with $9 DVD add-on)
  • cost is just 3% of the value
  • BONUS OFFERS!!!
  • PDFs also come in Kindle/mobi format (where appropriate)
  • sale runs from August 3-9, 2015, specifically 12:01 AM Eastern Time, August 3 to 11:59 PM Pacific Time August 9.

Omnibus Dates to Remember

iHomeschool Network's 4th annual Omnibus sale • the original homeschool bundle

diy-banner

Note: The Omnibus is a DIGITAL product. Above you can view a timeline with all relevant dates and information for this year’s Omnibus. The sale will end at 11:59pm on Sunday, August 9th. Discounts and freebies expire September 1st and all downloads must be completed by September 4th.

Homeschool Curriculum Shopping List: Free Printable

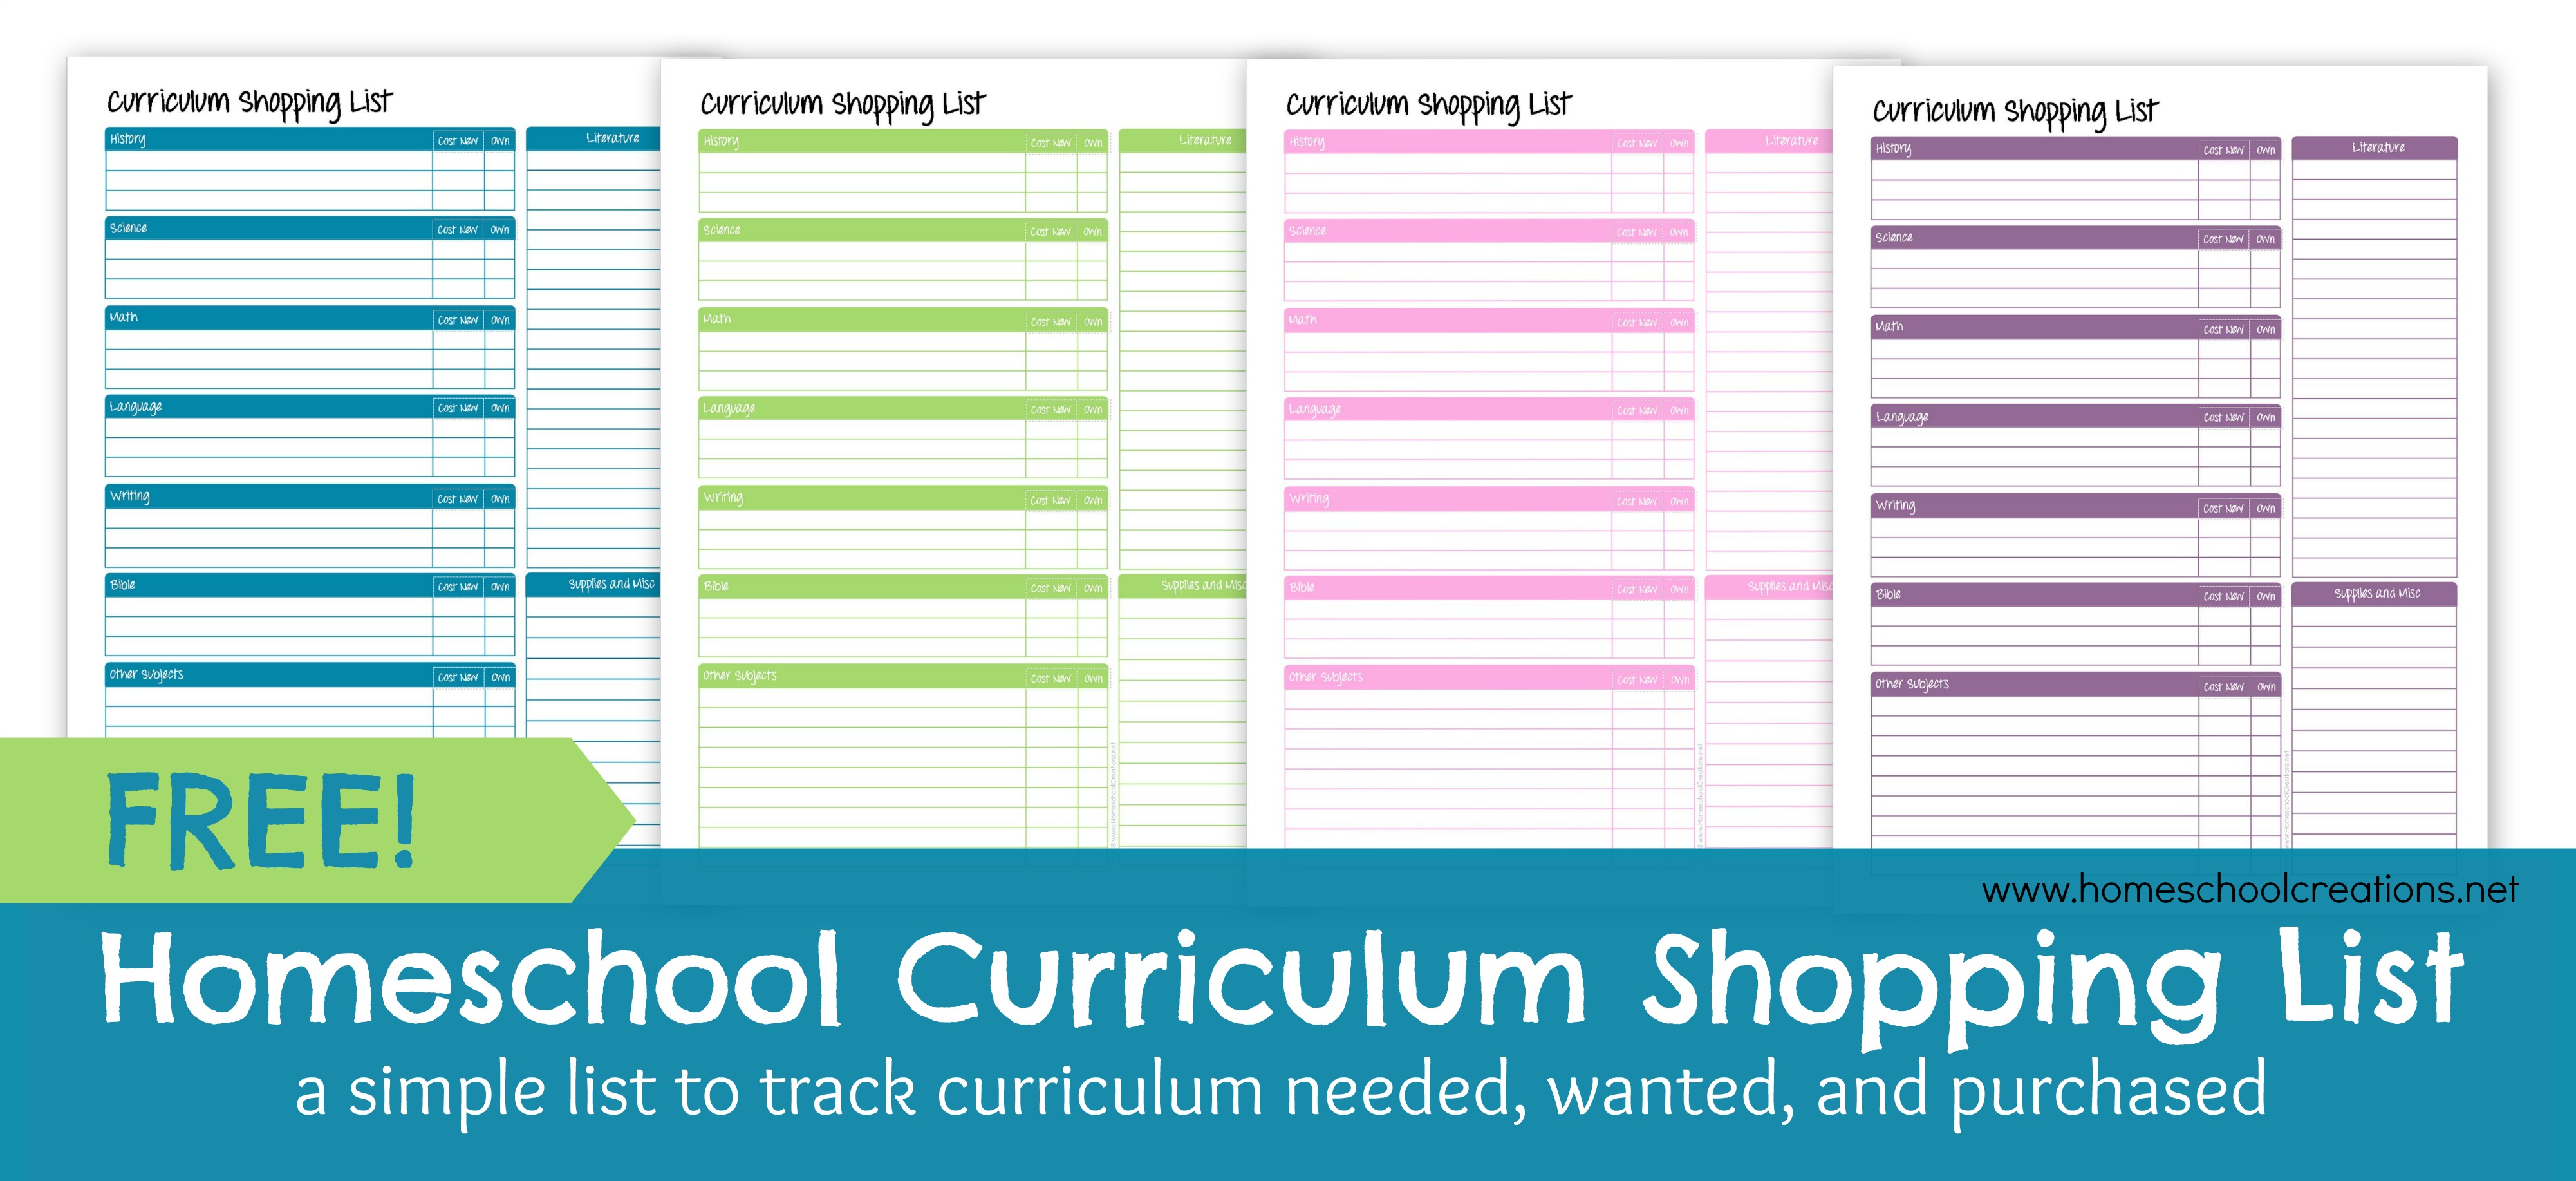
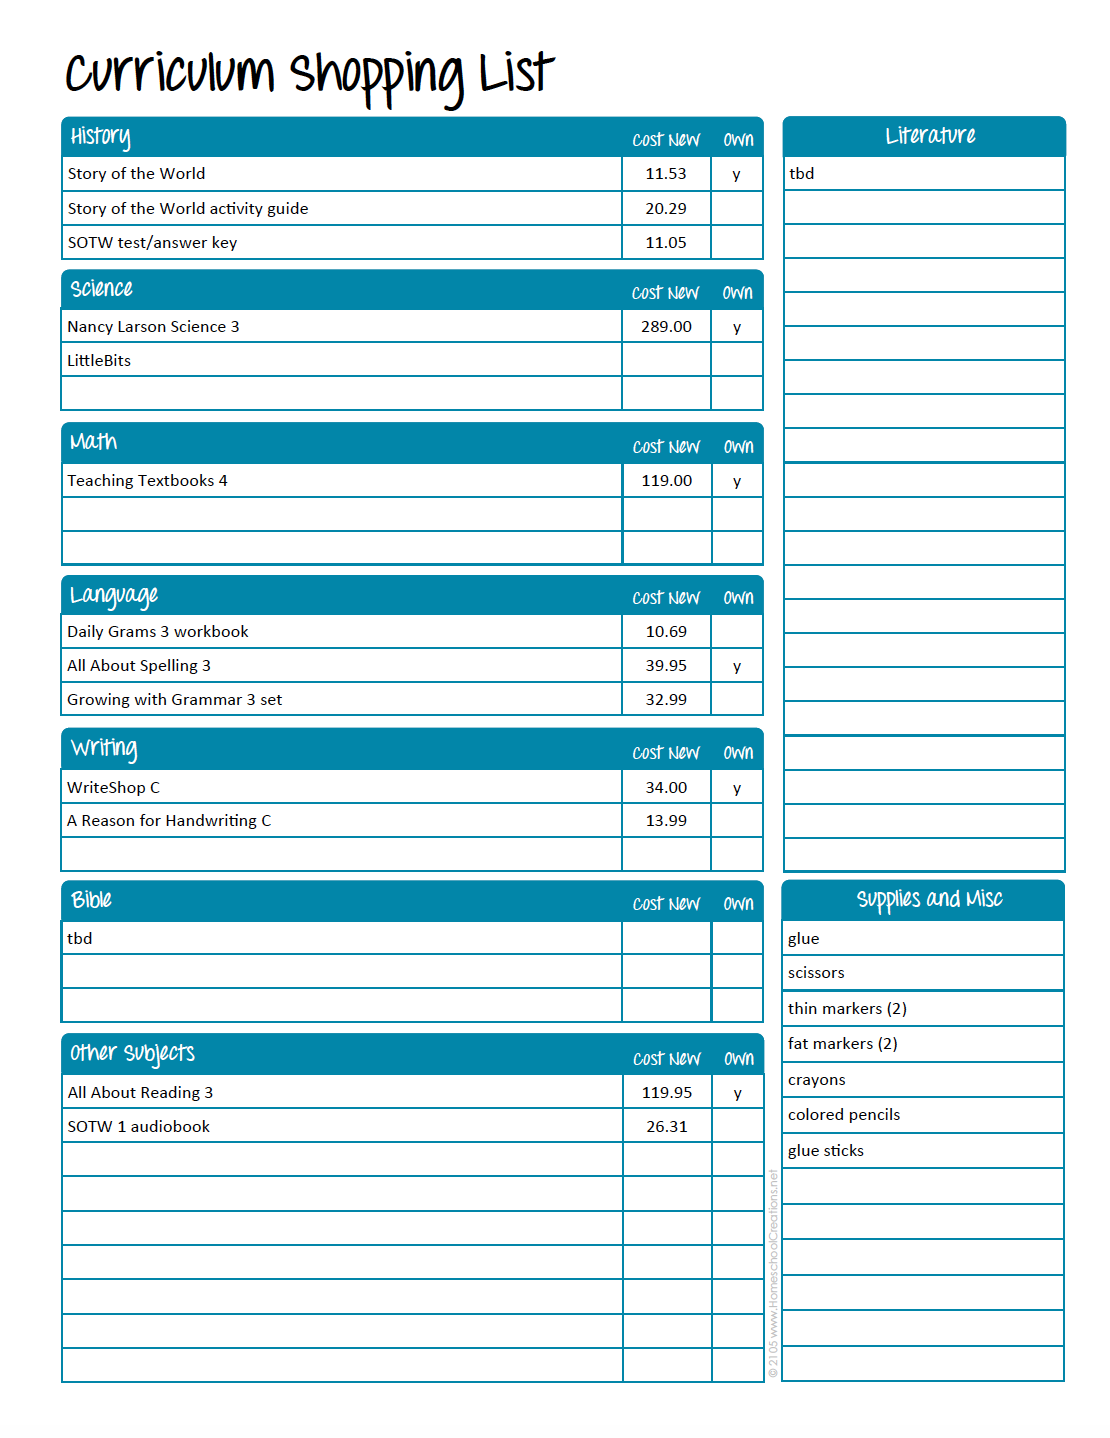
free Homeschool Curriculum Shopping List


Every year I have a list. Or two. Or three. Sticky notes and crossed out lists of the curriculum we need with prices highlighted so I know if I’m getting the best price – especially if I happen to hit a great used curriculum sale. This year I had enough of the multiple lists and consolidated it all into one simple list that I can carry around with me to convention. (p.s. If you are ever curious to see our homeschool curriculum choices, you can always find them HERE.)

A Curriculum Snapshot

curriculum shopping list example

While I typically have my phone with me to do a quick price check, it’s great to know if a special a vendor is offering is worth grabbing right then – and it’s always helpful to know if I already own an item (not that I’ve ever purchased something twice – cough).

The literature list for each grade level is something that can quickly overwhelm me, so I made a special area for tracking what books we need to purchase as well. The overall list is a great snapshot to see what areas we may need to beef up a little academically.

Color-coded lists

You may notice there are four different colored lists. Maybe you remember that we color code our kids (don’t judge – please). It really does help me visualize which child needs what curriculum, so the four colors you see are to help me remember who the curriculum is for. It’s something silly and simple, but it works for me. (grins)

If you think this would help you out too, just click below to download a copy for yourself – and please feel free to pass along the link and let your friends know too!

—-> Download the Homeschool Curriculum Shopping List HERE <—–

Attend a Homeschool Convention

Each June, I look forward to the annual Home Educators Association of Virginia homeschool convention. Aside from the amazing used curriculum sale and extensive vendor hall, they have a lineup of fabulous speakers. It’s the perfect pace for learning, browsing, and being refreshed for the upcoming year.

If you live anywhere close to Richmond, VA (even if it is hours away!) – make plans to attend this year’s convention. This is one weekend that is automatically grayed out on my calendar each year. My husband has attended with me in the past and loved it, but otherwise a few friends and I travel together and just wander, listen, and learn. It is SUCH an amazing weekend.

Tips for Attending a Homeschool Convention

Attending a homeschool convention can be a HUGE help and boost to your homeschool year. Workshops provide teaching and encouragement for families while vendor halls and tables provide an up close and personal look at resources you may need for your children’s education. If you haven’t already, be sure to check out my tips for attending a homeschool convention, print off a copy of the Homeschool Curriculum Shopping List – and get ready to have some fun!