20 Best Tips

Doodle Art Coloring Page Printable

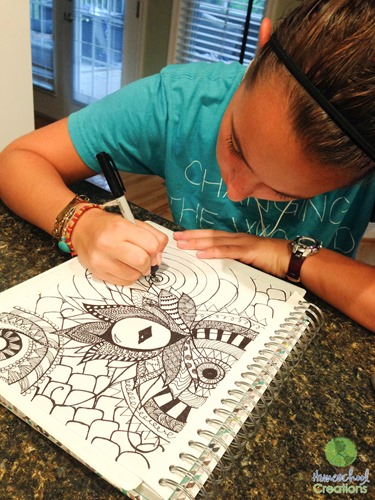
Laurianna doodle art eye-1

Laurianna loves to doodle and draw. Really, she adores art of any kind. During her free time lately she has been working on drawing with just a sharpie and her sketch pad to make some fun patterned creations.

Call them doodles. Call them Zentangles. Whatever you want to say is fine. It’s pretty. It’s fun. And it makes her happy.

When I shared the above  picture of her working on one of her latest creations, several people emailed and asked if she would share it as a download – she said YES (and is rather excited that other people like it too!).
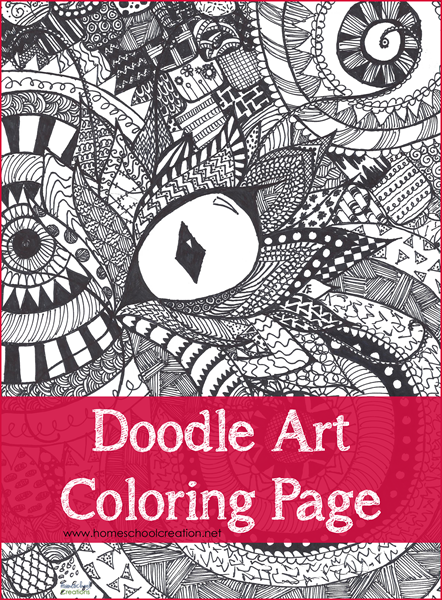
Doodle Art Owl Eye Coloring Page

She started off doodling an eye (I’m sure you can see that) and then went from there. I see one thing in the doodle and the others in the house see another – so we’re having fun with it. The best part is, we can print it off and each color it however we would like.

If you’d like to download a copy to color for your kids (or yourself – I promise, I won’t tell because I have one for myself), just click below. And if you wouldn’t mind sharing on Pinterest – she’d love that too!
Thanks for downloading and sharing!

Download the Doodle Art Coloring Page HERE.

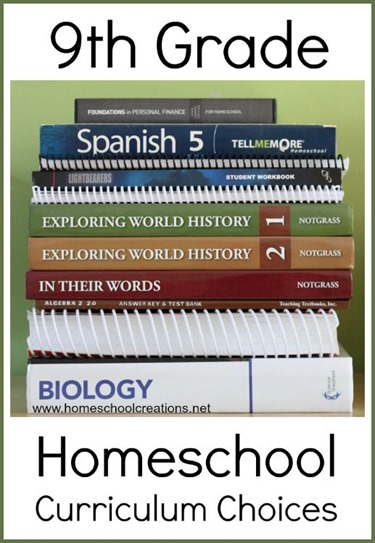
9th Grade Homeschool Curriculum Choices

9th Grade Homeschool Curriculum Choices


Each year I usually share our curriculum choices as a big lump, but we’re moving into much more self-guided learning territory with our oldest and it makes more sense to my brain to share our overall plan one grade level at a time.

Laurianna is our independent and studious learner who is still putting the finishing touches on figuring out how to schedule things. She is 14 and officially going into the 9th grade, and last year she finished 6 high school credits during her 8th grade year.

9th Grade Curriculum Choices

Credits to earn: 7.5

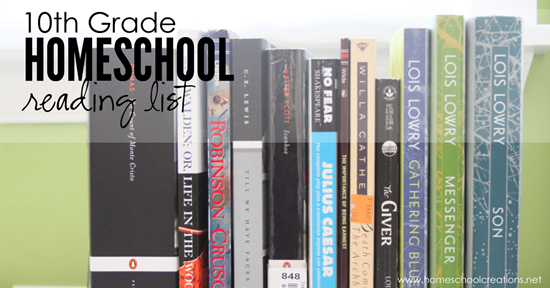
10th-grade-homeschool-reading-list-2015-Homeschool-Creations.png

The Joys of Independent Learning

Last year we let Laurianna put together her own routine and that worked out for the most part, although she had a tendency to put a few of her least favorite subjects on the backburner, resulting with her being in a bit of a pinch toward the end of the year because those subjects were piling up.  This year she and I will be sitting down together to figure out a schedule that works better for her, especially since much of her work will be done independently, with a few group co-op classes that meet once a week.

Hint: my idea of how things should be scheduled may be a little different than hers, and since this is a life skill, we think it’s important to master this now.

Co-op Learning

We have a small group of high schoolers that will be meeting weekly to work on literature, personal finance, and apologetics. Laurianna will also be getting together with one friend to do the lab part of biology (because really, dissecting a fetal pig will be much better if you have a friend to commiserate with. And the other mom is helping with that, so I am much obliged in that regard.).

Curriculum in Year’s Past

In case you are interested in seeing the curriculum that brought us to this point, here’s a peek at what we’ve used with Laurianna the past few years:

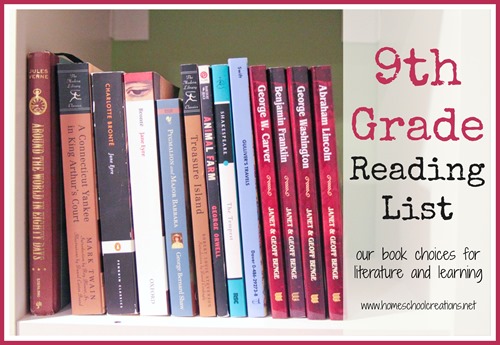
9th-grade-reading-list.jpg

Does High School Have You Scared?

If homeschooling high school is worrying you, don’t miss the free middle and high school planning printables and map out your middle and high school years!

Homeschooling in High School Middle and High School Planning How to Choose Homeschool Curriculum

If you are new to homeschooling and aren’t sure where to begin in choosing homeschool curriculum, please don’t let this post overwhelm you! Here are a few posts that you might find helpful as you discover what is best for your family. Be sure to check out the entire Homeschool Basics series for answers to more frequently asked homeschool questions.

See What the Other Kids Are Up To…

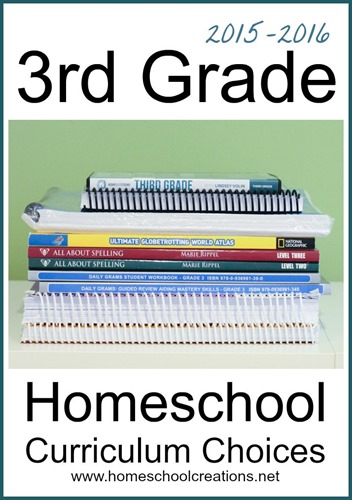
3rd grade homeschool curriculum choices from Homeschool Creations

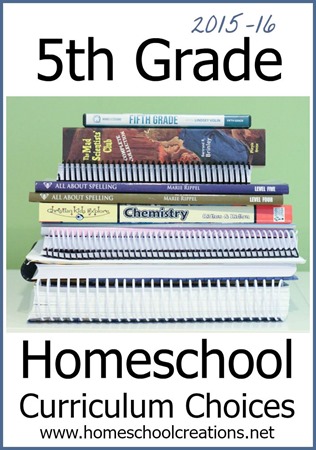
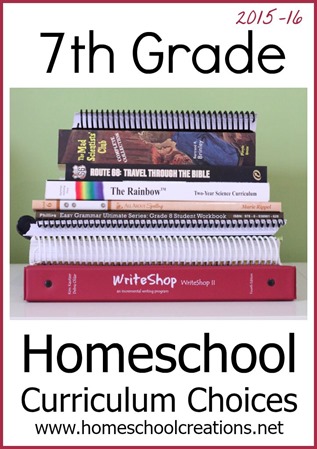
Take a peek at our  7th grade, 5th grade, and 3rd grade curriculum choices for the year as well! Click on one of the images above to look over their curriculum piles.

DIY Paper Star Craft

The following post is a guest post from my daughter Laurianna. One of her writing assignments this year was to explain a process,  so her mother is taking full advantage and having her turn it into a blog post for extra credit. These paper stars have been showing up in one form or another over the last few months, so she is glad to have an excuse to make more!

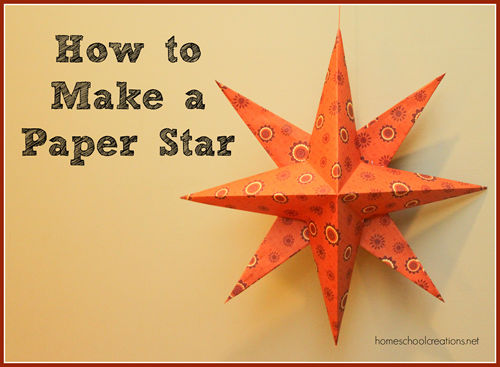
How to Make a Paper Star Tutorial from homeschoolcreations.net


Paper stars are a simple craft activity that will add color to a room. It is also a great way to keep kids busy and use up any extra scrapbook paper you may have on hand.

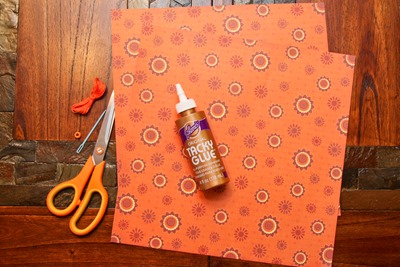
Supplies for a Paper Star Craft:

The following supplies will be needed for each star that is made. To make a smaller size, adjust the paper size accordingly, keeping the paper size square. How to Make a Paper Star Tutorial from homeschoolcreations.net-1

How to Make a Paper Star

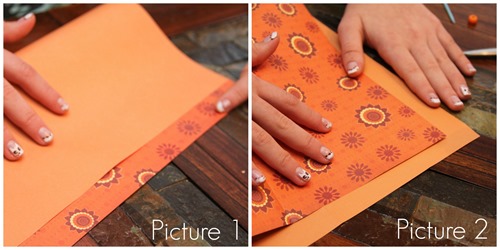
Paper Star Tutorial folding directions from homeschoolcreations.net

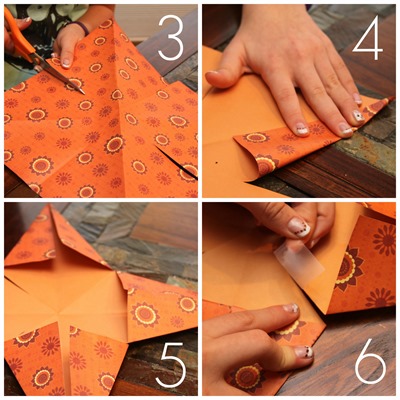
Pick out two pieces of 12” x 12” patterned paper, and set one aside. Fold the first piece horizontally with the patterned side facing in, both ways (see picture 1) and then unfold. Next fold the paper diagonally with the patterned side facing out and crease in both directions (see picture 2). Paper Star Tutorial Cutting Steps from homeschoolcreations.net

Cut the paper about 2.5” toward the center of the paper, following the horizontal creases (see picture 3). Then fold the corners into the diagonal creases (picture 4), making the edges touch. Repeat on all points until the paper resembles picture 5. If you accidentally cut too far toward the center, use scotch tape to fix it (see picture 6).

Paper Star Tutorial Gluing Instructions from homeschoolcreations.net

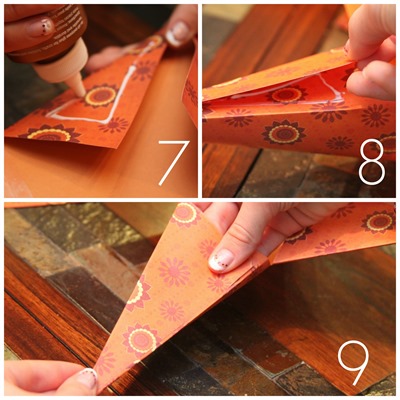
Apply the tacky glue in a triangular shape on the right flap of each point (picture 7). Overlap the left side onto the right side with the glue (picture 8)and hold together for about 30 seconds to allow the glue to set (picture 9). Grab the other sheet of 12” x 12” paper and repeat the above steps to make a second half star.

Paper Star Tutorial Threading from homeschoolcreations.net

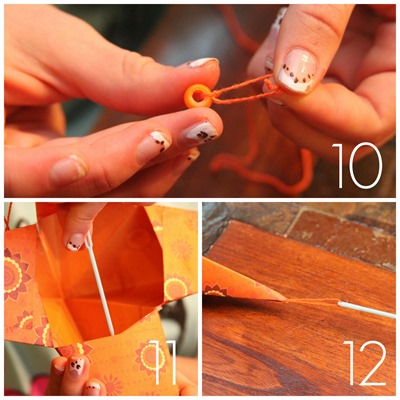
In order to hang the star, tie the piece of string to a small pony bead (picture 10). Thread the opposite end of the string through the yarn needle (picture11) and push the needle through one of the points on the star (picture 12). 

Paper Star Tutorial final step from homeschoolcreations.net

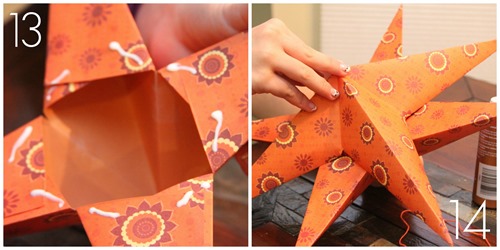
The star is almost complete! Apply the tacky glue to the bottom corners of one half of the star (picture 13). Lay the other half of the star on top so the points alternate, and press firmly to allow the glue to set. Hang and enjoy your beautiful paper star!  

Disclaimer :: As a mom I am 100% milking this writing assignment for all it is worth. Some of the WriteShop Basic assignment was altered to make it a better fit as a blog post, but extra credit was given since it technically meant Laurianna had to rewrite parts of it. All enjoyment for working on crafts as part of a writing assignment is purely coincidental and results may vary in your home – grins.


Colonial Williamsburg Homeschool Days

We just returned from spending some time in Colonial Williamsburg for Homes Educator Days. Let me just say ~ if you’ve ever wanted to visit with your family {and you homeschool} this is definitely the time of year to do it.

A two day’s pass is only $8.00 {$9 for walk-up price} per person and kids 5 and under are free. To give you an idea on how great of a deal that is, a similar pass would be $46.00 per person. Single day passes are only $5 per person….so needless to say, we were happy to take advantage of the great deal!

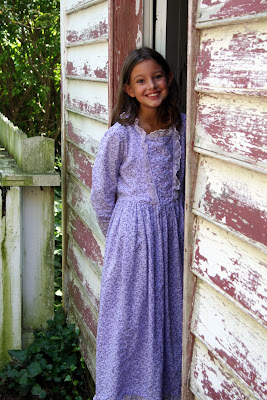
I’m planning to post some more later about what we saw and did, but need to say that we had one little girl that was VERY excited to be walking around in colonial times….

Photobucket

Flat Mary Visited Canada!

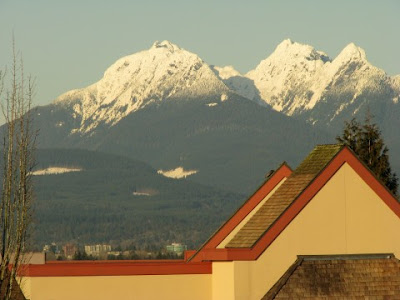
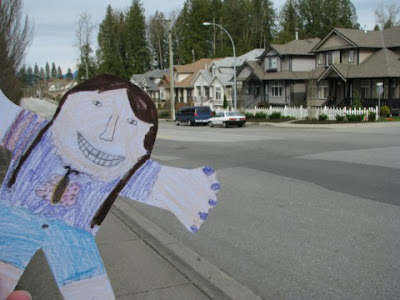
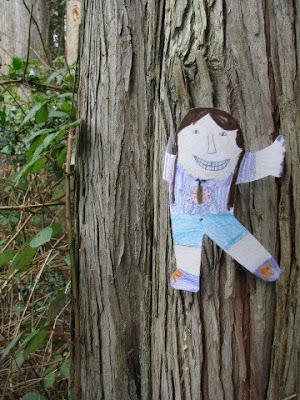
Our friend Amanda had a lovely visit with Laurianna’s Flat Mary and has since sent Flat Mary onto some more friends. Today, she sent us some of the pictures of Mary’s visit to British Columbia.


Amanda writes: These are the mountains that mark the top of the Fraser Valley. Aren’t they beautiful? October-March they are pretty consistently hidden behind the rain-filled clouds, but they peaked out a few weekends ago, and we tried to snap some pictures. This picture was taken four blocks away at the grocery store, but the sky is filled with mountains like this from west to east when you drive down the street towards my house.

Mary showing a picture of where she stayed.


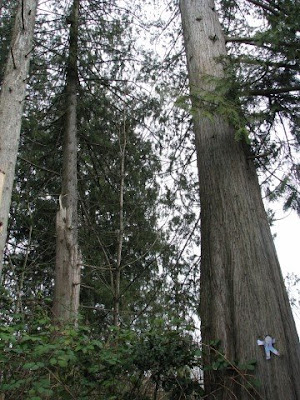
Mary had to see some of the local trees. Amanda told us: There are trails throughout the entire commonwealth. They are often behind housing developments, woods, marches, open fields–it’s nice. It means there are always public places with nature around them and it makes going for walks great fun. (If you look really close in the first picture, you’ll see Flat Mary stuck to the tree on the bottom right hand corner).

Thanks so much, Amanda, for being such a lovely hostess to Mary!