20 Best Tips

Atomic Cookie Skillet Models

atomic cookie skillet model - hands on way to learn about atoms and the periodic table


One of the things that I want science to be (or any subject) is FUN. If there are opportunities to do something hands-on that will tie in with a lesson and make it ‘stick’ – well, count me in.

This year our fifth grader is studying Chemistry using Christian Kids Explore Chemistry (aff link). To understand how atoms look, we decided to go the edible route and follow an idea in our lesson on atomic numbers – atomic cookies. We are big proponents of making cookie skillets in our house, so the bigger the atom model, the better!

Note: In an effort to ensure I had enough different colored M&M’s, I may have gone a wee bit overboard at the store trying to find bags of them. If the store would QUIT MOVING the candy, it would also be extremely handy. I ended up with a fall bag, Christmas bag, and a mixed bag, as well as Reese’s Pieces. Just because.

If you’d like to share in the yumminess, you can use the recipe below and make your own as well.
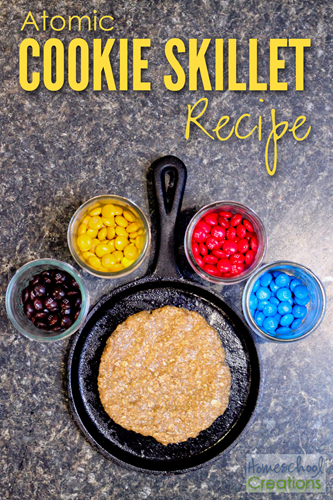
atomic cookie skillet - hands on learning about atoms {%{% Homeschool Creations 2015

Atomic Cookie Skillet Recipe

  • 2 eggs
  • 1/2 cup sugar
  • 1/2 tsp corn syrup or honey
  • 1/4 cup butter
  • 3/4 cup brown sugar
  • 1/2 tsp vanilla
  • 1 tsp baking soda
  • dash of cinnamon
  • 2 1/4 cup rolled oats
  • 3/4 cup peanut butter
  • 7” cast iron skillet (we have this set of 2 aff link)

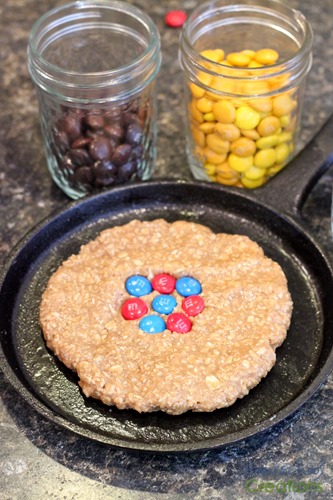
Preheat oven to 350 degrees. Beat eggs and add remaining ingredients in order listed, mixing well. Place a chunk of the dough into the center of the skillet and press down, leaving some room around the edges for spreading while baking.
atomic cookie skillet - hands on learning about atoms {%{% Homeschool Creations 2015-2

Create a nucleus using the correct number of protons and neutrons. Place them close together in the center of your cookie dough. You’ll have to decide which color you’d like to have representing protons and neutrons. Each atom has a specific atomic number (i.e. oxygen has an atomic number of 8, so there would be 8 protons and 8 neutrons as a part of the nucleus).
atomic cookie skillet - hands on learning about atoms {%{% Homeschool Creations 2015-3

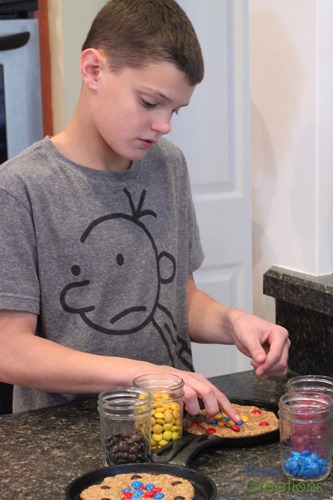
Once your nucleus is in place, choose a different colored M&M to create your electrons and place them along the outer edge of the cookie. Use the same number of electrons as the atomic number (so oxygen would be 8, the same as the protons and neutrons in the nucleus).
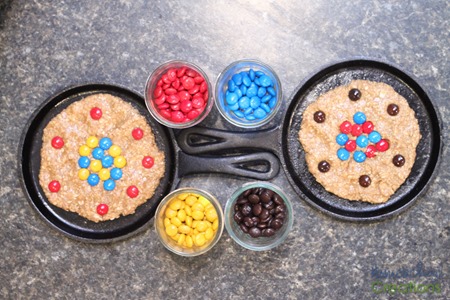
atomic cookie skillet - hands on learning about atoms {%{% Homeschool Creations 2015-4

Marvel at the yumminess that will be yours in less than 15 minutes and see if you can identify the different atoms that you created. Bake for 12-15 minutes, or until the cookie is baked to you liking (ours took between 14-15 minutes).
atomic cookie skillet - hands on learning about atoms {%{% Homeschool Creations 2015-5

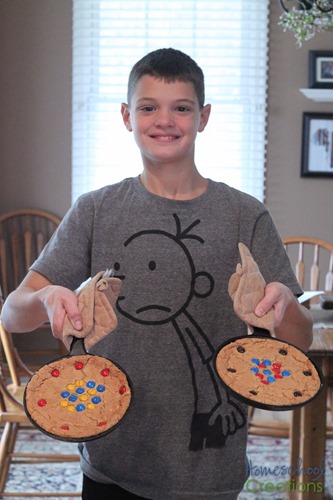
Enjoy your atomic cookie skillets! Can you guess which atom models we made above? (Hint: count the nucleus or electrons and check your periodic table). And if any of you decide to make an atom representing gold (79), I’d really like to see pictures of that model. Or eat it with you.


Note: You can also  make monster cookies with this recipe. Double the ingredients and add in 1 cup of M&M’s and 1 cup chocolate chips. Use an ice cream scoop to portion on cookie sheet and bake 12-15 minutes.


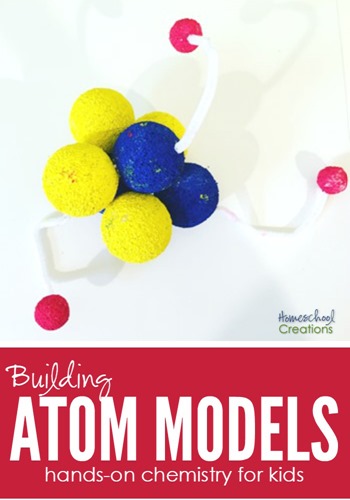
Building Atom Models

Building atom models is a fun way for children to get a hands-on look at chemistry. Only a few items are needed to create a 3D example of an atom.

Looking for another hands-on idea for learning about atoms? Building atom models is an easy and memorable way to work on chemistry. 
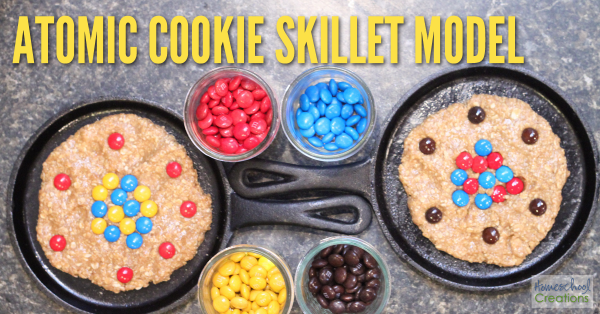
 

Atomic cookie model - a fun, hands-on way to learn about atoms and the periodic table

”Homeschooling

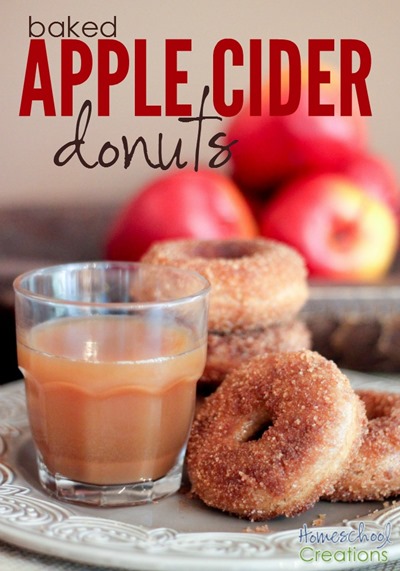
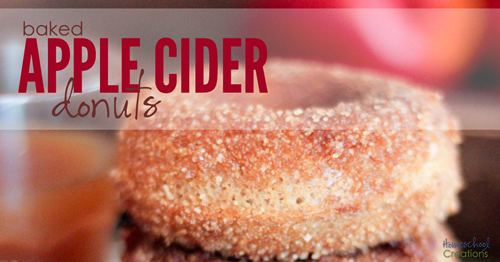
Baked Apple Cider Donuts

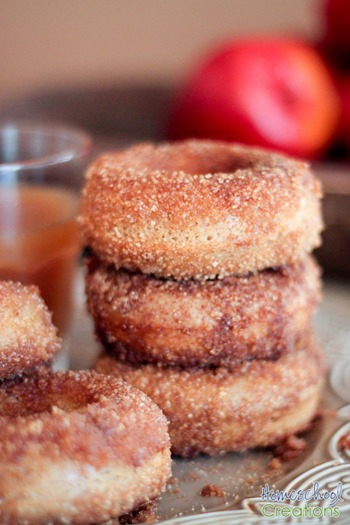
baked apple cider donut recipe - no yeast donuts that are perfect for a fall day  Homeschool Creations

With the plethora of apples in our house, we’ve had some baking fun. One of my husband’s favorite things this time of year is apple cider. And donuts. The problem in our home is that one of us likes raised donuts (him) and the other likes cake donuts (that would be me).

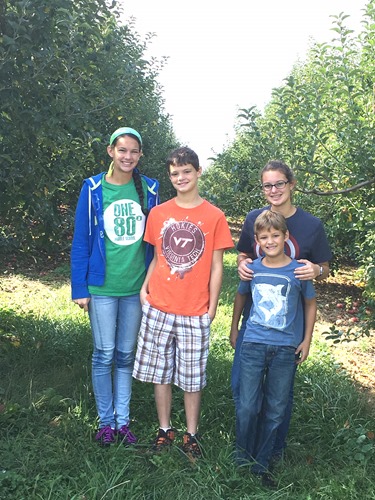
apple picking with kids

Unfortunately when we went apple picking this year, we chose a different orchard and (horror of horrors) they didn’t have their apple cider donuts during the week. Some in our house consider that a near-tragedy.

(Hint: I wasn’t one of them).

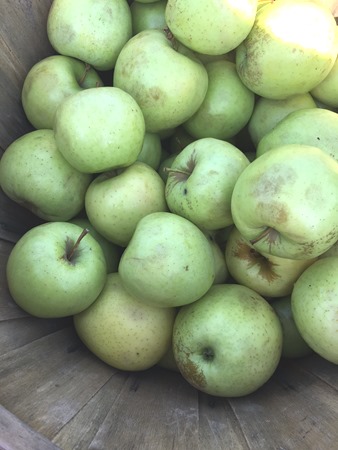
bushel of apples

We did manage to grab a gallon of cider (along with several bushels of apples) and I promised to figure out a way to make donuts for everyone. However, I’ll admit I had an ulterior motive. I wanted something a little healthier (as much as a donut can be), but still enough to appease everyone else.

A friend mentioned these donut pans (aff link), so I ordered one from Amazon – and so the donut making adventure began! This recipe was adapted from one I found at Sally’s Baking Addiction. We’ve also tried it using gluten-free flour (we love the Namaste blend) and had great results! While I don’t normally share recipes – well, this is just one that we loved and it needed to be shared!

Baked Apple Cider Donuts

baked apple cider donuts recipe {%{% Homeschool Creations

(makes approximately 12 donuts)

Ingredients

  • 2 cups flour
  • 1 tsp. cinnamon
  • 1 tsp. apple pie spice
  • 1  tsp. baking powder
  • 1 tsp. baking soda
  • 1/2 tsp. salt
  • 3/4 cup apple cider
  • 2 Tbsp. coconut oil
  • 1 tsp. vanilla extract
  • 1 egg
  • 3/4 cup brown sugar
  • 1/4 cup granulated sugar
  • 1/2 cup buttermilk (or milk with 2 tsp. lemon juice – let stand 10 minutes)

TOPPING

  • 3/4 cup (150g) granulated sugar
  • 1 Tbsp. ground cinnamon
  • 1 Tbsp. apple pie spice
  • 6 Tbsp. butter, melted
    baked Apple Cider Donuts recipe {%{% Homeschool Creations-4

Directions:

1)  In a large bowl, mix together the flour, baking soda, baking powder, salt, apple pie spice, and cinnamon.

2) Mix together coconut oil and egg until fluffy. Blend in sugars and mix well. Add buttermilk, vanilla, and apple cider.

3) Pour wet ingredients into dry ingredients and stir until just blended.

4) Fill donut pan wells about 3/4 full. (Putting the batter in a ziploc bag, cutting the corner off, and squeezing it into the pan works well too). Otherwise use a spoon to fill.

5) Bake at 350 degrees up to 8-10 minutes, or until a toothpick is clean (10 minutes for us). Note: if you use a gluten-free flour, you may need to bake longer (we did).

6) Prepare the topping while the donuts are baking. Melt the butter in a bowl, and mix cinnamon and sugar in a separate bowl.

7) Dip baked donuts in butter (both sides) and then into cinnamon & sugar mixture.

8) Enjoy while warm (this is when they are best!).


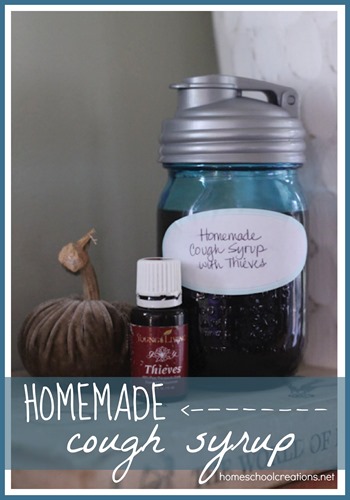
Homemade Cough Syrup Recipe – a Natural Remedy Our Family Loves

A few years ago we met a fun family while camping. They were homeschoolers and our kids just ‘clicked’ together. One of their daughters is even named McKenna – it’s obvious we were meant to be friends!

The mother and I often chat together about natural remedies to use with our families and she shared a homemade cough syrup recipe with me that our family has used, loved, and found so helpful. Our kids can be picky on how things taste, but this is one syrup that they definitely don’t mind taking.

Since coughs come along any time of year, perhaps this recipe will be helpful to you too!

Homemade Cough Syrup Recipe

homemade cough syrup recipe natural cough remedy


Ingredients

Directions for making

  1. Open capsules and combine all ingredients in a small pan.
  2. Heat on the stove top and bring to a quick boil, stirring frequently.
  3. Cool and store in a glass jar, especially if adding essential oils.
  4. Lightly warm syrup before serving and dispense as needed.

Make approximately 1 pint of homemade cough syrup. We store ours in a pint-sized mason jar and use the ReCap lids to pour the syrup easily.

Coconut oil gives the syrup a nice flavor, but when the weather is cooler, part of the syrup will solidify. We warm it under hot water and stir to mix or you can pop it in the microwave if you prefer to soften.

A typical ‘serving’ is 1 to 2 teaspoons, depending on the child. This homemade cough syrup is always well-received.

Hope this remedy is as helpful to your family as it has been to ours! Do you have a favorite natural remedy to share?


This information on this website is based upon my research and personal use. Additionally, remember that I am not a doctor and any health statements must be verified by your doctor. Any statements made are my own opinion and from our family’s personal experience. Your experiences may differ.

Elderberry Fruit Smoothie Recipe

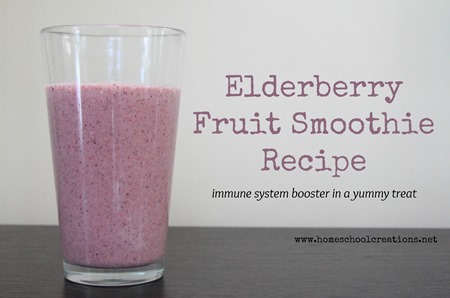
Elderberry Fruit Smoothie recipe

Fruit smoothies are a something that our kids drink daily. More recently we’ve started adding something yummy to the mix – and for a little more health benefit too. After sharing a picture on Instagram the other day, several of you emailed for the recipe, so I thought it would be great to share. They are really simple, quick, HEALTHY, and our kids love them!

Elderberry Fruit Smoothie Ingredients

Makes 4 – 1 cup servings

kids elderberry fruit smoothie

  • 1 1/2 cups of kefir or plain yogurt (we use kefir for the probiotics)
  • 1 cup frozen strawberries (we love the Kirkland brand)
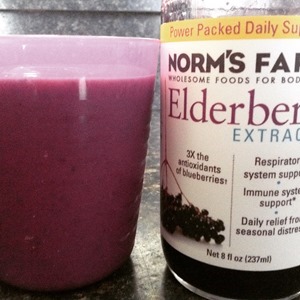
  • 2-4 teaspoons Elderberry Extract from Norm’s Farms
  • 1-2 ripe bananas (depends on their size, but they help naturally sweeten)
  • 2 Tbsp. flax seed (optional)
  • 1/4 honey or sweetener to taste
  • may also add 1/4 cup blueberries or additional fruit

Blend all ingredients in blender. We have had a Vitamix for 5+ years and love it! Definitely no problem breaking up those frozen strawberries. Once it’s blended, simply serve and enjoy! The kids have all enjoyed the addition of the elderberry extract, and I’m happy to add it to give that extra immunity boost!

    Why Elderberries?

image

Norm’s Farms sent us a bottle of Elderberry Extract to try and we love the taste! Smoothies are one way we found to add the benefits of elderberries to our day. Elderberries are naturally high in antioxidants and a ‘superfruit’ packed with Vitamins A, B, C, iron, and potassium (learn more about antioxidants here), and they are great for helping with immune support. Winter months can be tough on a family with multiple kids and this is one way we are combatting things in our house!

The Elderberry Extract from Norm’s Fars is made from elderberries native to North America and has simple ingredients. No added ingredients, keeping it simple and healthy!

We’ve also been using their Elderberry Wellness Syrup which is naturally flavored with honey, cinnamon, cloves, and a little bit of sugar. It is fabulous to take by the spoonful as a daily supplement, and would be a great cough syrup as well – soothing and something the kids wouldn’t mind taking!

Find Norm’s Farms Elderberry Products Near You

image

There are several stores that carry Norm’s Farms elderberry products, but you can also order from their website online or via Amazon (and yay – they are a part of Prime!!). Click here for elderberry extract, elderberry syrup, and elderberry jam).

image

In addition to their extract and wellness syrup, they also offer a jam which we haven’t tried! Be sure to check out their recipe section as well! We have really enjoyed the two elderberry products we received and will definitely be ordering from them in the future!


Norm’s Farms is a sponsor of this site and we received sample product for our personal use. All opinions expressed in this post are our honest view of the product.