EEME is a blog sponsor and we received this product free for the purpose of reviewing it. All opinions expressed are my personal, honest opinions. You can read my full disclosure policy for more details.
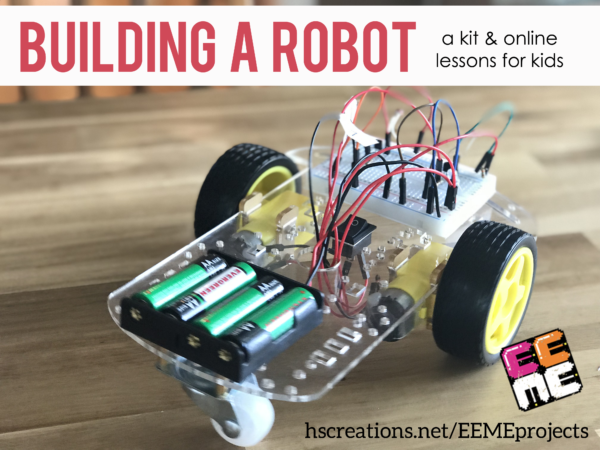
Recently we shared Kaleb’s work on building Q the robot from EEME. Before getting to the finished (and fun!!) part of watching his robot move around, there were steps of learning about circuits, how motors work, and so much more.
In short, a little bit of patience.
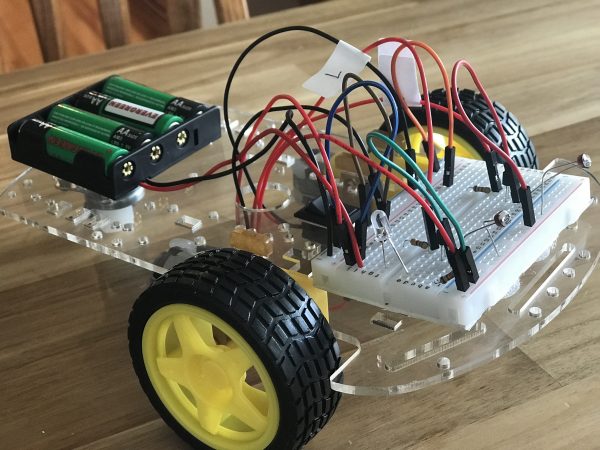
The finished project though – so much fun to shut the blinds in the house, whip out the flashlight, and guide Q around the house! Especially when you see all your hard work pay off.
Q the Robot is a project kit that guides your child through the process of building a 3-wheeled robot who follows light. He is the first in a series of robotics projects from EEME – and there is no coding required to get started! Once completed, Q follows light around using two sensors, or photo resistors. When light is shined directly onto the sensors, Q turns to follow the light.
Building our Robot
Using the FREE online lessons (anyone can view these!), Kaleb learned first about all the components that go into building this particular robot: breadboards and how circuits are completed, making the motors turn in different directions, powering the robot, photoresistors, and finally had a chance to start building the actual robot.
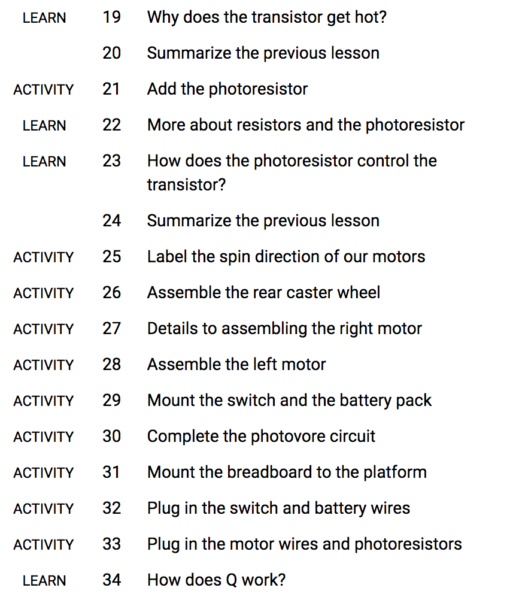
If you don’t know a thing about electronics, don’t worry. There are step-by-step videos that will walk your child (and you) through the process, and that includes explaining all the various parts and exactly what they do.
We initially broke the video lessons for Q the Robot into three segments and over the course of three/four days: lessons 1-10, 11-20, and 21-35. Each of the 35 videos range in length, but average time each day was between half an hour to 45 minutes, taking us a little over two hours to complete the entire project.
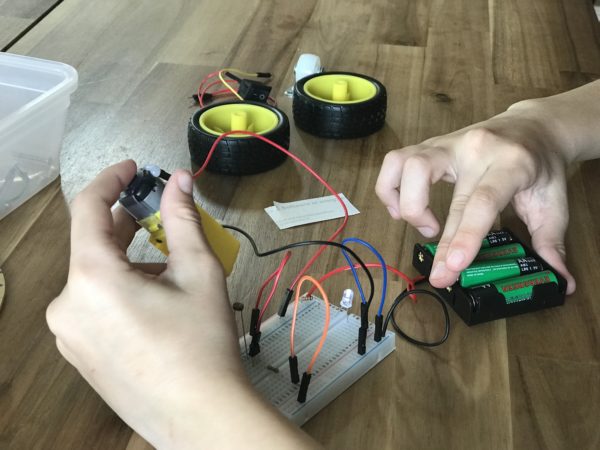
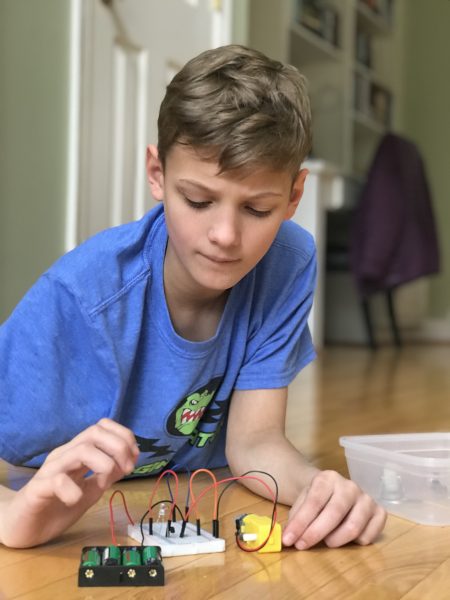
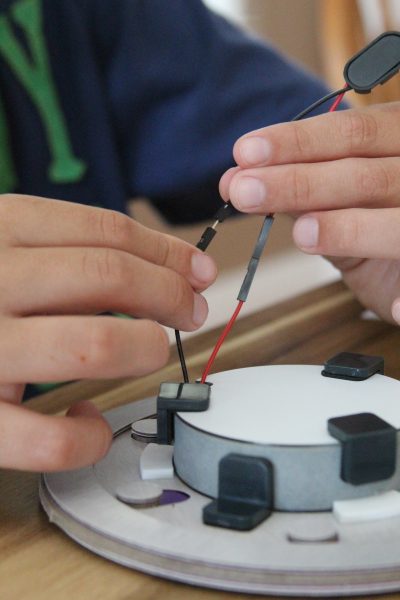
Our first step toward finishing Q was learning about photo resistors. The battery back was temporarily hooked up again with one of the motors to see how the circuit was completed and would function. You can see the photo resistor just to the right of Kaleb’s left hand. Later there will be two that will help “guide” the robot based on the light that shines on each resistor.
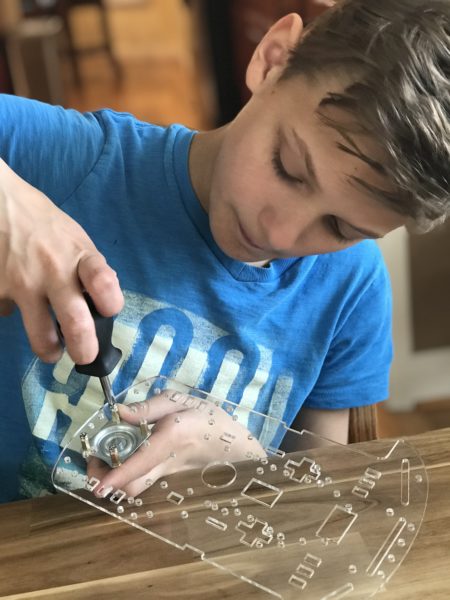
After learning about the photo resistors, Kaleb was finally able to pull out the main platform and start assembling the body for Q (lesson #26).
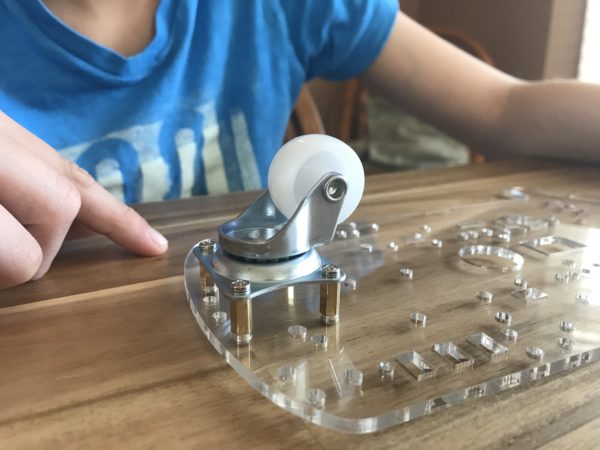
The back of Q features a single caster that allows the robot to pivot or wiggle back and forth as it moves.
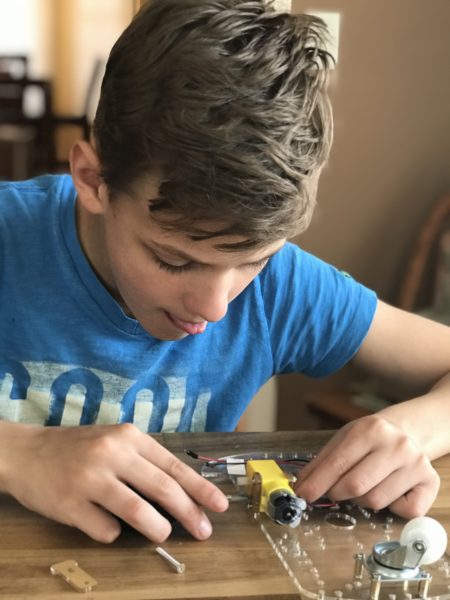
The next steps (#27-28) may have caused a little more frustration for Kaleb. In assembling the motors and attaching them to the platform, it was a little trickier for him (he kept dropping one of the screws and missing the hole).
Can I tell you what I loved at this part though? His utter concentration, shown by the tongue that stayed half stuck out of his mouth for the remainder of the building process.
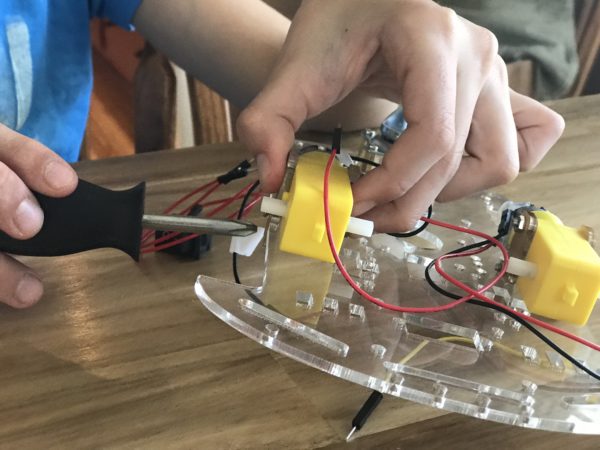
He was able to finally get both motors attached and labeled either right or left. The labeling is important for the turning of the wheels that are still to be added.
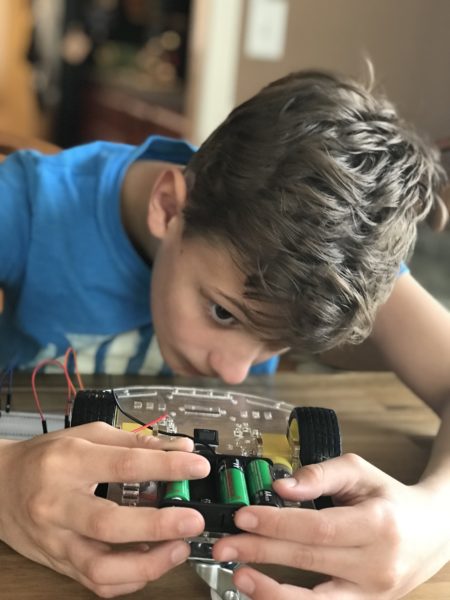
The power switch and battery pack were the next to be added. We used some velcro dots (provided) to attach the battery pack to the platform – super quick and easy.
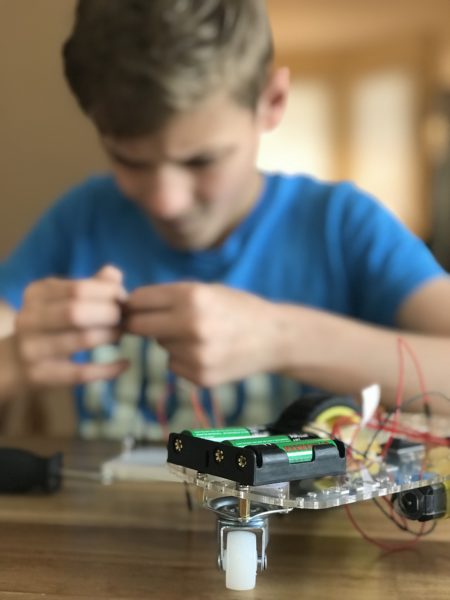
At this point, Q the Robot was beginning to take shape nicely. While Q waited patiently, Kaleb completed a little more wiring.
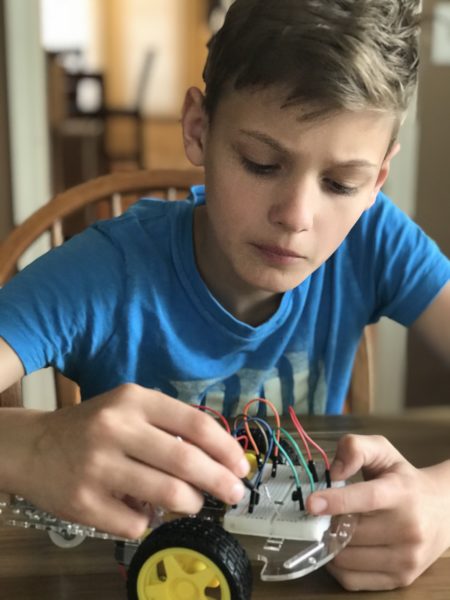
And finally the breadboard was mounted to robot body…
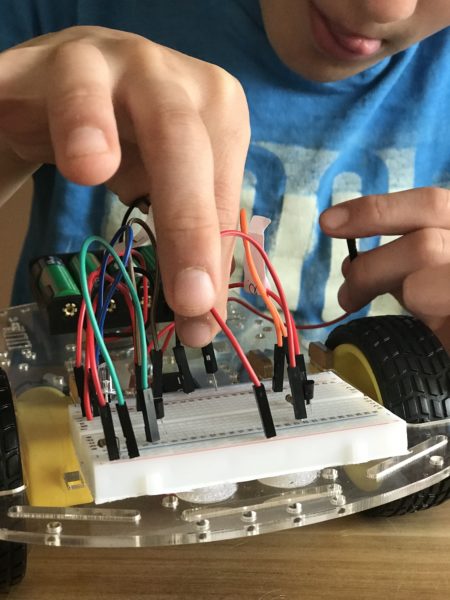
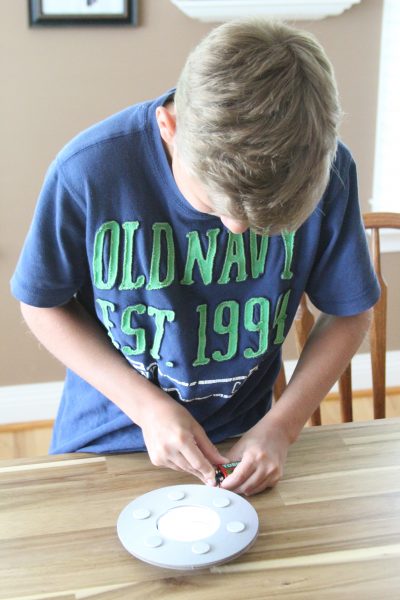
motors were wired correctly (in complete concentration as you can see)…
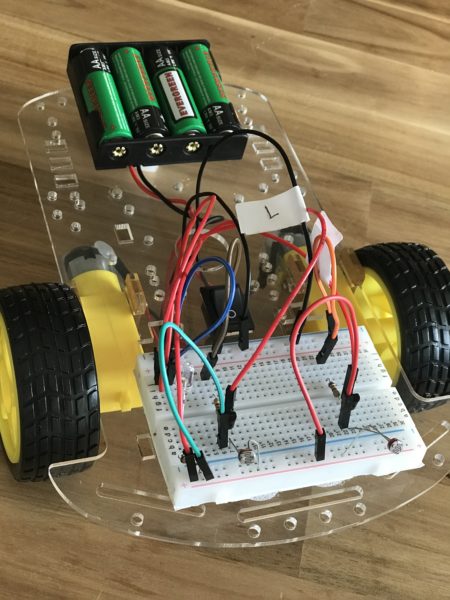
And Q the Robot was finished!
What Mom’s Need to Know…
- Everything’s included – parts, wires, batteries are included in all every kit
- No experience needed – our online lessons to mentor, guide, and teach your kid (seriously, this is a lovely thing)
- Safety first – no soldering required, low voltage projects (the mom in me rejoices)
Meanwhile, kids are learning solid concepts and being challenged by building projects using REAL components. They may make mistakes, but in doing so, they learn to review and discover what they can do to make it better and work correctly.
Perfect for ages 10+
Time Required: 1-2.5 hours
Parental involvement: varies based on child
Start Learning With EEME
There are 3 ways to learn with EEME – FREE online lessons, their robotics kit series, and their electronics kit series.
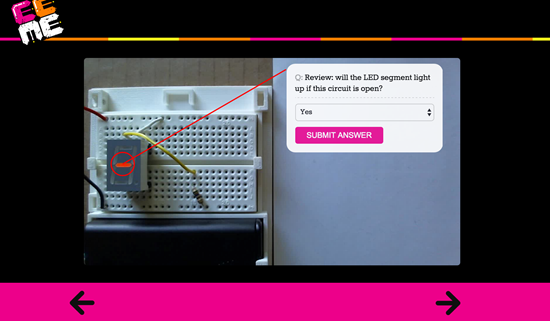
- For free online lessons – families create a free account with EEME and use their web browser to interactively build and learn about electronics circuits.
2. Robotics series – The first kit of the series, Q the Robot, is a project where your child builds a 3-wheeled light-following autonomous robot. The online lessons associated with Q teach how robotics circuitry works.
You can purchase Q here.
3. Electronics series – electronics kits are purchased as electronics kit monthly subscriptions. A new bite-sized kit ships every month complete with all the electronic components needed to build a new project.
Each month’s project builds on the previous month’s knowledge and interactive quizzes, questions reinforce kids’ understanding of the why’s and the how’s.
Learn more about the electronics monthly subscriptions here.
Be sure to check out the first half of our Q the Robot project, and be sure to take a look around the EEME site. If you have kids in the 7-10 range, they have a monthly subscription option where each project focuses on a different electronic concept, but otherwise – go for Q!
Past EEME Projects
We’ve worked on several other projects from EEME. If you’re interested in learning more about their monthly subscription program, be sure to check out the below posts for more information:
- Project DIY Light Display
- Project Genius Light
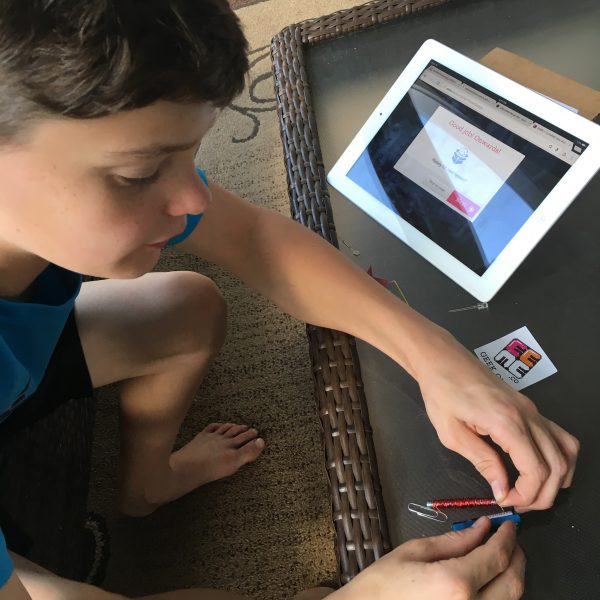
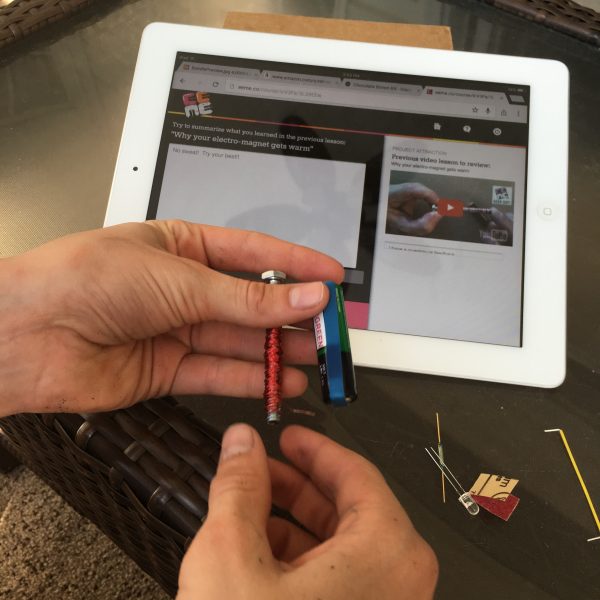
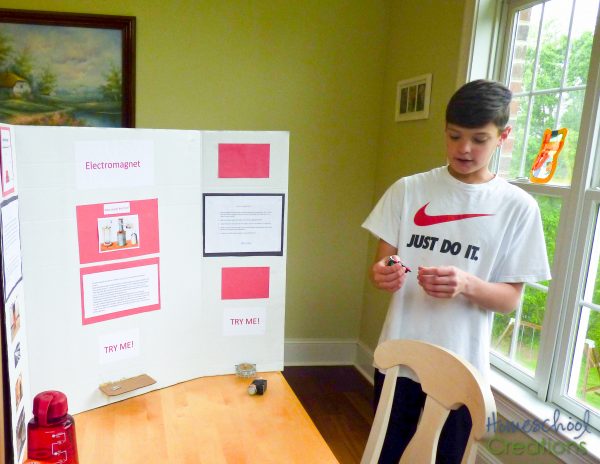
- Project Attraction – building an electromagnet
- Project Amp
- Project Tentacle
- Q the Robot (Zachary’s project)










 The printables shared on this site are FREE of charge unless otherwise noted, and you are welcome to download them for your personal and/or classroom use only. However, free or purchased printables are NOT to be reproduced, hosted, sold, shared, or stored on any other website or electronic retrieval system (such as Scribd or Google docs). My printables are copyright protected and I appreciate your help in keeping them that way.
If you download and use some of my printables and then blog about them, please provide a link back to my blog and let me know - I'd love to see how you are using them! Please be sure to link to the blog post or web page and not directly to the file itself. Thank you!