20 Best Tips

Bouncing Egg Science Experiment – Dissolving Calcium Carbonate with Acid

bouncing egg science experiment from Homeschool Creations

Before you go and think I’m crazy nuts, our bouncing egg science experiment involved a safe acid (grins). Zachary has loved all the hands-on projects to go along with his Christian Kids Explore Chemistry this year, and this one to see how acid interacts with calcium carbonate was no different.

That said – it was super easy to pull together and one that every family should do (did I mention it was easy?). Aside from learning about chemical reactions, what’s not to love about an egg that can bounce?!

Bouncing Egg Science Experiment
IMG_9595

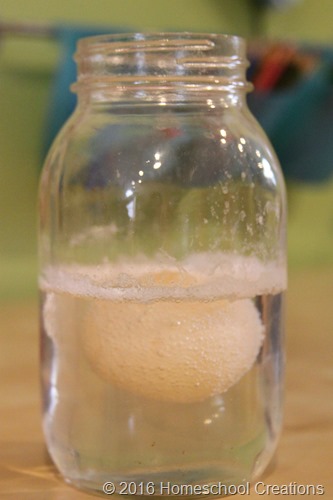
The main purpose of this experiment was to test the reaction of a weak acid (white vinegar) with calcium carbonate (CaCO3 – an eggshell). If you’d like to try this at home, you only need a few items:


Here’s the quick science explanation:

An egg shell is made up of calcium carbonate, so when the egg is soaked in vinegar (about 4% acetic acid) a chemical reaction begins. Carbon dioxide is released (the bubbles you see on the shell) as the vinegar begins to dissolve the shell. The membrane of the egg will remain (the rubbery part of the egg).
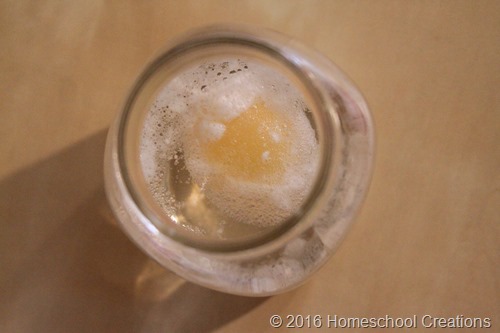
 

IMG_9592

The egg was supposed to soak for 24 hours and then observations were to be tracked. Ours ended up soaking a bit longer (as in four days) because it stayed in the schoolroom over the weekend and we completely forgot out it. It was a lovely stink come Monday morning. (grins)
IMG_9606

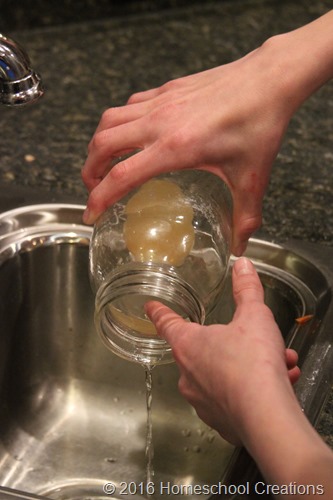
The vinegar was carefully drained from the egg and GENTLY rinsed off under clean water. (May I stress gently again?)
IMG_9607

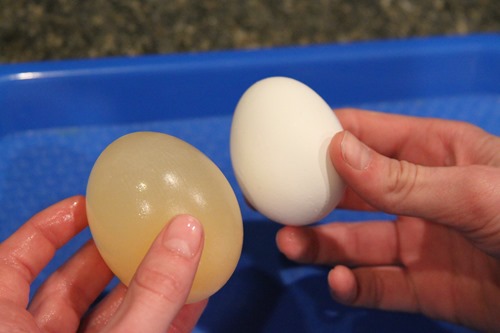
We pulled out another raw egg to compare and contrast to our experiment. The egg that had been soaked felt completely rubbery and could be gently squeezed (again with the gentle). The entire shell had dissolved thanks to the chemical reaction with the vinegar.

Size-wise there was a significant difference as well. When the egg soaked in the vinegar,  some of the vinegar and water in the vinegar moved through the membranes of the egg and into the egg. Egg membranes are semi-permeable so water can move through them (an example of osmosis).
 

IMG_9608

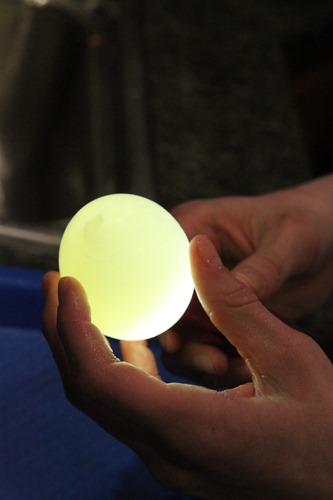
Trying to find the yolk now the shell was missing, we grabbed a flashlight as well to see how translucent the egg was. 
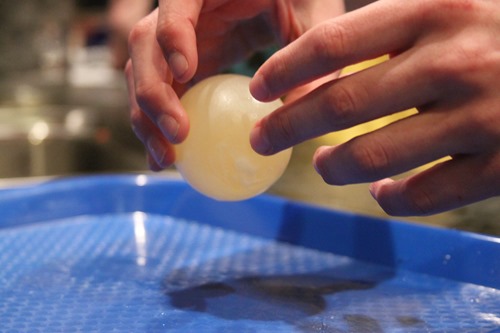
IMG_9616

The fun part came in the bouncing of the egg. To keep the counters clean, we pulled out a tray and tried dropping it from different heights to see if it would break.  You can see a short (and slightly blurry – sorry!) video here or below.


Once we were done bouncing and playing with the egg, we popped it with a fork to feel the membrane of the egg. (And yes, we all thoroughly washed our hands when we were done!).
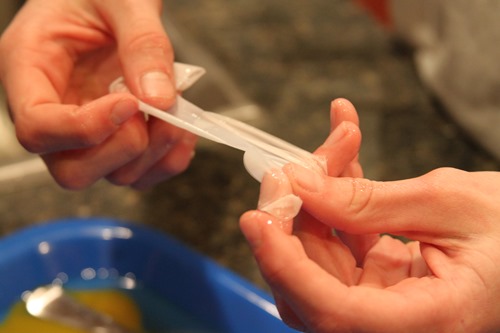
IMG_9631

This is one of those experiments we would like to do again, but this time with several eggs in different jars and then try a few variables when we are done soaking them all in vinegar: moving one to plain water, one to cornstarch, and letting one sit out on the tray to see what happens to them all.

There’s so much more we could do, but this was a fun start to our egg experiments.

More Science Fun

If you have some time and need a few ideas, we worked on both of these projects this year and had a blast with them (especially the cookie skillet!).

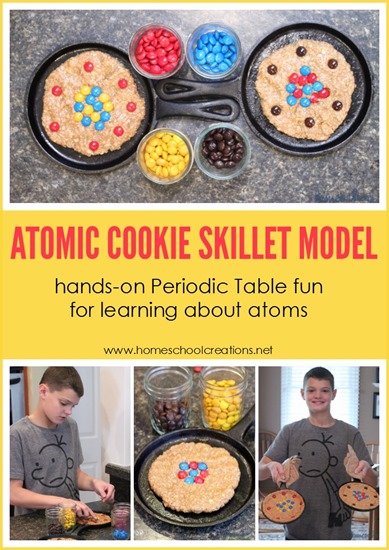
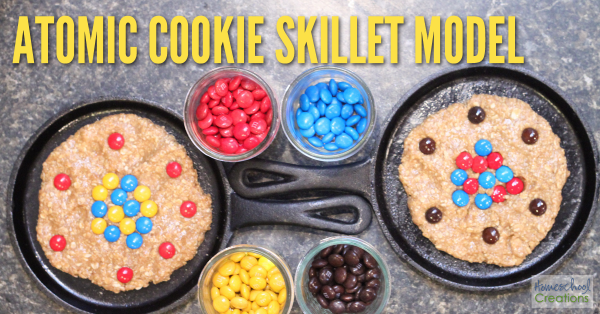
Atomic Cookie Skillet Models – learn more about the Periodic Table and how what atoms consist of with this fun (and edible) project!
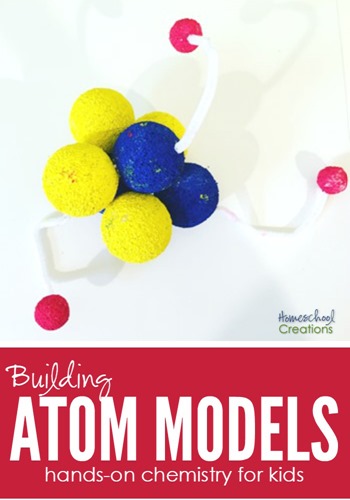
Building Atom Models – build simple atoms together and make chemistry hands-on for your kids with this easy activity.

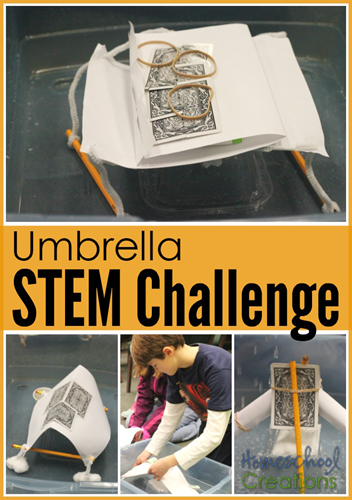
Umbrella Challenge – STEM Activity for Kids

Umbrella STEM Challenge - create a shelter to keep a tissue dry

This past week in our co-op class we worked on another ‘instant challenge’ together, breaking up into four teams to create a structure that would keep a tissue dry. Out of all of the projects we have worked on so far, this one seemed to click with the kids.

Each week we have divided into groups, raced to finish a project using the few items provided, and at times there has been grumbling of “they copied our idea” or frustration when what seemed like a great plan literally crumbled to pieces. While not everyone was successful in their building endeavor, the umbrella project brought everyone together and helped the kids see the importance of teamwork.

The Umbrella Challenge

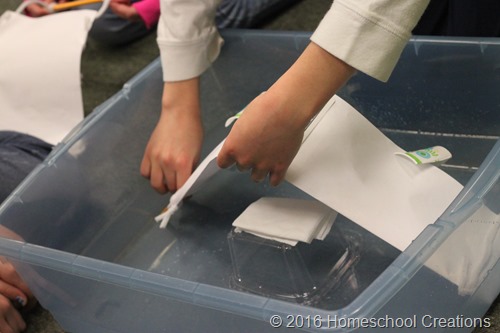
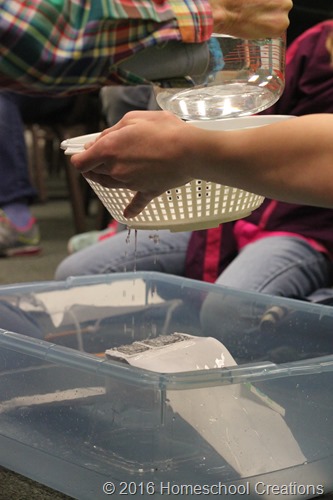
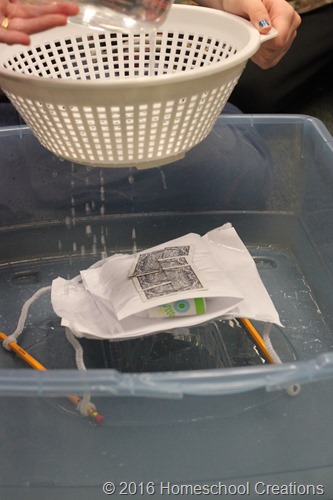
We brought a large Rubbermaid bin into class, 2 quarts of water, a colander, a tissue, and a container (to keep the tissue from touching the bottom of the bin).

Challenge: Create a structure that would keep the tissue dry when water was poured (like rain) over it with a set amount of materials.

Materials: 2 pieces of paper, 3 rubber bands, 4 pipe cleaners, 3 playing cards, 2 pencils, 2 paper cups, 4 pieces of tape, 5 cotton balls, and 3 rubber bands.

Also needed: water, colander, tissues, and a large plastic tub.


Team Results

The kids were broken up into four teams and given a short amount of time to chat with their teammates and decide on a design idea. As soon as they had an idea they set to work on their designs. The structures could be tested at any time by the students, but had to keep the tissue dry when the teachers tested it.

Team #1

Umbrella Challenge

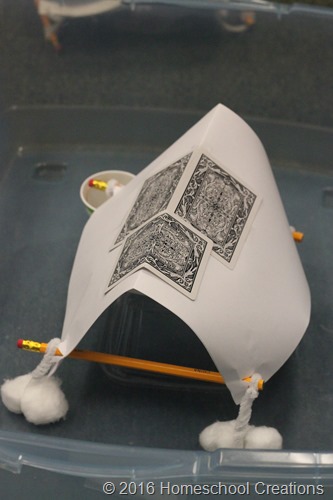
One of the creative things this team did was use the cotton balls as the corner bases, attaching them to the pipe cleaners. While their structure was stationary on the carpet, when placed in the tub, it slipped around, so they added them to give stability, knowing when the water fell in the tub it would be soaked up into the cotton balls and give it a little more weight.

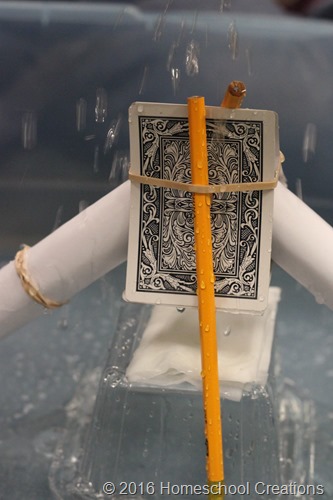
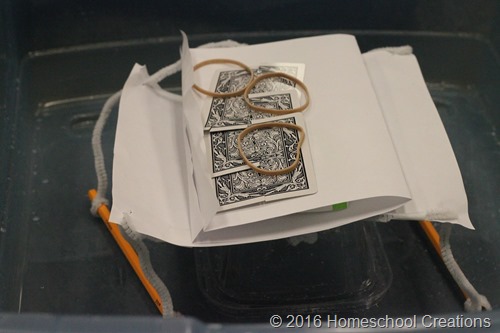
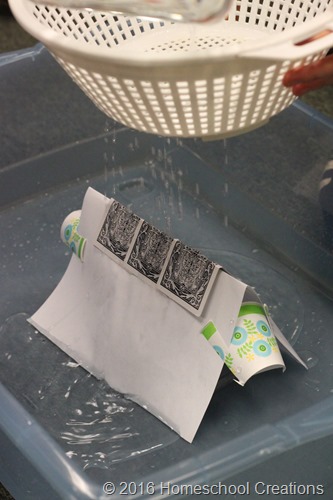
They also poked the pencils through the corners of the paper to give it a good arch and place the playing cards on the top so the paper wouldn’t soak through as quickly.

Umbrella Challenge-9

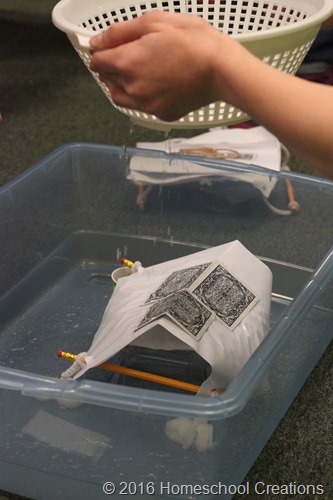
We poured the water over top and their design was successful – the tissue stayed dry. Out of all of the supplies, they didn’t use the cups or rubber bands, but did use everything else.

Team #2

Umbrella Challenge-14

This team didn’t use all of their supplies (rubber bands), but created a narrower shelter, using the pencils as the base and paper cups to provide a ‘run-off’ area for the water. Overall, they didn’t have a solid structure and needed to use the tub to support the ends of their shelter (while it was supposed to be free-standing).

Umbrella Challenge-19

When the water was poured over, the structure was too narrow, so the tissue did absorb some water. While in theory it did seem good, the overall design didn’t quite work.

Team #3

Umbrella Challenge-23

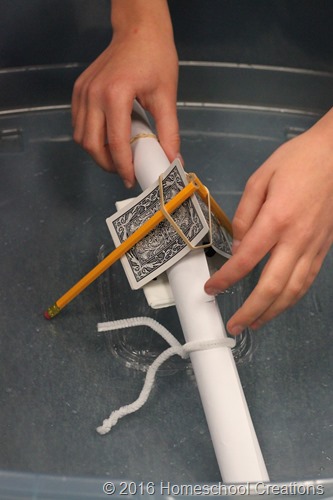
This team earned some points for creativity and strength. Their legs were very stable (good idea rolling the paper to create a stronger leg that wouldn’t get floppy when wet as quickly). They used almost all of their materials (they chose not to use the cups).

Umbrella Challenge-30

Although they had a great base to start with, their structure wasn’t wide enough to cover the tissue when the water was poured over it and ended up soaking wet.

Team #4

Umbrella Challenge-34

While team 4 didn’t quite use all of their material creatively (ahem – the rubber bands were dropped on the top so they could say they has included them), they did have a great base for their umbrella using two pencils as stability to the pipe cleaners looped through the corners to lift it up above the tissue. Their top was also thick so the water would stay off the tissue (using cards and two sheets of paper with the paper cups cut up inside to provide extra protection). Not a beautiful structure, but it stayed together!

Umbrella Challenge-39

When the water was poured over their structure, the tissue stayed dry!

The Importance of Teamwork

While the teams were busy working, there were a few complaints of ‘they are copying us’ (even though the other team wasn’t looking) and frustration when what seemed like a good idea, turned out to be a flop and plans had to be re-worked (and still flopped).

Umbrella Challenge-40

Although I had seen two of the teams beginning structures, I pulled out my own set of supplies and decided to put something together quickly. Ironically, my structure was very similar to one of the other teams (team 4) that I hadn’t seen until we all came together as a group.

Umbrella Challenge-42

My structure used the paper as the ‘umbrella’ with the three cards together underneath and held up the the pipe cleaners. The rubber bands were used to keep the pencils closer together so the paper would arch and not spread out too far when it became wet. Not too shabby for about 4 minutes of quickly building.)

As a class we had a great talk about how there are times when we may be working on an idea or concept, have the same supplies or focus, and each of us may have some similar plans, but may tweak it in a different way. It isn’t copying, but sometimes just happens. The process of discovering what does and doesn’t work often leads us to a better way of creating something.

Umbrella Challenge-47

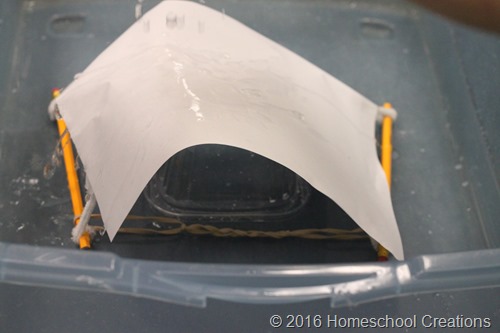
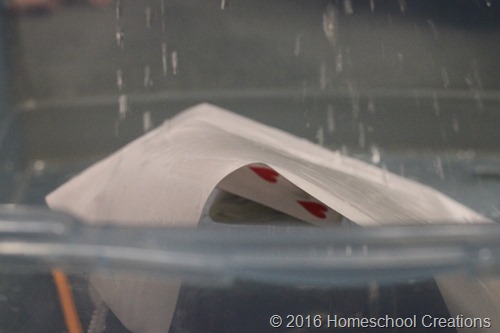
Coming together as a group, we took the best ideas from each team and built a structure using those designs and had an even better structure. The cups were cut in half and we added slits to create addition ‘run-off’ areas and also provide a way to keep the paper in a tent style. The three playing cards were bent in half over the paper to create a more waterproof peak.

Note: We didn’t have enough time to fully build it, but would have added the pencil and pipe cleaner base from Team 4 to keep the paper up and out of the water.

While individual teams had good ideas, together, as a whole, the best one was created. It was really a great ‘learning’ moment and helped diffuse some of the frustration between the kids – team building at its best.


A Few Other STEM Activities You May Enjoy


Creating with KEVA and Little Bits – More Hands-on Fun

One of the things that I didn’t do a great job of implementing the first half of the year for Kaleb were some of the ‘fun’ projects that aren’t necessarily tied into any curriculum we’re using, but still add in an element of learning or creativity. Kaleb is one that easily gets focused on what needs to be done and doesn’t give himself much slack because it’s not ‘school’. (It’s true – he’s a pretty focused kid.)
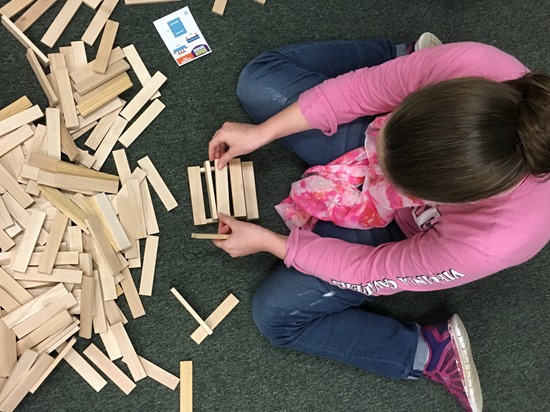
After our mid-year review, I decided to put together a list of weekly challenges for him to work on, rotating through a few different things, specifically KEVA planks and our Little Bits set. You all – the boy just needed it to be called school, and he has been in HEAVEN.

The most fun has been watching his creativity and curiosity take over. While each of the sets have specific projects to build, once he has finished a few, he likes to experiment and see what he can create.

Little Bits Fun

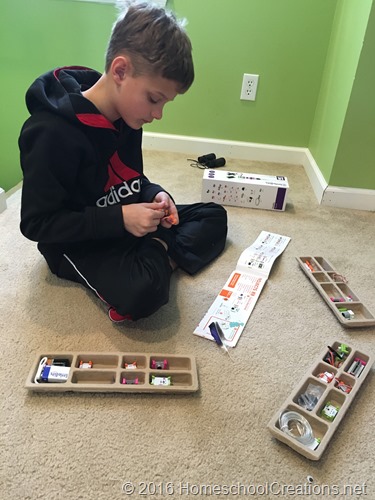
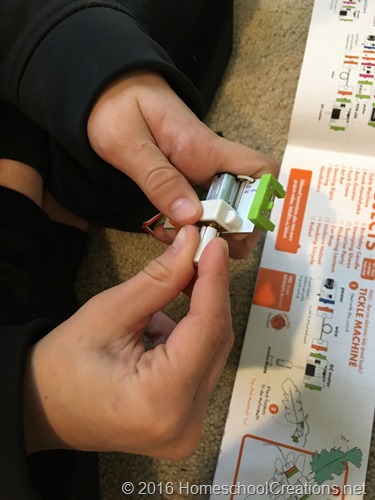
creating with the Little Bits deluxe kit

Although Zachary has been eyeing the Little Bits set (and managed to find them and try them before I knew it), this was one thing that was put aside specifically for Kaleb to do ‘first’ (mainly because he is the youngest and usually gets to do everything after his brother). So, even though Zachary did play with them for a bit, they where shelved after (see what I mean?).

While his older brother has been working on breadboards and real, hands-on wiring with EEME, this angle to learn about circuits has been great for Kaleb (who gets frustrated easily) because the pieces are magnetic and they ‘snap’ together to form a circuit.

learning how Little Bits circuits work

We have the Little Bits Deluxe kit that includes a booklet with 18 different modules and 15 projects to work on, or kids can design their own creations. The nice part is, there is no soldering or wiring for him, so for kids that are interested in the early stages of circuits and how things work, these are a great stepping stone.


There were two projects planned for him to work on the day we pulled them out, but he was so sidetracked with the kit he kept playing and tweaking things. The art bot project has been his favorite so far, since it had him stumped in a few parts (he had to figure out how to substitute parts we didn’t have on hand). The above video shows it in action. Feed readers can watch the 20 second clip here.

Needless to say, the boy is hooked and ready to work on more with little prompting!


KEVA Planks Building

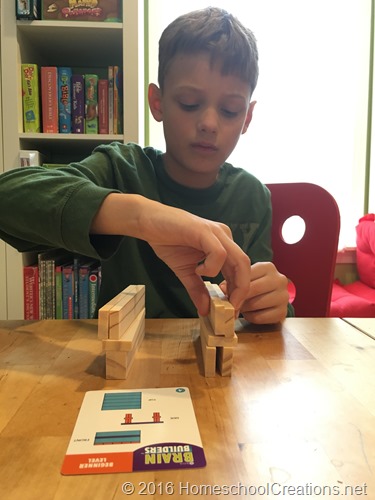
KEVA planks Brain Builder challenge cards

While the kids in our co-op have been enjoying some weekly challenges with the KEVA Brain Builders set, Kaleb has been equally enjoying them at home. Although we don’t have quite the extensive resources our co-op does with the planks, we do have a small set to use that were included with the Brain Builder cards.

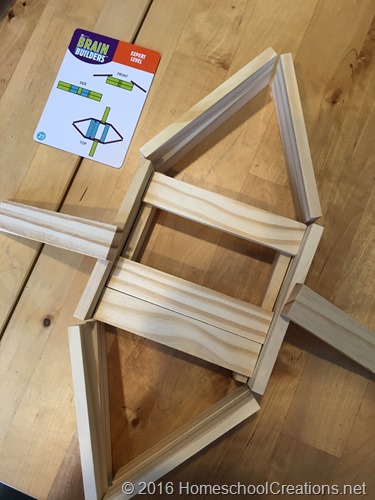
KEVA Brain Builder cards

Each card offers a two-dimensional view of a project from three different angles.

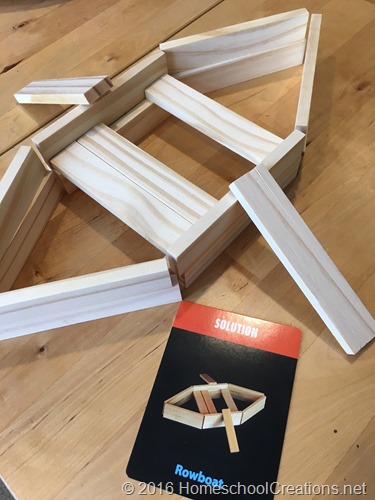
KEVA Planks Brain Builders

On the flip side you can see an actual picture solution of what the project should look like. These cards have really been great for Kaleb (again because he gets frustrated easily), but he is very focused on details and getting everything ‘just right’. The planks and building challenges are giving him a different way to look at projects for building.

So far after break, my personal goal to have Kaleb work on at least one project a week has been a definite success for Kaleb. And that’s a win for both of us!

3 KEVA Building Challenges – #STEM for Kids

Keva Building Challenges from Homeschool Creations

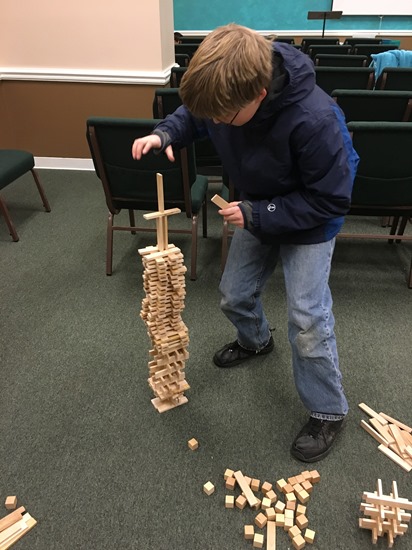
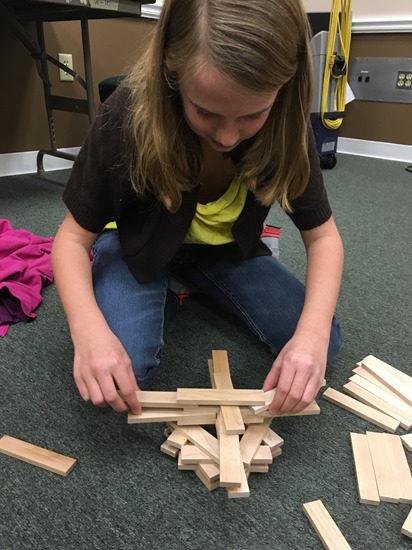
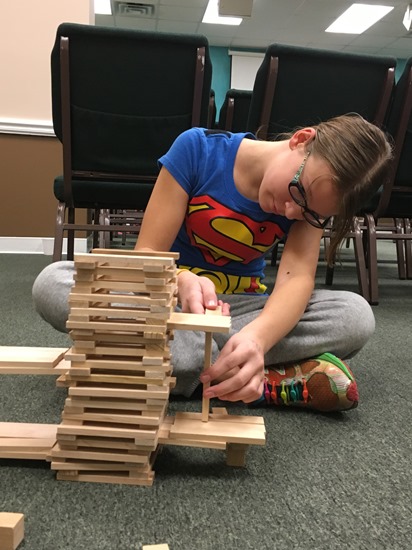
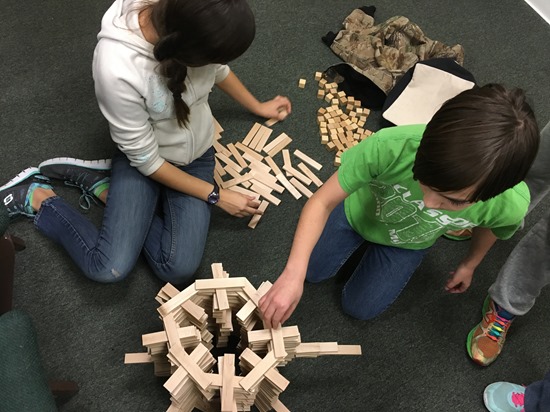
We’ve been trying some different things with our co-op building class over the last few weeks. We started out with several weeks of Instant Challenges, and while the kids love those, a few of them are having trouble thinking 3 dimensionally. In an effort to work on that, we pulled out our KEVA Planks (thankfully the church we hold our co-op at has an amazing stash of them!) and got to work.
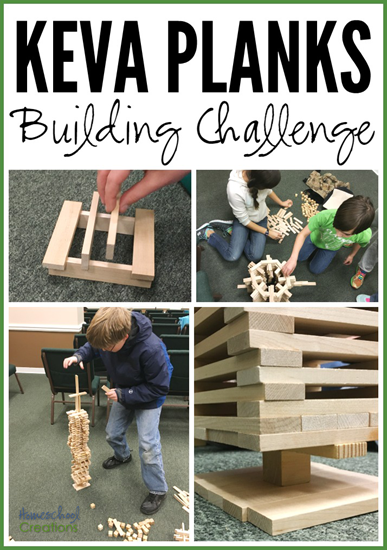
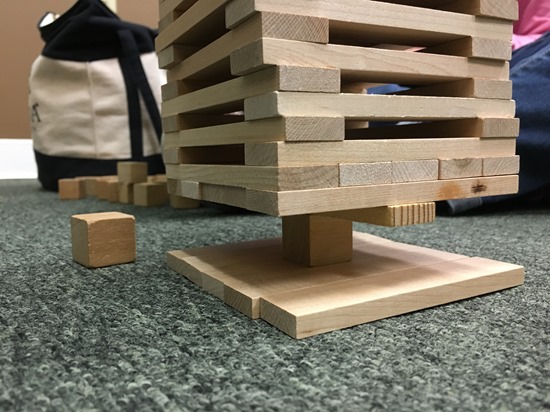
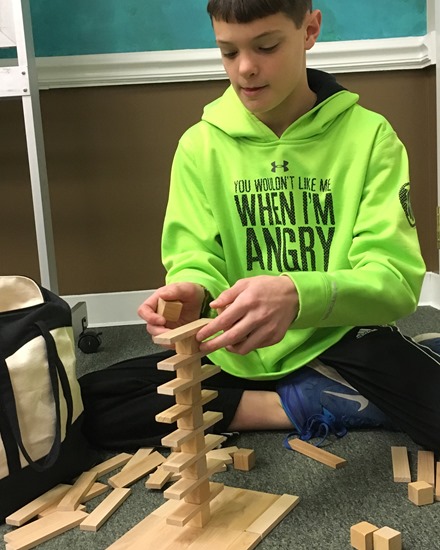
Challenge #1: Build the tallest structure using only a 1” block as the base.

Keva building challenge_6306

The premise for this was very simple. Each group received a stash of 30 1” wooden blocks to use in their structure, but could only use ONE block as the bases for the building. They were given ten minutes to build the best one.

Keva building challenge_6293

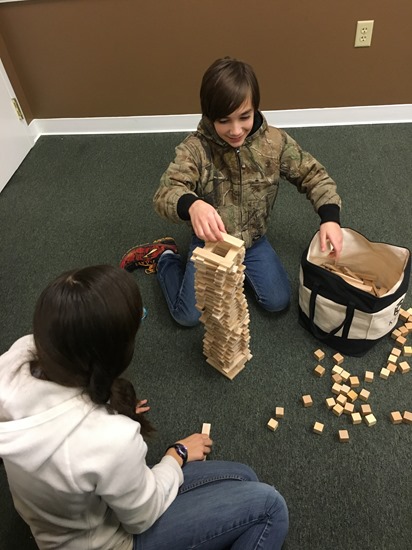
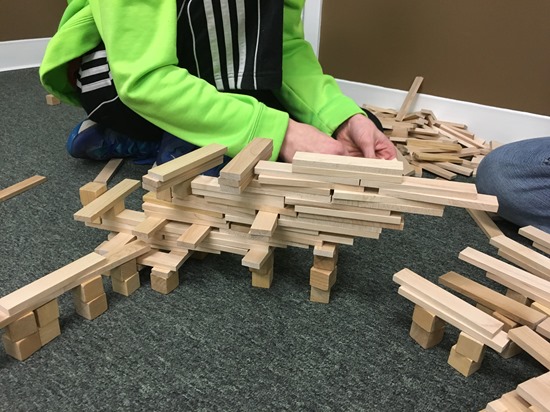
We broke up into four groups and the kids started working. They had a fairly unlimited pile of KEVA blocks and the challenge wasn’t just to build something tall, they needed to be sure their structure wouldn’t tip over. A few figured out that building on the carpet was a bit more uneven, so platforms were constructed using KEVA planks as well.

Keva building challenge_6304

There were groans and yelling as different groups took the lead – only to have their structure teeter precariously and tip over.

Keva building challenge_6296

The building because fast and furious as kids started jumping up and comparing heights of structures (it was hilarious).

Keva building challenge_6303

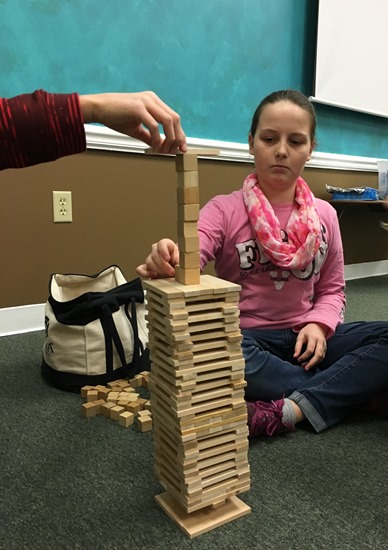
Two teams were neck and neck until one was brave enough to carefully stand another KEVA plank on top of their team structure – and it held! (Barely, mind you, but it held!)


Challenge #2: Build a structure that has an overhang without support.

Keva building challenge_6312

For this challenge, the kids had free reign on how many KEVA planks they used and each child could choose to work on a team or individually. There were a few that decided to go it alone, but most worked together. Each group or individual had a few minutes to discuss and 10 minutes to build. At the end of our time, we went around the room comparing structures and making suggestions on how it could have been improved (or what a great job they did!).

Keva building challenge_6317

Others had a solid core, but had difficulty getting their structures to extend out further without support.

Keva building challenge_6332

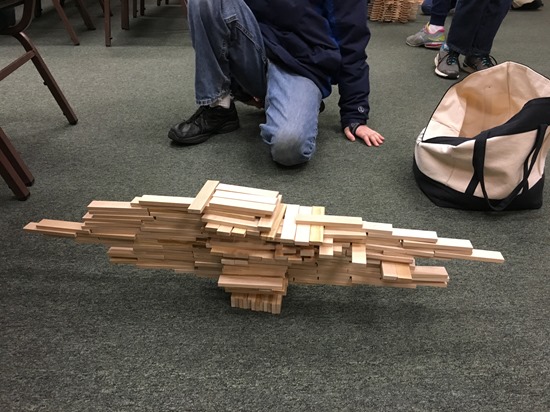
And others just went for a cool design and had fun building up as well as extending out.

Keva building challenge_6311

This one had a great start, but ended up collapsing on the neighboring structure and demolishing both (that would be my kid).

Keva building challenge_6330

A few of the kids built out from a central core and found a way to balance and support the planks so they extended quite a ways out without needing a support from underneath.

Challenge #3: Two challenges from the KEVA Brain Builders

Each week we have also been working on two challenges from the KEVA Brain Builders set. Essentially it is a set of 30 puzzle cards where one side shows a two-dimensional drawing of a structure from different angles and the flip side shows a completed structure. The kids are given a card and 3 minutes to build the structure.

Keva building challenge_6337

The challenges are quick and make the kids work hard to beat their friends (and a little friendly competition is fun), especially since they don’t know what the completed structure is supposed to look like. There are three different levels of difficulty, so each week we have been working our way through the levels to build confidence and speed. These KEVA Brain Builders cards have been another fun addition to the class, especially for those that need a little confidence building in the 3D area.

Don’t Miss These STEM Challenges

Looking for a few hands-on STEM activities for your kids or class? Check out these below:

Additional STEM Challenges


Cup Holder STEM Challenge

Cup holder #STEM challenge project for kids

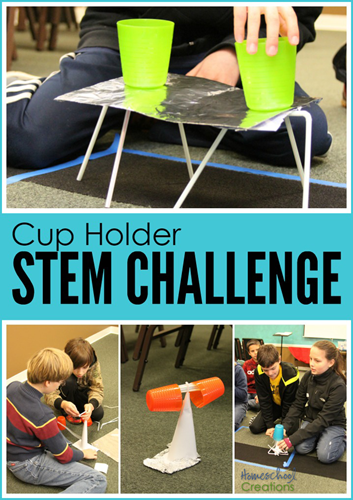
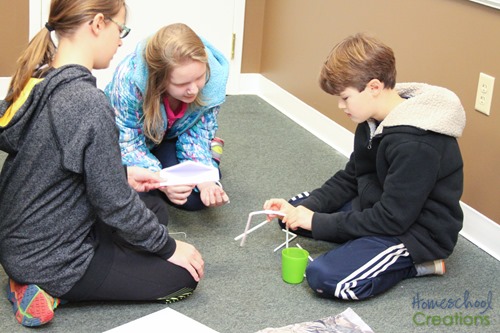
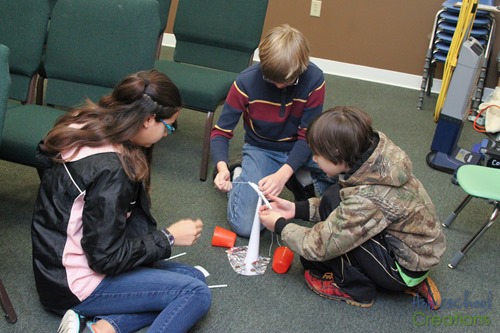
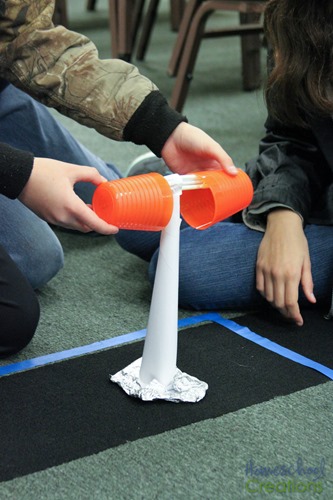
If you were given a piece of paper, tinfoil, six straws, two paperclips, two pieces of string, two pipe cleaners, three mailing labels, and an envelope – and then had five minutes – would you be able to build a structure that could support two cups while getting both cups off the ground and as far apart from each other as possible? Years ago our girls did this same Cup Holder STEM  challenge together with much success, so I thought it would be fun to try again on a larger scale.

This semester I am working with a group of six graders in our co-op in a STEM or building class. One of the things that our family (and another co-op class) enjoyed in the past were Instant Challenges. Essentially, the children are given a set of objects and a challenge to build something specific within an allotted amount of time. The bulk of our Instant Challenge STEM ideas come from this site and we tweak them to make them work for us. The main thing I love about these challenges are they involve simple (and inexpensive) items that are easy to find and give some fun results in a short amount of time.

The Cup Holder Challenge

Cup Holder Stem Challenge-8

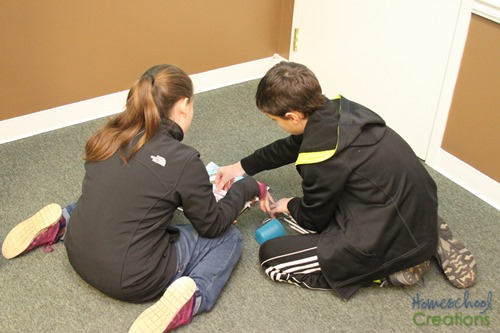
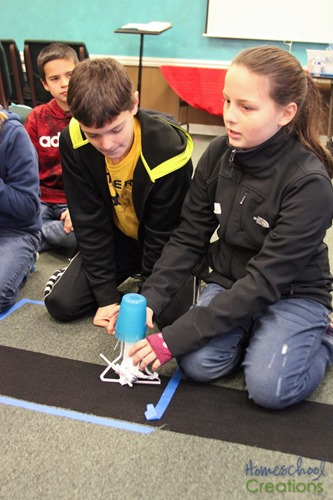
For our first class, we introduced the overall structure of what we would be working on and broke the kids up into four teams (class of eleven, so one team has only two). Each team had at least one boy and one girl to balance it out. The kids were ‘scored’ on teamwork first and then based on completion of the challenge.

In all honesty, the challenge didn’t go quite as easily as I (or the kids) thought it was – a bit of a surprise to me, but I do think we figured out the why behind our issue…read on!


Breaking Up into Teams

Each team (between 2-3 children) was given 2 minutes to come up with a design, 6 minutes to work on their cup holder structure, and then show how their structures worked, compare designs, and make improvement suggestions to other teams or for their own structure.

Challenge: Create a structure that holds two cups as high as possible and as far apart as possible. Each team has 2 minutes to design, 7 minutes to create, and 1 minute to test their structure.

Materials: 6 straws, 1 piece of paper, a piece of tinfoil, 3 mailing labels, 2 paperclips, 2 pieces of string, 1 envelope, 2 pipe cleaners, and 5 pennies

The Results

One of the things that I love about these challenges is seeing the creativity and difference that each group comes up with in their designs. Even though they each have the same set of supplies, their brains are all whirling in different directions and putting those items together in alternate ways.

As each of the groups were working, the other mom and I walked around the room observing, offering suggestions if needed, and giving time updates.

Group 1

Cup Holder Stem Challenge-4

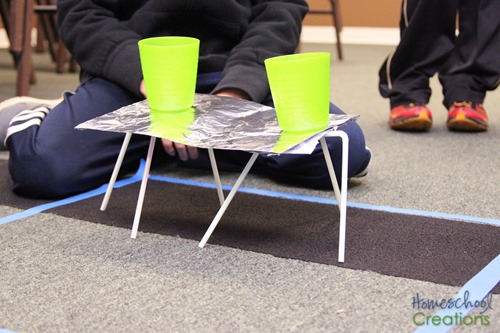
Out of all of the groups, Group 1 was the only one to have a completed structure at the end of the original challenge time period. They were able to transfer their structure to the middle of the room, set it up, explain their building process, and support the two cups.

They wrapped their paper in tinfoil and added the envelope for extra support on the main ‘shelf’ of their structure. Pipe cleaners and string were used to hold the straw legs together.

Cup Holder Stem Challenge-18

Their main focus was the base support, which definitely worked to their advantage. While it wasn’t raised from the floor as much as they wanted, it was a solid structure as long as the straws were all balancing properly.

Completed structure: cups were 6“ off the floor and ” apart.

Group 2

Cup Holder Stem Challenge-15

This group almost had a structure that supported the cups, but the moment they let go of the cups, their structure tipped over. They built for height, but had a base that wasn’t sturdy enough, despite the tinfoil, to support the two cups.

Cup Holder Stem Challenge-21

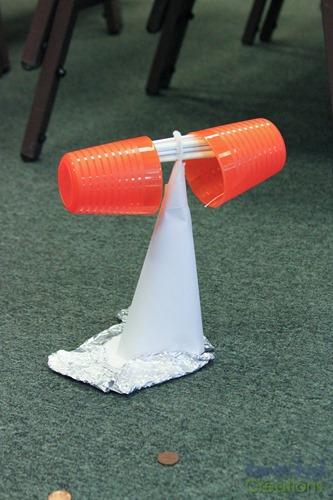
Their paper and envelope were rolled in a cone shape, with tinfoil as their base support. The straws were then adhered to the cone using the mailing labels.

Overall their concept was good, but not quite there. Their ‘aha’ moment came during our group suggestion time (see below) when they were able to modify it a bit based on a recommendation from another team.

Completed structure: cups were 0“ off the floor and 0” apart.

Group 3

Cup Holder Stem Challenge-12

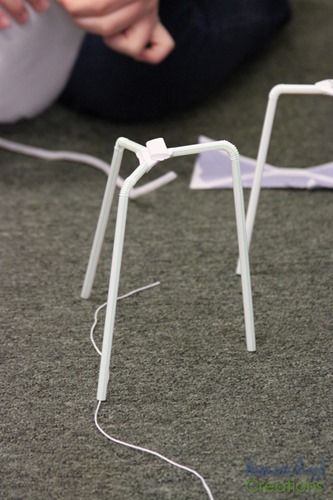
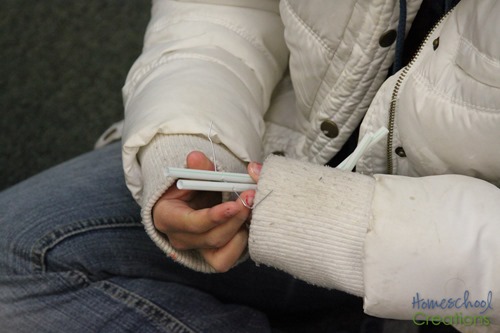
This team had some fun ideas and creative ways to hold things together (paper clips pushed through the straws), but their overall structure ended up with zero height. They tried to connect the straw and have them in an elongated “U” shape, but then they couldn’t get their straws to stay up and support weight.

Cup Holder Stem Challenge-23

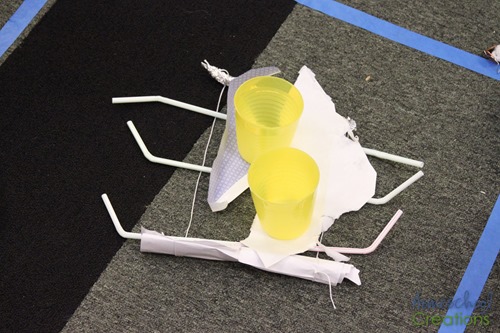
They also used up several of their supplies (by rolling or crumpling), so there really wasn’t much help that could be given to create a working structure. They had a great attitude about their mistakes.

Completed structure: cups were 0“ off the floor and 0” apart.

Group 4

Cup Holder Stem Challenge

This team was the smallest of the four, and while the two started out with a good idea (again wanting to build it as tall as they could), they quickly realized they didn’t have enough base support when it came time to balance cups on either side of their structure.

Cup Holder Stem Challenge-24

They ended up trying to use the straws in a triangle-shaped base, which did work well to give support, but they weren’t able to get any distance between the two cups and instead stacked them on top of each other.

Completed structure: cups were 3“ off the floor and 0” apart.

Making Improvements and Suggestions

As we came together as a group, some of the kids were a bit frustrated their structures weren’t completed. Three of the teams were given an extra six minutes to continue building – and they still had nothing that really worked. Many of them had already used the bulk of their supplies in a way that couldn’t be recycled (tinfoil crumpled up or paper ripped), so they were stuck.

Cup Holder Stem Challenge-27

Each team was given a chance to explain their initial idea and what they thought worked best or didn’t work how they envisioned. We then talked through what they could have tried differently and what may have been a better use of their resources. Overall it was a very encouraging time for the kids and they definitely walked away with some ideas to build it better. One group (Group 2) took a few minutes to tweak their design by cutting the bottom of their cone and spreading out the bottom of the paper and returned a few minutes later with a working structure!

What We Realized

While the bulk of our groups didn’t have a completed structure at the end of the challenge (which was puzzling to me at first), we realized that many of them were over-thinking their designs. Rather than focusing on a stable structure, they focused on making their structures be the one that put the cups the highest off the ground so they could earn more points. They could have kept it very simple (made a more table-like structure) and even gotten it done more quickly.

We also spent some time talking about how in real life things are built and require support in various ways (bridges, pyramids, etc…). The kids thought for our next challenge they need more time to design and build, but I’m honestly leaning more toward the lesser of the time so they can keep their designs simple and get done what needs to be accomplished. We’ll keep you posted on further challenges in the upcoming weeks!

Additional STEM Challenges


Building Atom Models – Hands on Chemistry for Kids

building atom models with kids copy

One of the things that I’ve loved about our Chemistry science program (aff link) for Zachary this year is the hands-on aspect of the program. He is a boy that needs a little something to do with his hands every now and then, so it has fit in very well for us. As we’ve been learning about atoms together the last several weeks,  Building atom models and getting a 3D look at how an atom might actually appear has been a great way to visualize what we’re talking about. Quite obviously, these models are not to scale and a whole lot larger than the real thing. (grins)

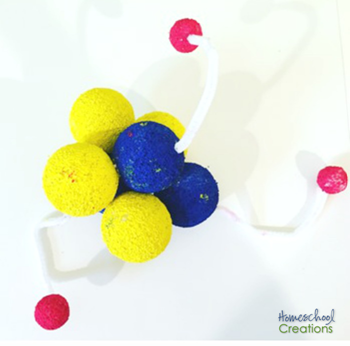
In our model we used Styrofoam balls to represent the protons, neutrons, and electrons. In an atom, the protons and neutrons are in the nucleus (the center of the atom), and the electrons surround the atom. In diagrams you often see the electrons represented by elliptical lines moving around the nucleus.

3D lithium atom model project for kids

Building Atom Models

We chose to build a model of a lithium atom and used the following supplies. If you would like to make a different atom, the number of styrofoam balls will differ based on the number of neutrons, protons, and electrons in the atom. See below for how to calculate those numbers.

  • 7 styrofoam balls – we used ones that were about 2” in diameter
  • 3 styrofoam balls about 1 inch in diameter
  • 3 pipecleaners
  • toothpicks
  • red, yellow, and blue paint
  • paintbrushes
  1. Paint four of the 2” balls yellow (neutrons) and three of the balls blue (protons).
  2. Paint the 1” balls red (electrons).
  3. Using the toothpicks, connect the yellow and blue balls together, making sure they touch each other. We broke out toothpicks in half so they wouldn’t poke through too much.
  4. Connect each electron (red balls) to one of the protons (blue balls) using the pipe cleaners.

The model was a great way for us to understand a little better how atoms look. It was fun to talk about how many balls we would need to make some of the other atoms such as gold (79 protons/electrons and 118 neutrons – that would be a very large model!). We definitely figured it would be easier to stick to some of the more smaller numbered atoms on the periodic table!

To Build Different Atom Models

If you are trying to figure out how many neutrons, protons, and electrons an atom has, there is a way to work it out without needing to look up each atom one at a time. Each atom has an atomic number and an atomic weight. The atomic number tells you how many protons and electrons that atom contains. The neutrons are determined by looking at the atomic weight of the atom, rounding it up to the nearest whole number, and subtracting the number of protons. Usually you can find both numbers on your periodic table of elements.

Atomic weight = Protons (atomic number) + Neutrons


Additional Atom Model Ideas

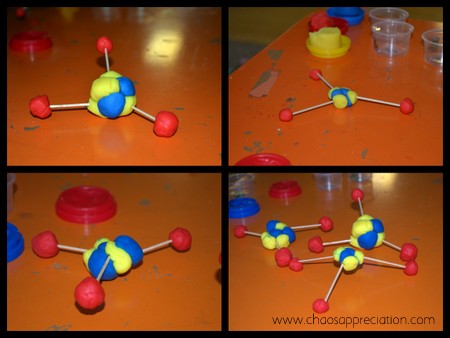
Don’t care for styrofoam balls? Check out this idea on the Bright Idea Press blog using playdough (secretly I almost wish I would have seen this version first). Zachary loved creating and painting the model we did though, but I’m filing away this idea to use another time!

A few weeks ago we made edible atom models – and we enjoyed every single bite! Check out our atomic cookie skillet models for the recipe and instructions.

If you’d like to learn more about the homeschool chemistry program we are using, you can find out more here. Feel free to check out the rest of our homeschool curriculum choices as well!