20 Best Tips

Science Sunday ~ Our Worm Jar

The kids were thrilled with the prospect of bringing a big ol’ handful of worms into the house. The purpose? To see how {and if} worms compost, dig tunnels and mix soils.

Mommy? Perhaps not as thrilled as the kids were at the prospect of there being worms on the loose should a certain 5 year old manage to get ahold of the jar. But she persevered…

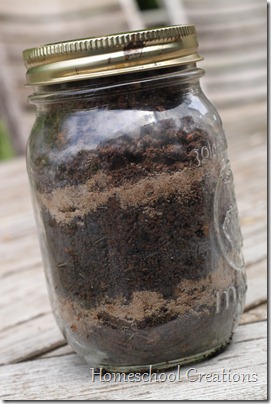
worm jar 1

Want to try this at home? Here’s what you’ll need:

  • a quart size canning jar
  • a lid with holes in it
  • dirt/soil/hay/grass
  • worms
  • dark colored felt or paper

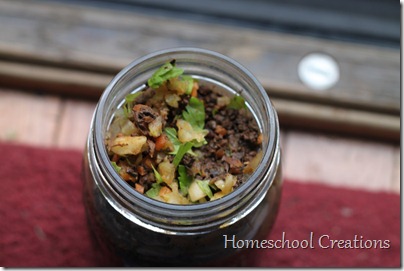
First we layered dirt into our jar ~ rich soil from the garden, some lighter sand, some mulch {layering soil, sand, mulch, soil, sand…}. When we had filled the jar, we had fun digging for worms and added them to the top of the jar. We also added some food {teeny tiny chopped carrots, celery greens, chopped apples, etc…} for the worms to mix into the soil ~ we hoped.

IMG_4448

We made sure the soil was slightly damp, put the lid on our jar and wrapped in a piece of dark brown felt so that the worms would have some darkness to work in. We even put the jar inside one of our cabinets so that it was good and dark.

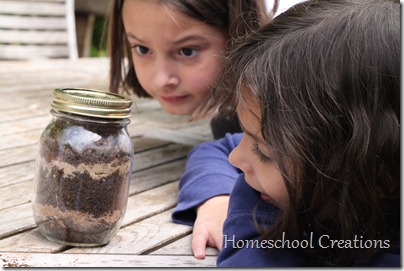
Every few days for the next two weeks we continued to check on our worm jar to see how our little underground friends were doing ~ and if they were doing their jobs.

worm jar 3

We filled out a simple science notebooking sheet with our predictions and observations to track our worm’s activities.
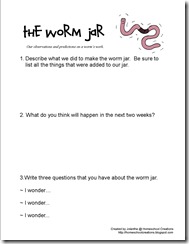
Worm Jar Click on the image to download the pdf.

Some fun facts we learned about worms:

~ The only place where earthworms don’t live are in the desert or where the ground is frozen.

~ Earthworm poop is called ‘castings’.

~ Worms have two layers of muscles ~ one that runs lengthwise and one that runs around, helping its body stretch and contract.

~ Worms have a coat of slimy mucus that helps them glide through the dirt.

~ Sunlight can kill a worm because they are sensitive to the UV radiation.

~ Worms are sensitive to temperature and touch.

~ Worms do not have ears, rather they ‘hear’ by sensing vibrations. 

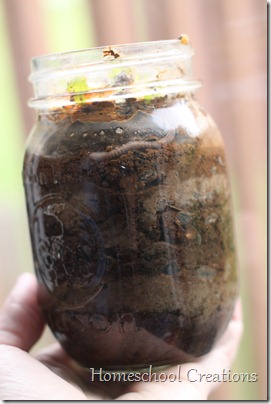
worm jar 2

Here is a peek at our jar after 3 days. Can you see one of our worm friends near the top of the jar? See how our soil is already mixing? We had to add a little water/moisture to the jar to help out our worm friends.

After two weeks there were no obvious layers anymore. Our worms had been hard at work mixing and composting our soil. After we observed them, we took them back to our garden and let them do their work around our vegetables. :)


Don’t forget to join Homeschool Creations on Facebook!

This post is also linking up to the OHC Spring Series #9: Earthworms at Handbook of Nature Study. :)

Simple Science: The Plant Winners and Losers

Admit it. You all have been waiting anxiously by your computer screens to discover the results. Ok, really not, and I’m sorry it took me an entire week to get the results posted {grins}. Will you forgive me?

You all were fairly mixed on your opinions of which plant was the winner vs. loser in our little experiment! My hubby {being the official powers-that-be} got an up close and personal look at the three plants and cast his vote too.

And for the record, he didn’t know which plant was which either, so he was an impartial voter. I didn’t hand out flyers for a specific plant before he voted, nor did I wear any “Vote for X Plant!” stickers during the process. I’m just sayin’…

All that said, he voted right down the line ~ #1, #2, and then #3 based not only on growth, but also color.

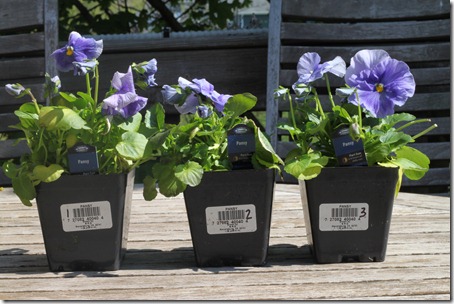
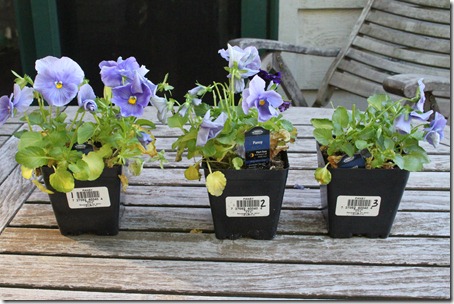
A few more pictures of the flowers before and after.

Before…

Pansies before

After…

Pansies After

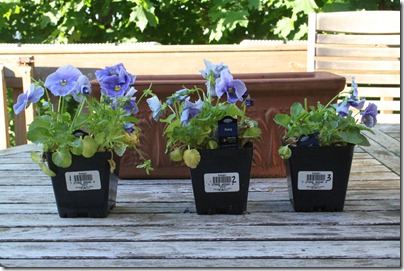
and another after…

pansies after 2 

The results… So that I would be able to keep track of which plant was which {and still keep the water types a secret…} I fed the plants water alphabetically:

Plant #1 ~ filtered and boiled water, brought to room temperature

Plant #2 ~ filtered water brought to room temperature

Plant #3 ~ filtered and microwaved water, brought to room temperature

I wasn’t sure how the plants would fare during the time of the experiment, so you might notice that plant number 2 {the one that received the filtered water only} started out a bit behind the curve. It was the ‘runt’ of the plant litter, so to say.

When the experiment was done, plant #1 {boiled water} was the tallest and flowering the most, plant #2 was doing well and flowering, and plant #3 wasn’t flowering as much.

Were the results what you expected? Truthfully, I expected much more ‘defined’ results with this and DO want to do it again, but with different plants all at the same time {i.e. two or three different plant types}. We’ll have to see if we have time later this year to do it again!

Simple Science Sunday ~ To Microwave or Not to Microwave? That is the Question…

Really when it all came down to it, this was super simple…but it was a lot of fun! I saw an experiment that Jodi at Granola Mom for God was doing on her site {Part 1 and Part 2} and figured that we needed to run our own little experiment too.

The experiment was simple and straightforward ~ buy three of the same plants and ‘feed’ them each a different type of water. One was on a strict ‘boiled-water’ diet, one was ‘microwaved-water’ and one just plain ol’ water. We wanted to see if the manner in which the water was treated made any difference in the quality of life of the plant.

Why, you might ask?  I was really, truly curious to see what our results would show and if subsequently we would be chucking a microwave to the curb. I am well aware that Snopes has this experiment on their website, but after seeing what was happening over at Jodi’s house…well, I wanted in on the challenge.

The Plants

I chose three lovely pansies as our victims, plucked off all the dead growth from them and set them up outside to start the experiment. All three plants were given fair and equal treatment, other than the water that they were fed. Their rights were:

~ Receiving a form of filtered water: Filtered {straight-up}, filtered & boiled, and filtered & microwaved. All water was stored in the same type of glass jars that all ran through the same dishwasher cycle to begin with and covered with a lid so the water wouldn’t evaporate or get contaminated.

~ Fair and equal time in the sunshine and wind {and one day of rain}.

~ A rotation around our porch so that not one of the plants could complain about the angle of the sun’s rays {or lack thereof}.

~ Protection from cold weather and harmful children.

~ Equal servings of water. If one plant received 1/2 cup of water, the other two received the same amount, or whatever amount was given…just to keep plant sibling rivalry down.

IMG_4042The plants were assigned numbers that no one, not even Daddy, knew the significance of the numbers. Number 1, 2, and 3 ~ ‘cause we’re fancy like that.

And because I’m mean, I’m not going to tell you which plant is which.

The Results

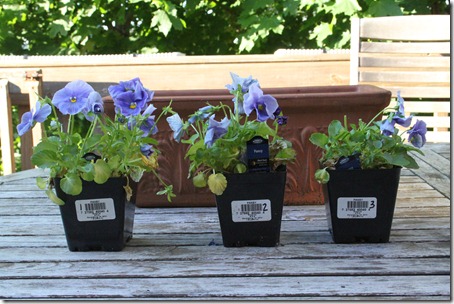
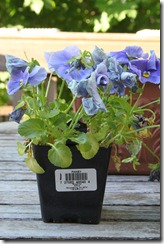
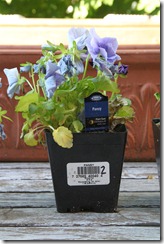
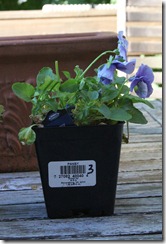
After almost three weeks, I lined our plants back up and took a mug-shot of them all together again ~ from 1 to 3.

IMG_4551

And to give them each a little more attention, here they are a little more ‘close-up’:

IMG_4547IMG_4546 IMG_4550

To be ‘fair to plant number 2, it was definitely the runt of the bunch when they were purchased. But I’m curious ~ which one out of the three do you think looks the best? The worst?

I’ll let you all have a chance to comment and then I’ll chime in with another post later this week to reveal the secret identity of each of the plants…so stay tuned, but first CHIME IN!!! What do you think?

Outside Our Window

For the last two weeks, this has been the view right outside our dining room window.

robin nest 

The momma bird gets a little skittish when we come outside {our van is right near the tree} ~ and really, with Zachary around, who can blame her?

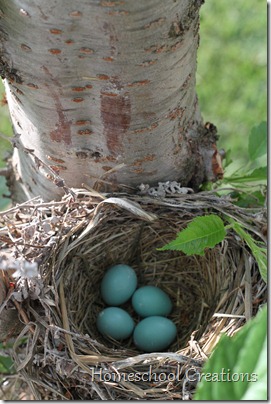
Last night I was able to sneak over to the nest when she was off getting some food for herself and hold my camera up over the nest and get a little peek inside…

robin eggs

I do believe this mom of four is a little partial to this momma robin! :) We’ve pulled out our robin lapbooks from last year and are taking a little refresher course this spring. Hopefully we’ll be seeing some little beaks in the next week!

Making Rain ~ Science Sunday

With our school year wrapping up and our {ahem} lack of science experiments during the school year, we’re having fun playing around now and learning through our experiments.

Recently we had fun making rain together ~ not outside, but in our own kitchen. The kids were fascinated by it even though it was such a simple activity.

We only needed four simple things:

~ a pot

~ ice

~ a teakettle

~ water

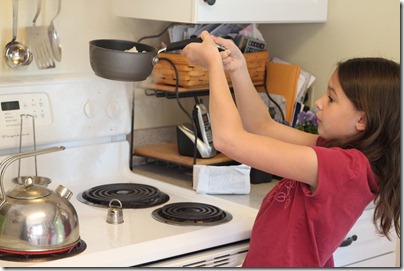
You can pretty much get an idea of what to do from this picture here. We put the ice into the pot, boiled the water, and waited until the teakettle started to steam and held the pot in the stream of the steam. The steam coming from the teakettle is the ‘cloud’.

IMG_4025

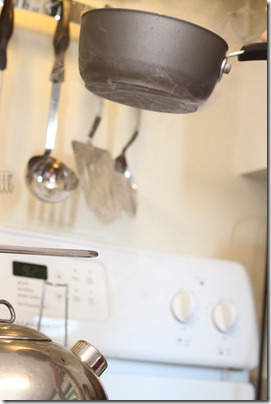
After awhile, the kid’s arms tired from holding the pot so high {about 18”} above the steam, so Mommy had to step in and hold it up and high. Do you see the condensation forming on the outside of the pot?

IMG_4021

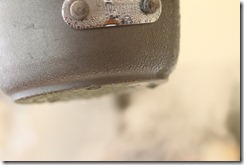
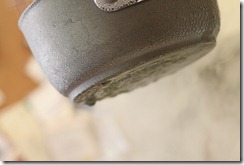
Little by little the condensation started gathering in certain areas of the pot and finally started forming little ‘rain’ droplets and dripping all over our stove. We made rain! When the warm, moist air meets the cold air ~ rain happens!

IMG_4027 IMG_4031

I’m hoping to start posting some of the activities that we’re doing each week and linking up to Science Sunday hosted by Ticia at Adventures in Mommydom. I’m not promising anything spectacular, just simple & fun stuff that we’re doing!

Preschool Corner ~ Playdough Mats

This week has been a little ‘off’ at our house and I didn’t figure out why until early this morning when Zachary complained that his ear was hurting. One lovely ear infection diagnosed.

Fortunately I brought Kaleb along for the visit and our doctor checked him out too ~ and he has one in both ears. Why I’m so slow to catch onto these things is beyond me sometimes…

Since both boys were really in rare form, we spent much time ‘playing’ and learning rather than doing our actual work. Our toy of choice?

Playdough!!

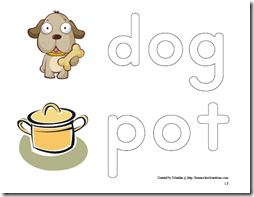
I put together some playdough mats for both of the boys to use {and to share with you all, of course}. I just printed them off onto cardstock and rather than laminating them, I slide the sheet we are using into a plastic page protector. Then we can change it out as we want to!

playdoughmatsb

Kaleb’s playdough mats are all alphabet based. Each one is 8 1/2” x 11” and has both the uppercase and lowercase letter on the sheet along with a picture of something that starts with that letter/letter sound.

alphabet playdough matsalphabet playdough mat
 

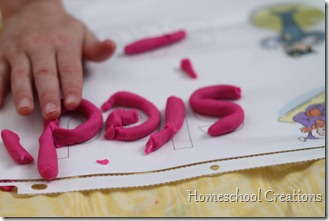
We tried rolling the playdough, but Kaleb preferred snipping, snipping, snipping it instead. Needless to say, we had chunks of playdough everywhere and that is how Kaleb filled in the letters. We talked about the letters, traced them with our fingers, made the letter sounds together ~ and just had fun!

image

Zachary’s playdough mats are actually tied into our All About Spelling lessons {I’m sneaky like that}. He said he was ‘too big’ for the letter mats and wanted his own to use. :)

spelling playdough mats

Since we’re using All About Spelling with him, I put together some spelling word mats to go along with most of the lessons in Level 1. Nothing fancy, mind you, but it has been great reinforcement for him on the phonics rules that he is learning each week. Each mat has the lesson equivalent in the bottom corner {i.e. 1.15 is level 1 lesson 15}.

Ready to Link Up?

Share what you are doing with your kids! Please link your exact blog post to the Mr. Linky below and link back here too! The updated guidelines can be found here if you need them.

Photobucket