20 Best Tips

Nature Time {Science Sunday}

No experiments this week ~ just fun in the great outdoors. Rick and I took the kids to a nearby park/river and we spent time exploring the things around us.

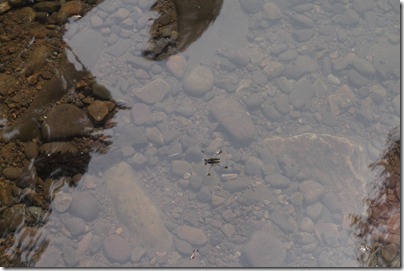
The first thing that we saw was a water bug ~ a great opportunity to talk about what we remember about our surface tension experiment.

Water bug

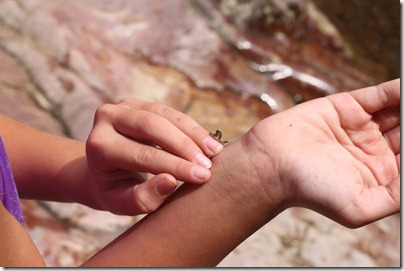
We found an inchworm crawling on Daddy’s shirt and had fun watching it crawl around on our fingers.

inchworm

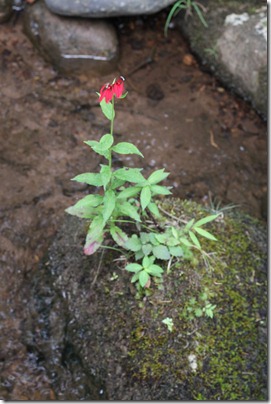
Laurianna and I saw this flower in the middle of the river…growing on a rock. A great time to talk about deep and shallow roots…

flower on rock

There were SO many different butterflies clustered in one area on the bank. We have yet to look up and see exactly what these two are.

 butterflies

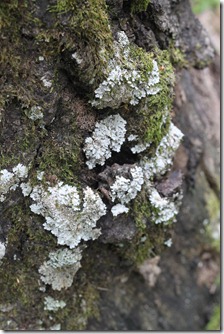
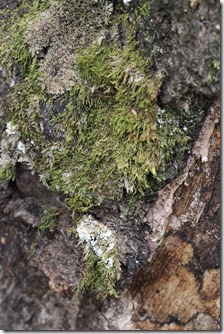
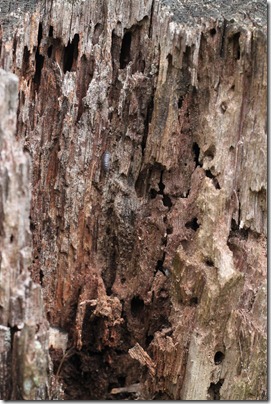
During a walk around the park we found a decaying tree stump with both moss and lichen growing on it.

 lichen  tree moss

The stump was a great example of decay and we had fun peeling back parts of the stump, squeezing parts of it between our fingers to see how squishy it was {compared to typical wood} and looking at all of the bugs crawling around inside and around the stump.tree decay
It was a lazy afternoon…but so much fun and lots of learning too. :) Gotta love that! Don’t forget to check out some other great science ideas at Science Sunday hosted by Ticia at Adventures in Mommydom.

 Jolanthe Signature affiliate button

Science Sunday ~ Our Worm Jar

The kids were thrilled with the prospect of bringing a big ol’ handful of worms into the house. The purpose? To see how {and if} worms compost, dig tunnels and mix soils.

Mommy? Perhaps not as thrilled as the kids were at the prospect of there being worms on the loose should a certain 5 year old manage to get ahold of the jar. But she persevered…

worm jar 1

Want to try this at home? Here’s what you’ll need:

  • a quart size canning jar
  • a lid with holes in it
  • dirt/soil/hay/grass
  • worms
  • dark colored felt or paper

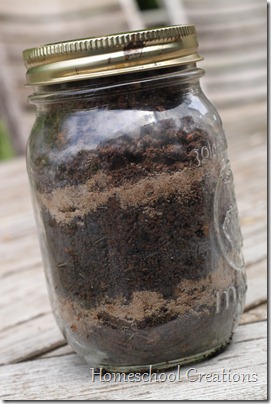
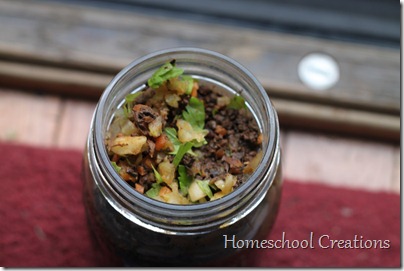
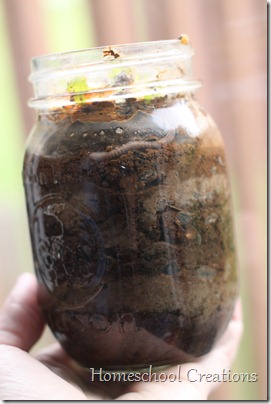
First we layered dirt into our jar ~ rich soil from the garden, some lighter sand, some mulch {layering soil, sand, mulch, soil, sand…}. When we had filled the jar, we had fun digging for worms and added them to the top of the jar. We also added some food {teeny tiny chopped carrots, celery greens, chopped apples, etc…} for the worms to mix into the soil ~ we hoped.

IMG_4448

We made sure the soil was slightly damp, put the lid on our jar and wrapped in a piece of dark brown felt so that the worms would have some darkness to work in. We even put the jar inside one of our cabinets so that it was good and dark.

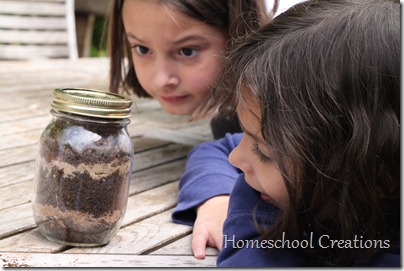
Every few days for the next two weeks we continued to check on our worm jar to see how our little underground friends were doing ~ and if they were doing their jobs.

worm jar 3

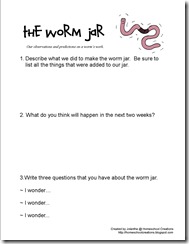
We filled out a simple science notebooking sheet with our predictions and observations to track our worm’s activities.

Worm Jar Click on the image to download the pdf.

Some fun facts we learned about worms:

~ The only place where earthworms don’t live are in the desert or where the ground is frozen.

~ Earthworm poop is called ‘castings’.

~ Worms have two layers of muscles ~ one that runs lengthwise and one that runs around, helping its body stretch and contract.

~ Worms have a coat of slimy mucus that helps them glide through the dirt.

~ Sunlight can kill a worm because they are sensitive to the UV radiation.

~ Worms are sensitive to temperature and touch.

~ Worms do not have ears, rather they ‘hear’ by sensing vibrations. 

worm jar 2

Here is a peek at our jar after 3 days. Can you see one of our worm friends near the top of the jar? See how our soil is already mixing? We had to add a little water/moisture to the jar to help out our worm friends.

After two weeks there were no obvious layers anymore. Our worms had been hard at work mixing and composting our soil. After we observed them, we took them back to our garden and let them do their work around our vegetables. :)


Don’t forget to join Homeschool Creations on Facebook!

This post is also linking up to the OHC Spring Series #9: Earthworms at Handbook of Nature Study. :)

Robin Lapbook and Unit Study

Little did I know that one simple robin’s nest would take us on an adventure into learning some fun things about robins ~ and more about the creativity of God!

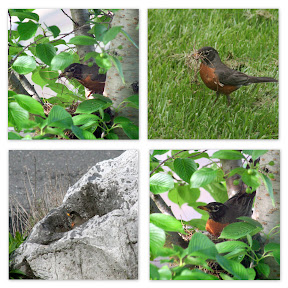
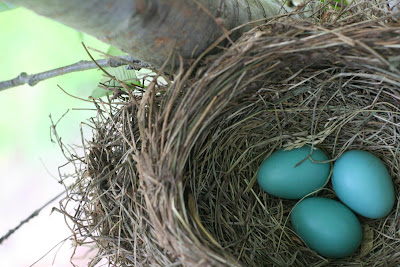
We watched a mommy robin build her nest right outside our window, found out {thanks to Zachary putting his hand in the nest} that she had laid three eggs…and then watched and waited patiently.

Until she abandoned the nest three days before the eggs were supposed to hatch.

Regardless, we continued on with our robin study and learned so much. We’ve all been sharing the little tidbits that we’ve learned with others we know, because it’s too neat NOT to share!

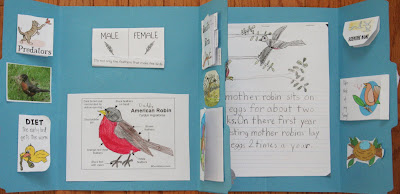
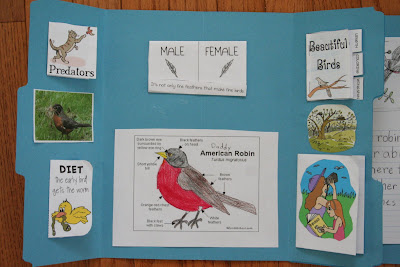
At the end of the post I’ll include a full list of all the great links and resources we used over the last bit. I’ll also throw in some of the fun facts we learned as I post pictures of the lapbooks the girls put together. Tomorrow I’ll be posting the lapbook we did for Zachary as part of the Preschool Corner.

Every day we spent time memorizing “Little Robin Redbreast” and also sitting outside to observe the robins {and other birds} in our yard ~ their songs, habits, etc… We also worked on the minit books that went along with what we were studying that day.

Monday: A Robin’s Habitat ~ Our backyard

  • Identifying robins: difference between males and females ~ minit book
  • Scientific name of robins: turdus migratorius
  • Migration of robins & minit book
  • What do robins eat?
  • How do robins find their food? We had so much fun watching the robins in our yard and learning that they actually see the ground move ~ not hear like we originally thought!

Tuesday: Life Cycles/Nesting ~ Getting ready for babies

  • What are the predators of robins?
  • Who builds the nest?
  • Robins ‘chore chart‘ ~ who has what responsibilities in raising babies. You guessed it, it’s primarily the momma robin. We learned that the mom lays one egg a day and that it generally takes 2 weeks for the eggs to hatch. The mother robin spends on average about 50 minutes of each hour sitting on the eggs in the nest.

Wednesday: Keeping up with the babies

  • Feeding habits of babies ~ wow! We were amazed to learn that the parents have about 100 feedings a day. {And I thought that my kids ate a lot}
  • In the first two weeks of life, each baby eats the equivalent of 14 feet of worms ~ we even went into the backyard and measured that out.
  • Babies weigh less than a quarter when they are born and are almost the same size as their parent within 2 weeks.
  • Disposable diapers for birds ~ This was amazing!! Did you know that every time a baby robin eats it poops right away? That way the parents are there to pick up after them. Their poop is contained in a little sac that the parents can pick up {just like a disposable diaper} and carry away from the nest. This helps keep the nest clean.

Thursday: Listening to robin’s songs

  • What are the different songs of robins ~ we sat outside and listened to them
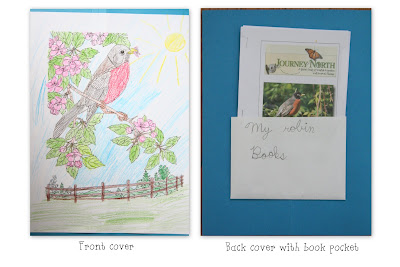
  • Put our lapbook and minit books together
  • Wrote/journaled and illustrated our robin stories. The girls used Draw Write Now to do the first page and then drew their own pictures on the second page. We use a lined journal that has room for drawing on the top of the page and then I photocopy their work to put in the lapbook.

Books we used

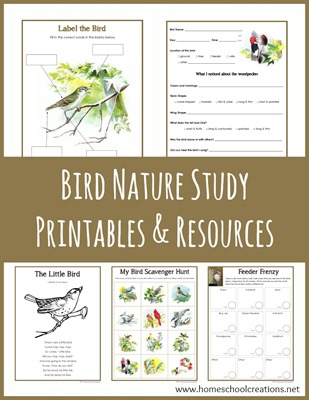
Free Bird Nature Study Printables!!

Bird-Nature-Study-Printables-from-Homeschool-Creations.jpg

If you are looking for some additional notebooking style pages, don’t miss the free Bird Nature Study Printables. It includes bird tracking, information pages, labeling activities and much more! 


Some Great Resources

Photobucket

What I Love About Homeschooling

You know what I love most about homeschooling? Well, it’s at least in my top five favorite reasons….

We can stop whatever we are doing and completely change course if we want to.

My schedule for the girls has been learning about the countries of the world. Zachary is going through the alphabet. But right now we’re putting a pause on all that, because of something amazing that is happening right outside our window.

Robins have been building a nest in a tree right in front of our house. The kids can literally sit in front of the window and watch everything. And today, we found three eggs in the nest too!

Can you guess what we’ll be learning about for the next little bit? I’m off to madly scramble and pull together our lessons!

Photobucket

Making Sea Fans and Coral Reefs

Otherwise known as the Great Ocean Biome Diorama.

Say that ten times fast and you’ll have a great sum-up of my week.

Laurianna has been studying about different biomes and she had to choose one biome and make a diorama of it ~ she chose saltwater.

Rather than having everything be flat and just a cut-out we decided to have a little fun and thought you might like to see how to make a few quick and simple 3-D underwater specimens of your own.

What You’ll need:

~ needlepoint canvas
~ orange paint & a brush {or color you choose to make your sea fan}
~ orange {or other color} pipe cleaner
~ scissors
~ newspaper.

Make the Sea Fan:

1. Cut the needlepoint canvas in the shape that you would like your sea fan to be (a tree shape). The shape doesn’t have to be exact – they’re all different. :)

2. Paint the canvas orange {use the newspaper to protect your surface} and let it dry.

3. When the canvas is dry, use the pipe cleaner to make ‘branches’ and a ‘trunk’ on the canvas.

What You’ll Need:

~ playdough or modeling clay
~ paint and a paint brush
~ radiatore pasta {small ruffled and ridged shaped pasta}
~ newspaper

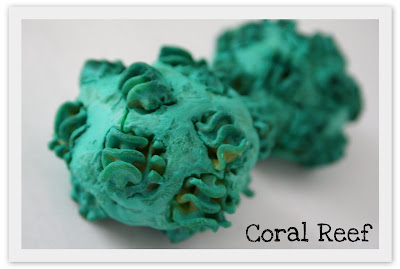
Make the Coral Reef:

1. Form a ball with your playdough or modeling clay and flatten it just a little bit. Size will vary based on either your diorama size or what you are making it for. Our balls were about 2 inches in diameter.

2. Press the pasta into the clay to create a ‘brain-like’ pattern.

3. Paint your coral mass and let it dry!


{A few other notes}

~ The shark ‘swims’ across the sea. He is glued to a popsicle stick and travels along a slit at the top of the box.

~ We used blue tissue paper as our water and half a sheet of sandpaper as our ocean floor.

~ Laurianna drew fish, crabs, jellyfish and the shark to decorate her diorama. The fish are hanging by a clear sewing thread from the top of the box. We also used shells and coral that we found on the beach to decorate it a little more.

Photobucket

Caterpillar Changing to Chrysalis

A friend of ours recently gave us four caterpillars to watch grow and change over the next few weeks. Today alone we were able to watch three of them turn from caterpillar into their beautiful chrysalis. If I get a chance I will try to post some video of it soon, but for now, this picture montage will have to do.