20 Best Tips

Making a Simple Compass – Learning about the Earth’s Magnetism

making a simple compass and learning about the Earth's magnetism - HomeschoolCreations.net

As part of our history time this year, each week we are working on simple projects with friends to go along with our studies. One week we may make miniature teepees, another we tie knots that sailors use. This past week we talked more about how compasses work and had fun making a simple compass of our own. 
making-a-simple-compass-2

We’ve been learning about early explorers to the Americas and talking about how they used compasses to help them find their way across the wide ocean. Truly they were much more adventurous than I am, because I don’t believe I’d be willing to do what they all did (however thankful I am to be living in North America now). 

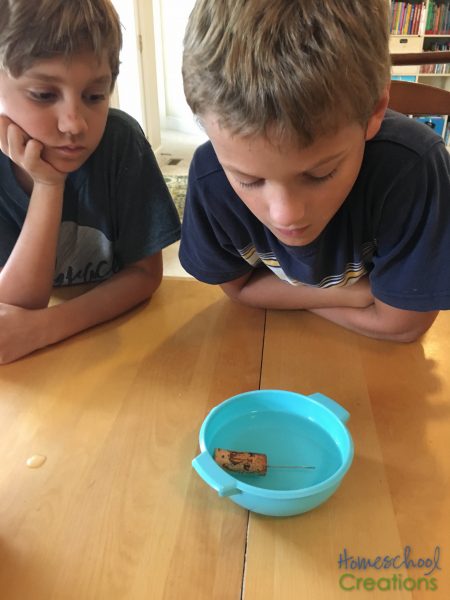
It only require a few simple supplies to put our compass together and the best part of all – it really worked! Granted, we won’t be taking our compass on any grand ocean expeditions in the near future, but the kids were so excited and carefully watched as it found north each time. We tried it with several different needles to see if there was any difference, but all three we tried worked well.  

Making a Simple Compass
making-a-simple-compass-3

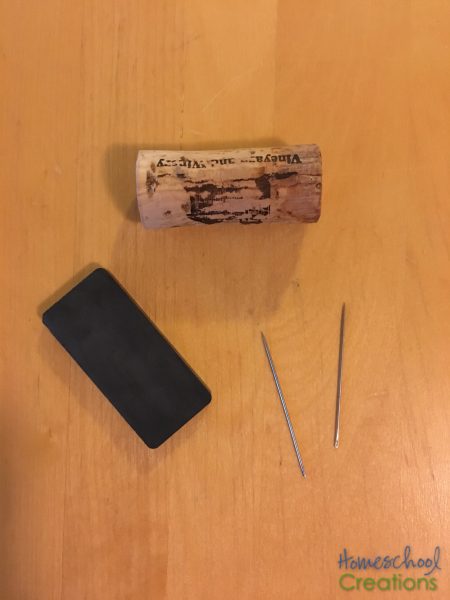
Here’s a quick look at what we used to create our compass. You’ll need: 

  • a needle
  • a magnet (a washer-sized magnet will work as well – we used one the size of a domino)
  • a cork
  • a bowl and water
  • tape (optional)

Directions: 

  1. Carefully rub the sewing needle on the magnet at least 30 times in the same direction (be sure not to rub it back and forth). 
  2. Tape the needle to the outside of the cork. We didn’t have any tape handy, so instead we poked it into the side of the cork. 
  3. Place the cork in a bowl full of water. Be sure the bowl is wide enough to let the cork rotate and move around a bit. 
  4. Once the cork has stopped moving, check and see what direction it is pointing. Compare the location to an actual compass – don’t hold the compass too closely to your homemade compass because it can skew the results. Gently turn the cork again and wait to see where it is pointing this time (is it the same area?). 
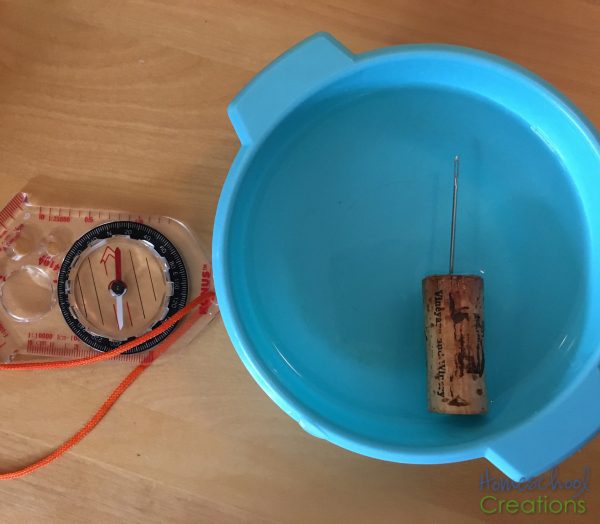
making-a-simple-compass

Why it works: When the iron/steel needle is rubbed against the magnet, the particles line up and turn the needle into a temporary magnet. The needle then aligns with the Earth’s magnetic field. 

The entire project took us less than ten minutes – super easy and a great chance to talk more about magnetism and compasses. 


Monarch Butterfly Life Cycle Printables

monarch-butterfly-life-cycle-free-printable-set-from-homeschool-creations

Everyone in our home has been watching the butterfly tank the last week. No matter how many times we observe the process, it is still fascinating. Even though we’ve talked about the process over and over again, it never hurts to review the vocabulary, stages, and take some time to savor every step of the process. 

Monarch butterfly (c) Homeschool Creations

We released two caterpillars this past week and have two in a chrysalis, waiting their turn. In the meantime, while we wait for a butterfly to emerge, we’re going to have some fun with our monarch butterfly life cycle printables – and I’d love to share them with you too! 
  • a mini-pack freebie for everyone to download
  • a subscriber only freebie (be sure to check the footer of your email for all the information!)
  • a HUGE 50 page set packed with full color and black and white printables, great for homeschool or classroom use. 

Mini-Pack Freebie

life-cycle-of-a-monarch-butterfly-printables-from-homeschool-creations-poster

life-cycle-of-a-monarch-butterfly-printables-from-homeschool-creations-word-cards life-cycle-of-a-monarch-butterfly-printables-from-homeschool-creations-vocab-cards
life-cycle-of-a-monarch-butterfly-printables-from-homeschool-creations-vocab-cards-3 life-cycle-of-a-monarch-butterfly-printables-from-homeschool-creations-vocab-cards-2


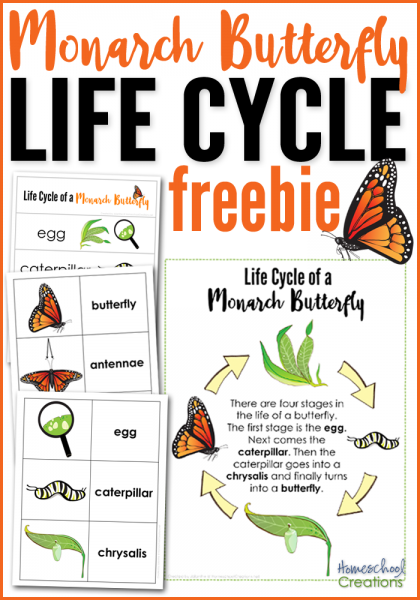
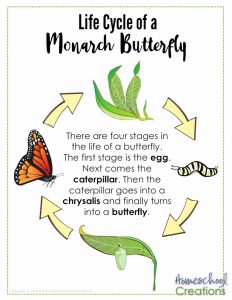
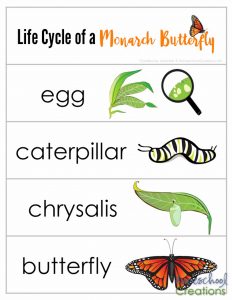
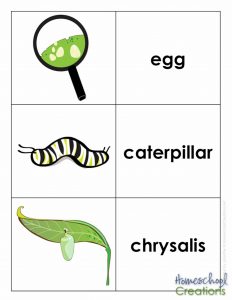
Grab the 5-page mini pack which includes a monarch butterfly life cycle poster, nine vocabulary word cards, and life cycle sequencing strips. The clip art in this kit is gorgeous and your kids will love it! 


Download button


Subscriber Freebie Pack

monarch-butterfly-life-cycle-printables-subscriber-freebie

As a special “thank you” to my subscribers, I have an extra bonus pack for you all! This set includes all of the mini-pack printables plus 4 coloring and journaling pages, a life cycle mini-booklet, the parts of a butterfly activity sheet, and a life cycle activity sheet – eight additional pages to extend the learning! To help with printing costs, this set is all in black and white. 

Subscribe button

To download, be sure to check the footer of your email under the subscriber section, click over to your special page, and grab the pack. Not a subscriber? Become a subscriber HERE and receive instant access – there are even a few other bonus freebies there for you to enjoy! 


50 Page Life Cycle of a Monarch Butterfly Learning Pack

 monarch-butterfly-life-cycle-50-page-printable-pack

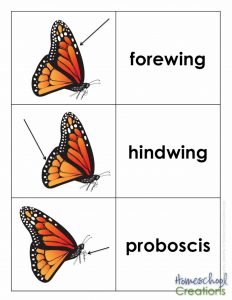
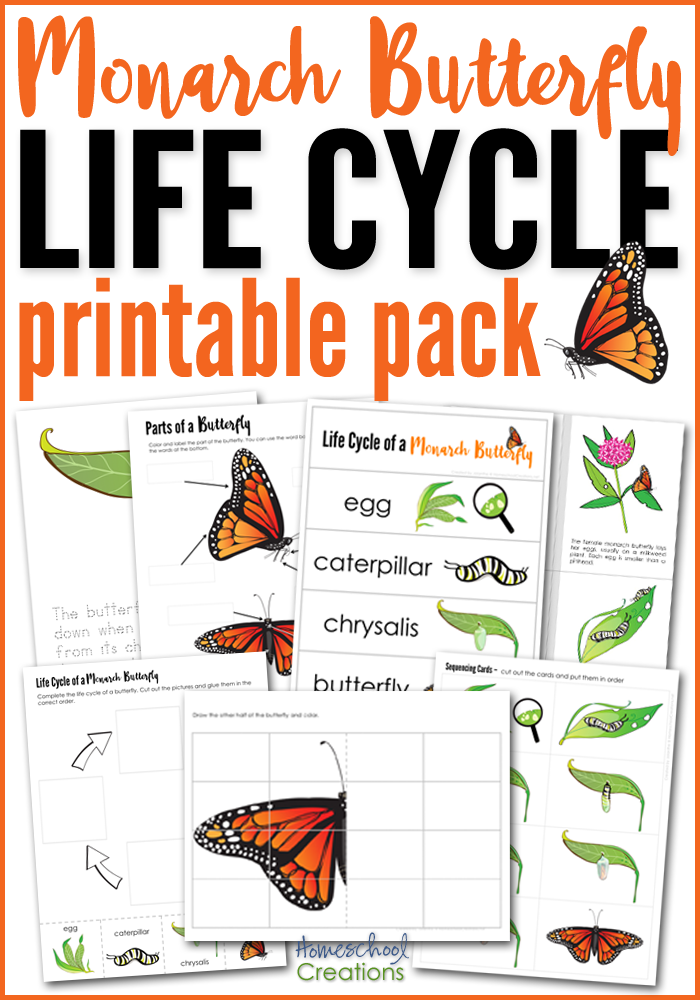
I’ve also put together a larger learning pack on the life cycle of a monarch butterfly. This 50 page pack includes both full color and black and white pages (for those who want to save on a little ink or have a larger classroom). Inside you’ll find the following: 

img_8861

  • 4 full-page color posters of the life cycle of a monarch butterfly
  • full color mini life cycle cards (print 4 to a page)
  • 12 trivia cards 
  • 2 drawing a butterfly activity sheets (full color and black/white)
  • 11 page mini-booklet (full color and black/white)
  • 5 color and journal pages (full color and black/white)
  • 5 trace and learn pages (full color and black/white)
  • monarch butterfly life cycle poster (full color and black/white)
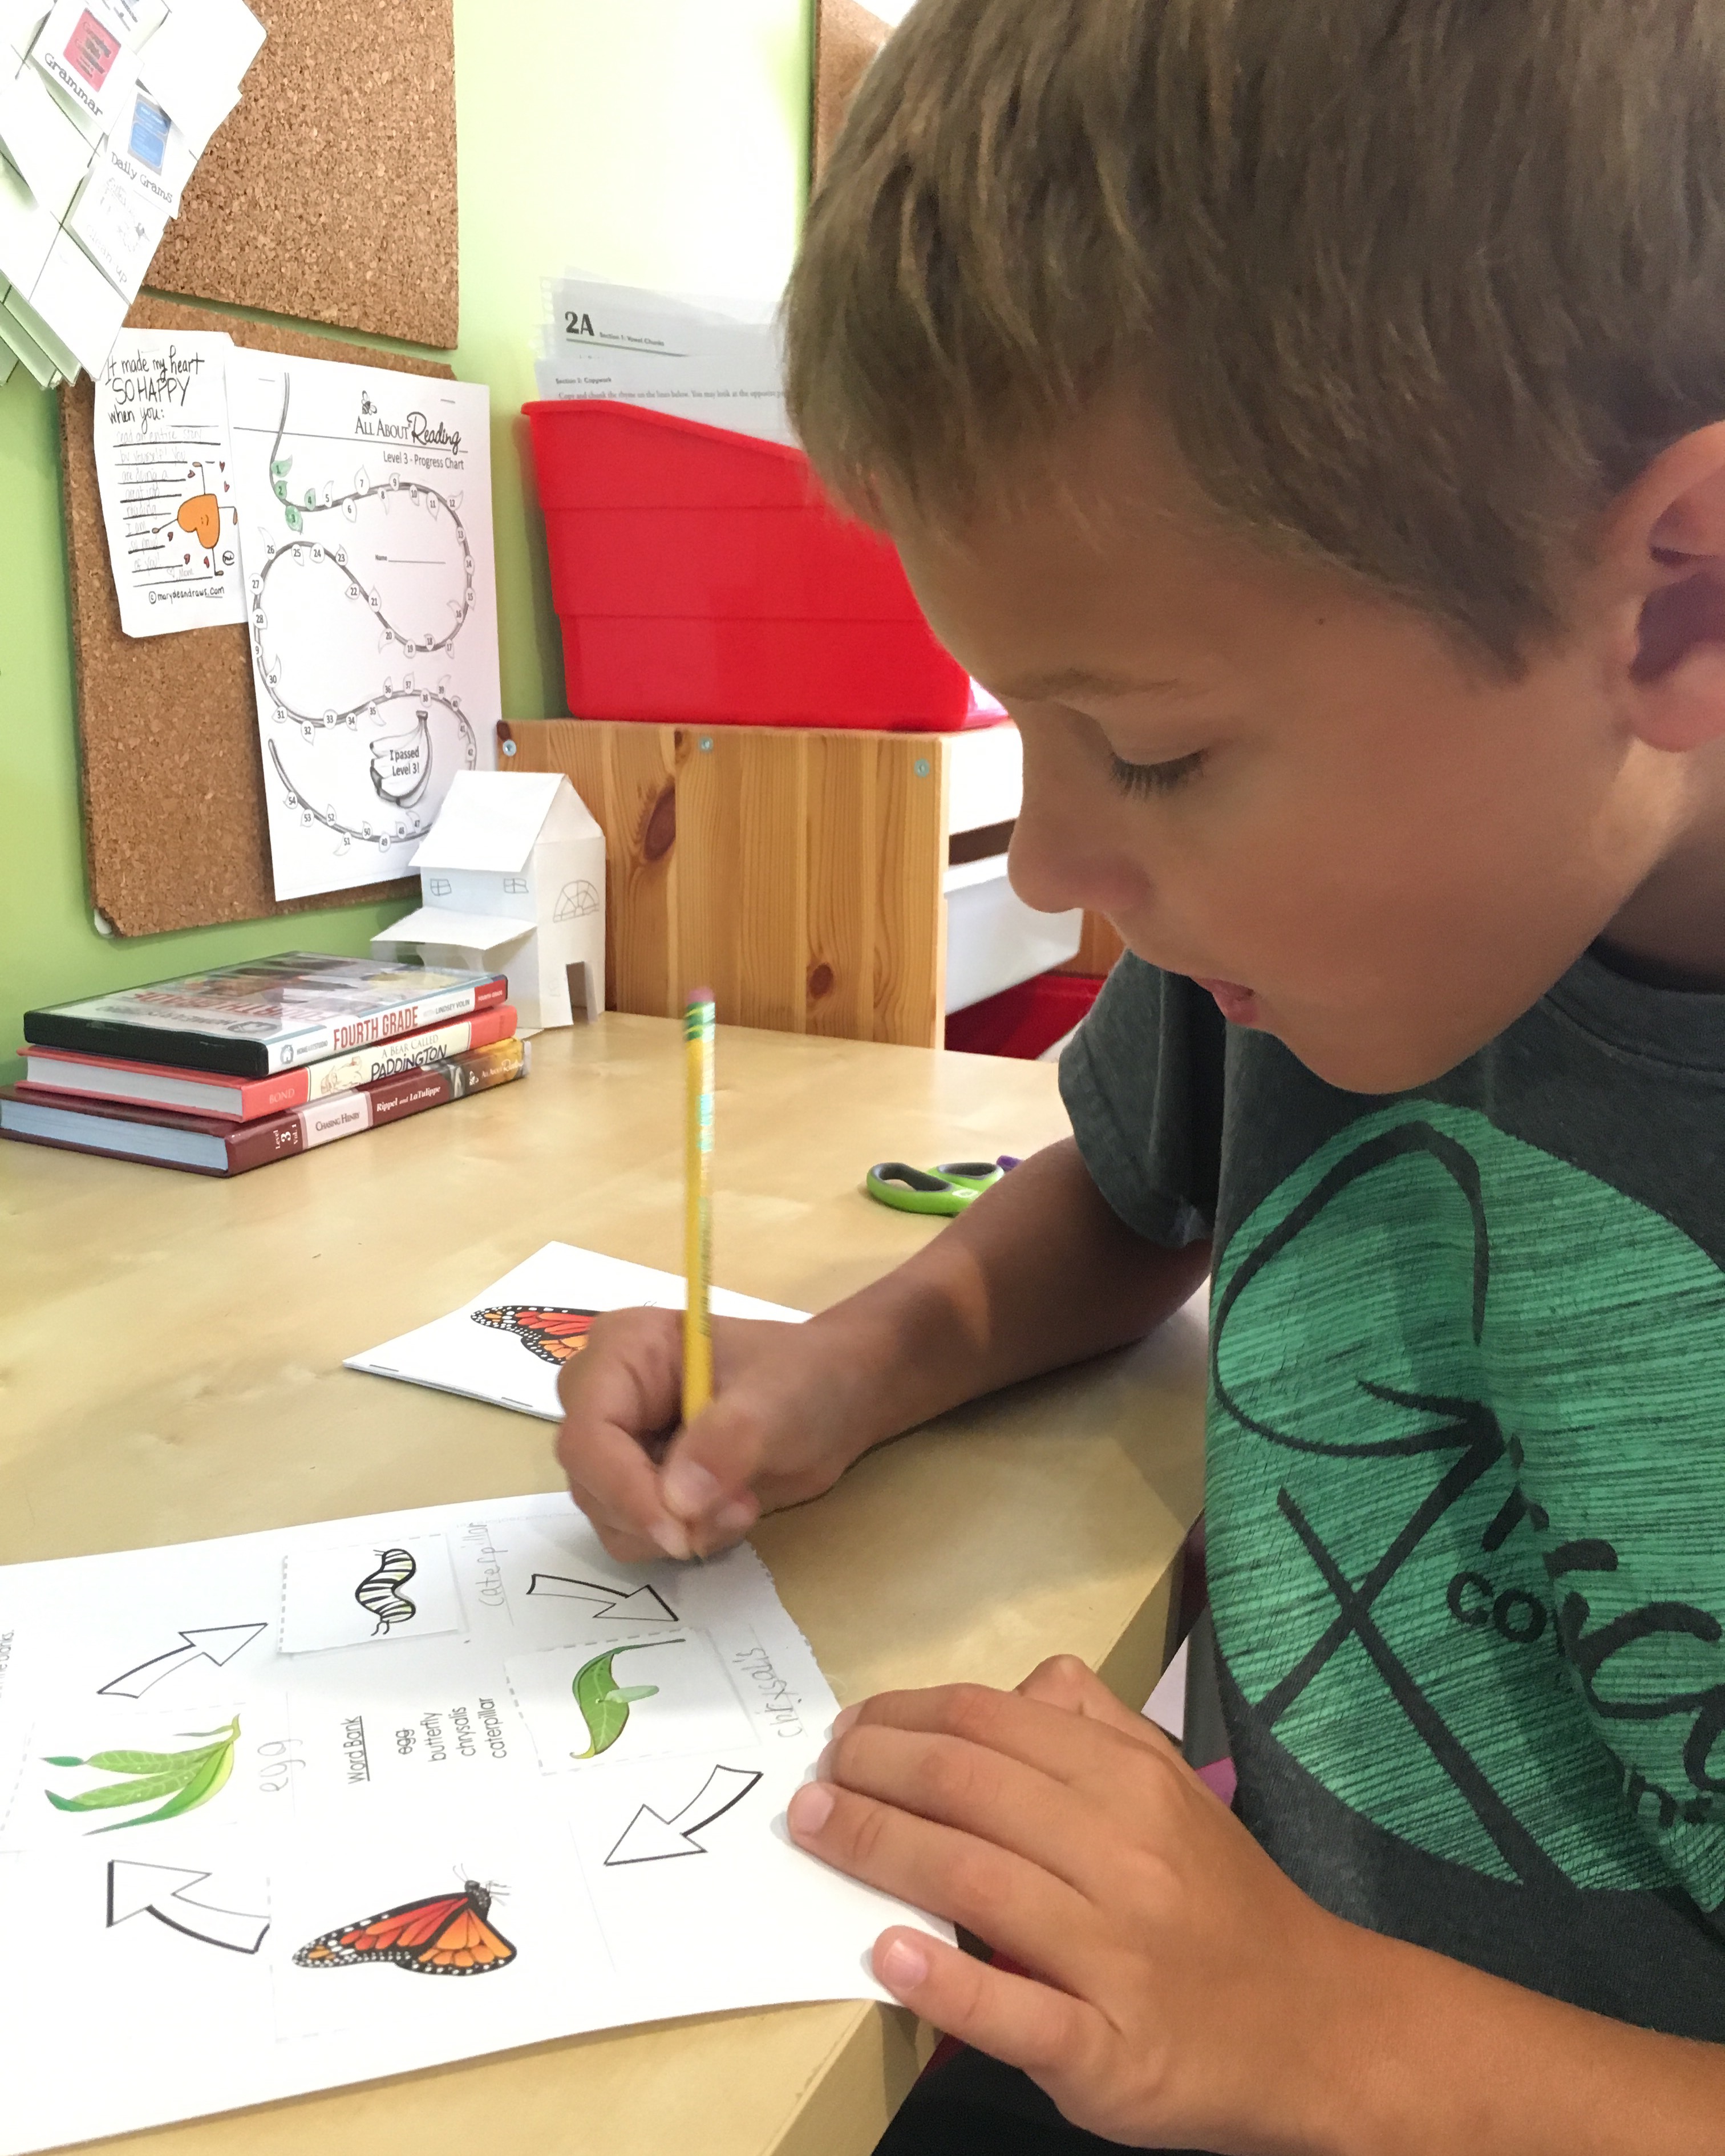
  • 2 life cycle activity sheets (full color and black/white)
  • parts of a butterfly activity sheet (full color and black/white)
  • life cycle sequencing strips
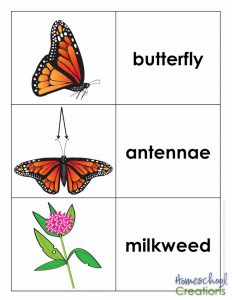
  • 9 vocabulary picture/word matching cards
  • 8 mini sequencing cards with added stages (full color)

Purchase and download the 50 Page Life Cycle of a Monarch Butterfly Learning Pack in my Teachers Pay Teachers Store for $3.00


I hope these printables are a help to you all as you have fun watching monarchs grow – it’s such a fun process! 

Additional Printables You May Enjoy…


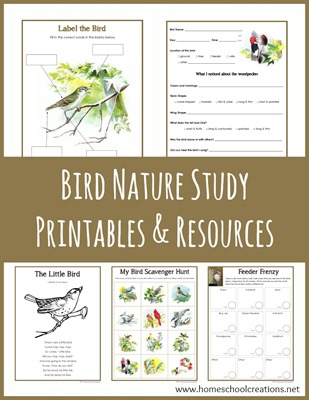
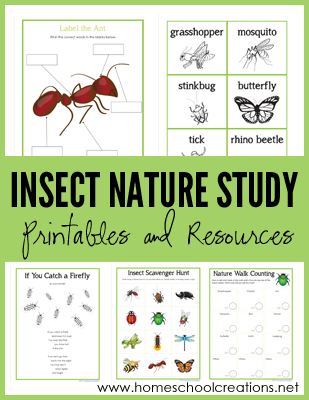
Bird-Nature-Study-Printables-from-Homeschool-Creations.jpg Insect Nature Study Printables from Homeschool Creations


Learning How to Make an Electromagnet – Project Attraction from EEME

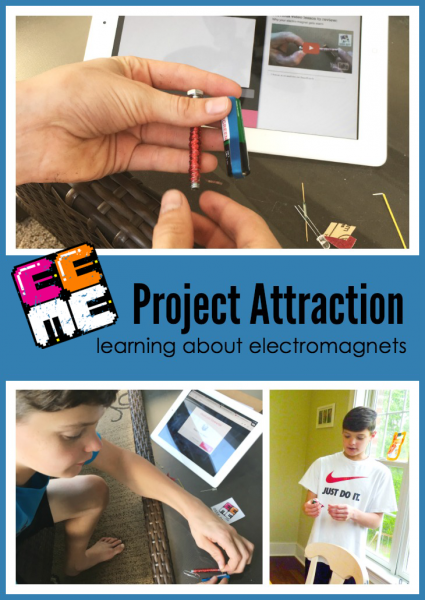
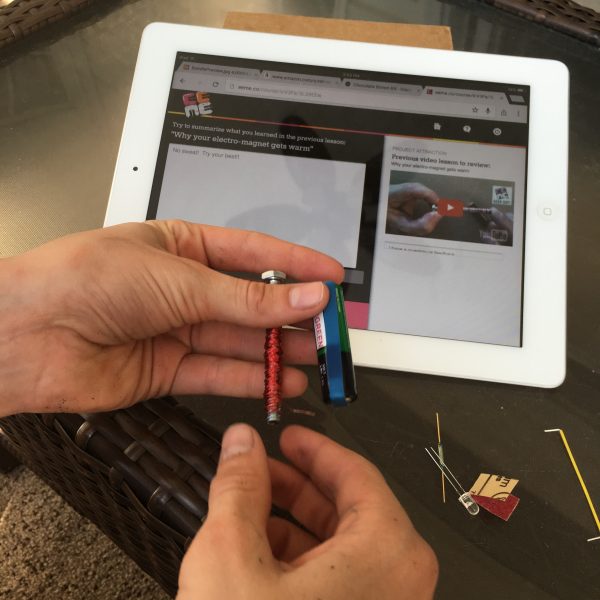
Learning about electromagnets with Project Attraction from EEME

One of the best additions to our homeschool time this year has been the projects from EEME. Zachary has absolutely loved the hands-on learning and put it well into practice. One could say he is ‘wired’ this way (and yes, the pun was definitely intended)!

Learning about electronics one project at a time and gaining the knowledge of the ‘why’ behind how things work has been encouraging and confidence-building for Zachary. He has since started asking his dad to help out with projects (or may have attempted some on his own – cough), but it has given him a much deeper interest in how and why things work the way they do. 

Learning How to Make an Electromagnet

IMG_7239

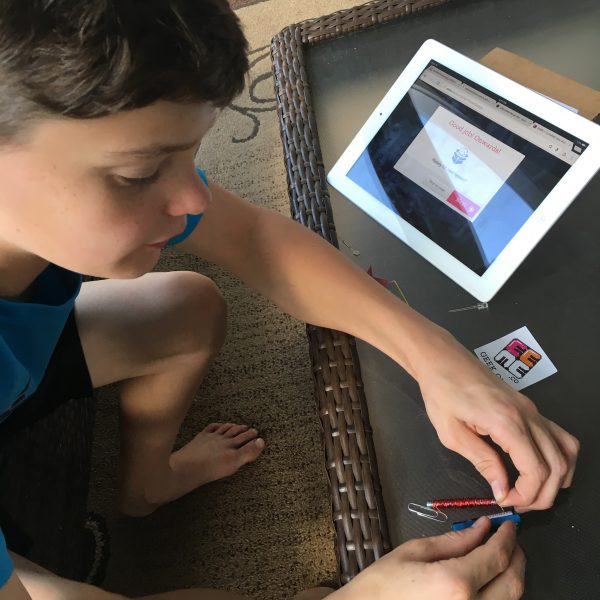
Using Project Attraction from EEME, Zachary learned how magnetism is related to electricity and built an electromagnet. The project taught about: 

  • reed switches
  • electric current and heat

Overall, Zachary was able to finish the project in about an hour and a half (build time is approximately 1.5-2.5 hours) because he had a little bit of a hang up on one portion of the process and needed my help. Typically, he is able to work through the steps without parental help (I love that), but the fine wire used in the building of the electromagnet was more challenging and  required a little assistance from me at that point in the project. 

As with all of their projects, there are short step-by-step video tutorials to follow along in the building process. All of the materials needed for the project were enclosed in the box and detailed in the first video:

  • a small magnet
  • an LED
  • a 2″ wire
  • a resistor
  • a reed switch
  • a metal bolt with tape around thread
  • a thin wire coil
  • sandpaper
  • AA battery
  • rubberband
  • paperclip

IMG_7253

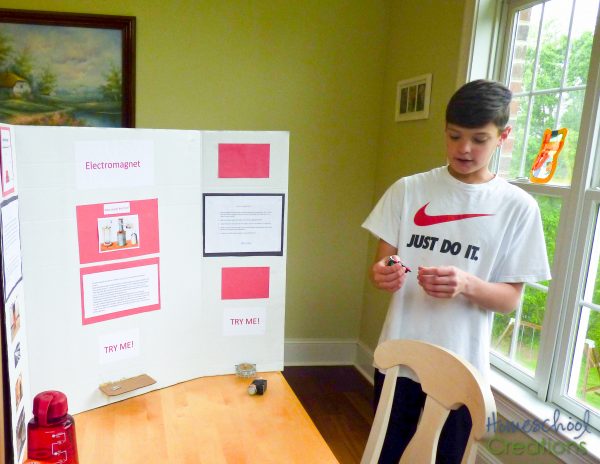
The timing of this project from EEME couldn’t have been better. As part of one of our co-op classes for The Mad Scientists Club book, the kids participated in a science fair where they chose a short story read during the year and then worked on a project based on what they learned. They needed to explain the scientific principle behind the project and create a display to showcase their learning. 

The electromagnet project fit in perfectly with the story “The Voice in the Chimney,” and Zachary was able to base his entire science display on this project. (We won’t talk about the short detour he took after putting together the project when he considered creating a much larger electromagnet using his father’s riding lawn mower battery. Fortunately, someone caught onto the boy’s mind meandering and he lived to see another day.)

Science Fair Project electromagnet-3-2

On a much more sane note, Zachary put together a science board explaining how electromagnets worked and showed the one he had created using Project Attraction and then another he tried on his own following the same principles learned in the video clips from EEME. I love that he was able to use the one project as a jumping off point to create more and learn more!

One of the big things learned during this process was the heat generated when creating the electromagnet (the bigger one he created generated more heat, so THANK GOODNESS he didn’t get far on the one with the lawnmower battery). The current flowing through creates the warmth/heat and the battery can also quickly drain if left connected. 

Things to LOVE About EEME

Aside from the fact that all the supplies are included in each of the EEME project kits, the video curriculum is well put together and explain the building process in detail. Each of the videos is between 2 – 10 minutes long. In addition:

  • videos explain the step-by-step process AND the principles involved (how/why something works) – a huge help for parents who don’t know the answers themselves (cough)
  • shorter videos help those with limited attention spans
  • comprehension questions ensure kids are understanding what you are doing
  • videos can be stopped/paused if needed during the process
  • the videos are free to watch – check them out here and get a peek!

The projects would be wonderful extensions to current curriculum or even as after school learning – or even make a great gift! There are different purchase options available, including a basic monthly subscription, individual projects, and a 6 month Project Set. They have different purchase options, and we’ve completed the first four projects so far from the basic subscription.  You can find more information on the EEME website, or follow them on Facebook, Pinterest, Instagram, and Twitter.

Learn More About EEME

EEME makes hands-on projects and provides FREE online lessons to teach kids electronics, fostering their curiosity for how things work and prepping them for the STEM opportunities of tomorrow.

Each project kit is paired with online curricula to not only show your family how to assemble the kit, but more importantly, teach them how it works.

They also have FREE interactive online lessons to teach your family the fundamentals of electronics. Sign up for FREE to access EEME’s online lessons.

Project Attraction is one of the projects in the Builder Basic 6 Project Set and also the fourth project in EEME’s monthly subscription program. Zachary has thoroughly enjoyed all he has worked on (especially Project Amp) – a HUGE thumbs up from our family!

As I mentioned, we’ve worked on several other projects from EEME. If you’re interested in learning more about their monthly subscription program, be sure to check out the below posts for more information:

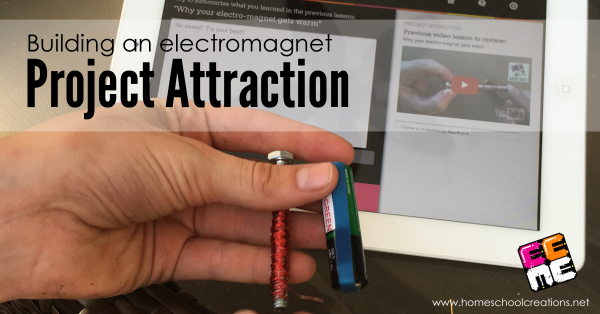
Building an electromagnet with Project Attraction - EEME

Project Attraction is perfect for ages 7+

Time Required: 1.5 – 2.5 hours

Parental involvement: varies based on child


We received this kit as part of a review campaign, and this review is our honest opinion. Our family has loved the various projects and highly recommends them. 

Egg Drop Experiment – #STEM Challenge for Kids

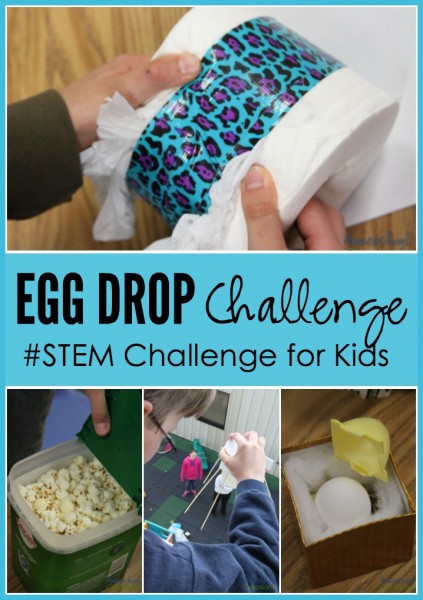
 Egg drop experiment #stem challenge for kids

For our final co-op class, the kids were all challenged to create a device that would keep a raw egg safe from a second story window drop. They have had a blast with their prior STEM challenges this semester, and this egg drop experiment was no different. Seeing the various creative ideas each came up with to protect their eggs – and the groans and cheers that resulted was equally as fun as the egg drop itself! 

The eggs were supplied when the kids arrived, but during the week prior there were a few guidelines to follow in creating a protective barrier for the eggs: the completed device could be no longer/taller/wider than 12 inches and they needed to use items they found around the house. This meant that if a parachute was added, it was also part of the 12 inch guideline, so it needed to fit within that parameter. And yes, I brought a ruler. A few kids had guessed beforehand and ended up making last minute modifications to have it fit. 

Egg Drop Experiment Ideas

Ideas from the kids varied and it was much fun to see if they worked and hear their theories as to why they thought it would. Some had tested their devices before coming (and had success), but many waited to see how it would work. 

Egg Drop #STEM Challenge for kids-2

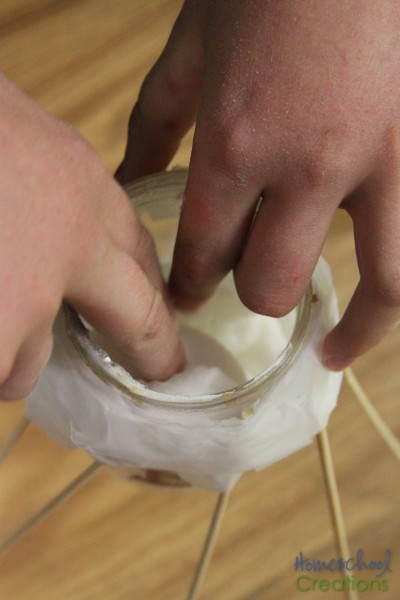
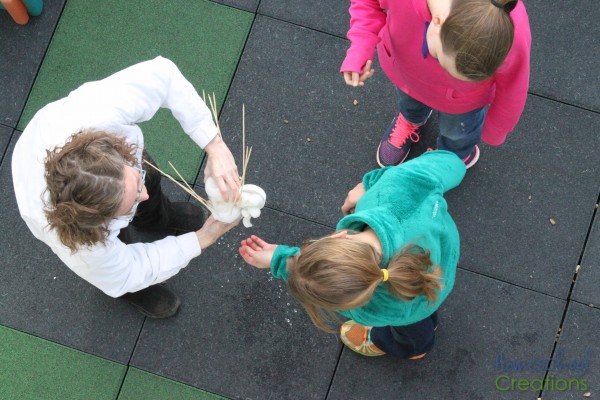
Our first egg drop used an old plastic jar lined with cotton balls galore. The jar was surrounded by skewers and adequately taped. The intent was to drop it and have the skewers cushion the drop so the jar wouldn’t hit the ground. 

Egg Drop #STEM Challenge for kids-40

While the container flipped during it’s drop, the impact wasn’t enough to break the egg and the cotton balls did their job cushioning the blow. The only thing that did break the egg was trying to get it out of the jar. A success! 

Egg Drop #STEM Challenge for kids-4

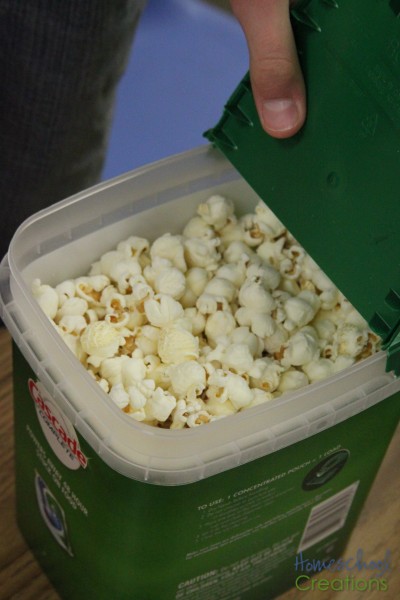
A recycled dishwasher tablet container filled with popcorn was the second entry. The overall container was very lightweight. 

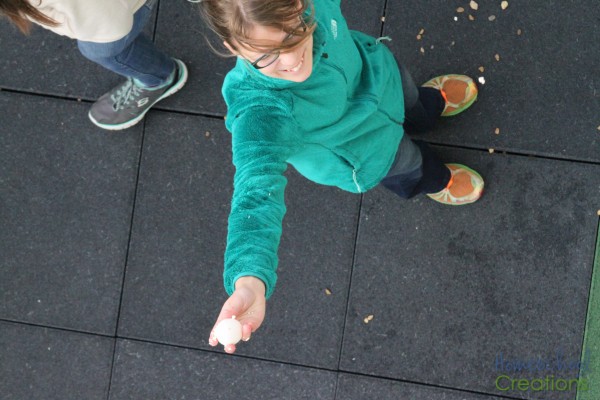
Egg Drop #STEM Challenge for kids-44

Another egg survival! 

Egg Drop #STEM Challenge for kids-16

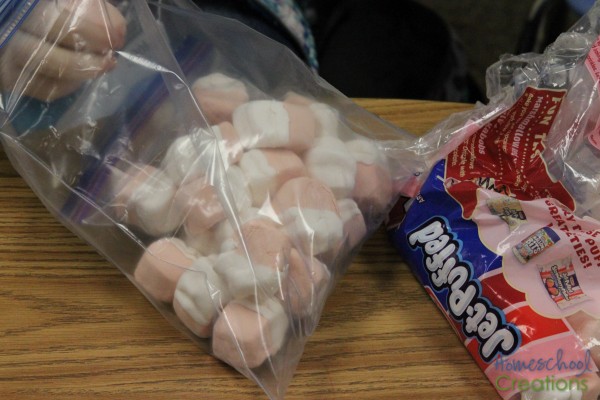
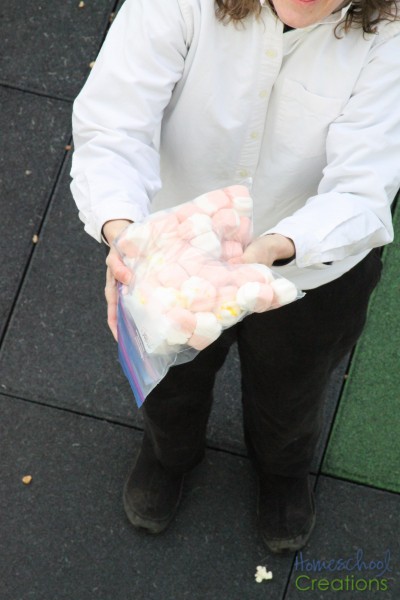
A ziploc bag filled with marshmallows and the egg surrounded by a gallon sized ziploc bag with more marshmallows was another entry. Predictions were looking good for this submission. 

Egg Drop #STEM Challenge for kids-28

Unfortunately, the density of the marshmallows was enough to crush the egg and it made a fairly runny mess. 

Egg Drop #STEM Challenge for kids-9

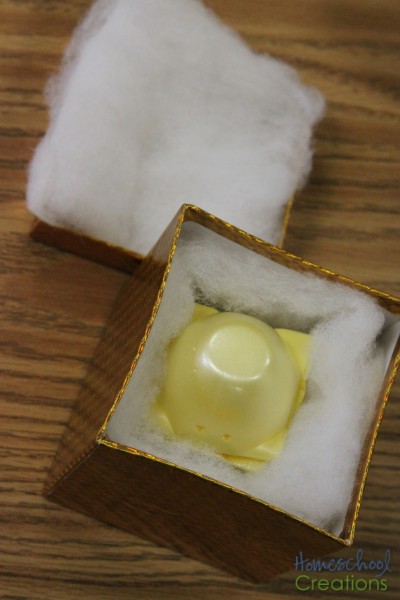
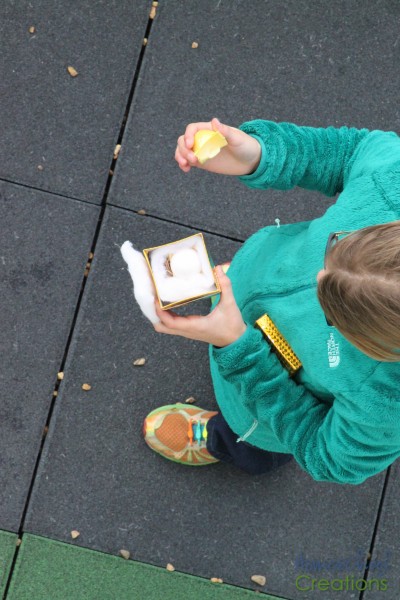
The smallest entry in the egg drop was a little box cushioned with cotton batting, a single egg carton styrofoam piece, all topped with rubber bands, the lid, and secured shut with a few rubber bands. 

Egg Drop #STEM Challenge for kids-34

Even though it was so small, it worked beautifully! 

Egg Drop #STEM Challenge for kids-5

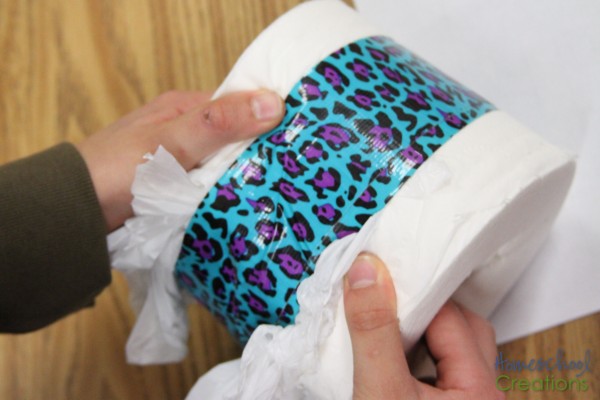
A single roll of toilet paper with the cardboard tube removed and wrapped in duct tape was a cozy home for another egg. 

Egg Drop #STEM Challenge for kids-48

The squishably soft goodness of whatever brand used was enough to cushion the drop – another survivor! 

Egg Drop #STEM Challenge for kids-15

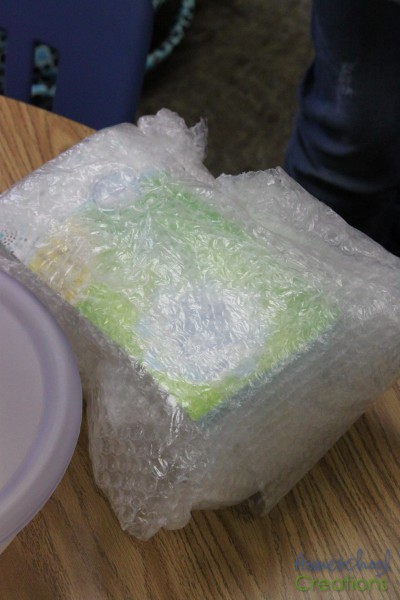
Bubble wrap around a small box was a last minute pull-together from one of the boys who may have forgotten to work on his assignment until the last minute. A parachute was also part of the plan, but was nixed due to size limitations. 

Egg Drop #STEM Challenge for kids-20

Fortunately his last minute effort paid off and his entry made it! 

Egg Drop #STEM Challenge for kids-13

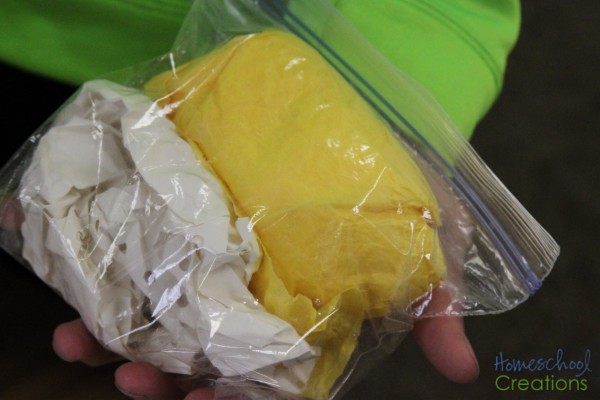
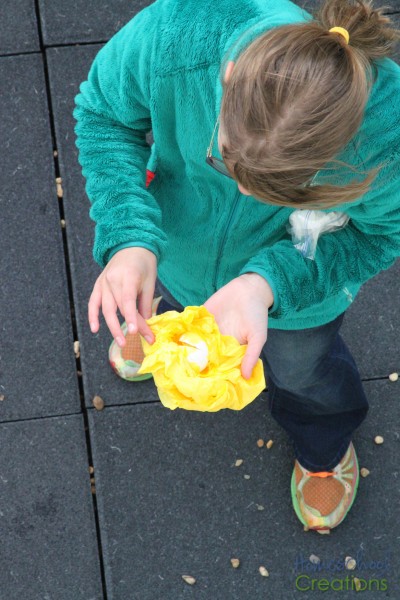
This next one was fairly simple: tissue paper surrounding an egg with extra cushioning inside a plastic baggie then placed in a paper bag with more tissue paper. It was tested several times at home with success. 

Egg Drop #STEM Challenge for kids-54

Unfortunately, the padding was not done the same as it had been prior, and the egg did not survive the official drop.

Egg Drop #STEM Challenge for kids-8

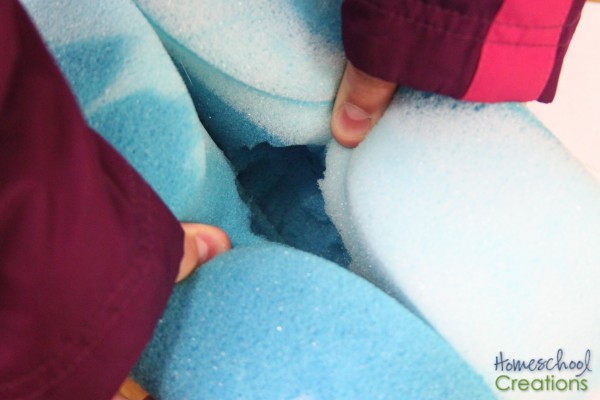
Someone’s dad might be a little upset this summer when he realizes a few car sponges are missing from the garage. Originally this creation had a parachute added, but it needed to be removed because of size requirements.  The sponges were glued together and a small space was hollowed out in the middle to house the egg. 

Egg Drop #STEM Challenge for kids-23

This one was a definite success, even after multiple bounces when it landed – and HIGH bounces at that!


Overall, this was such a FUN time with the kids and a great way to end our semester class together. Have you ever done an egg drop with your co-op class or kids at home? If not – have some fun and see who can come up the most creative idea! 


Additional STEM Challenges


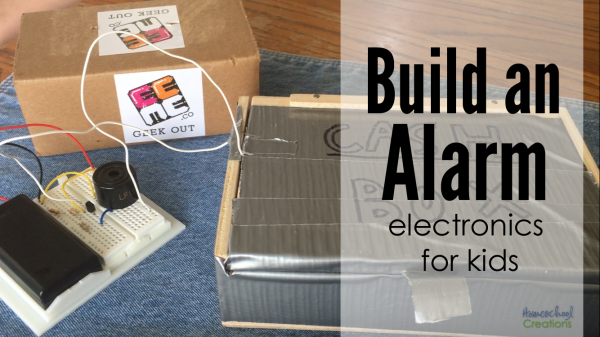
Build an Alarm – Electronics for Kids

build an alarm - electronics project for kids

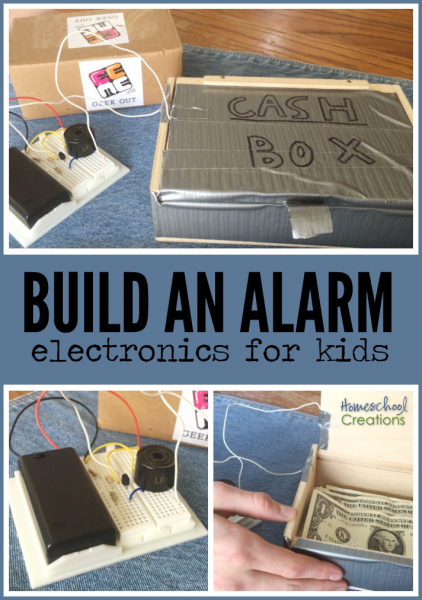
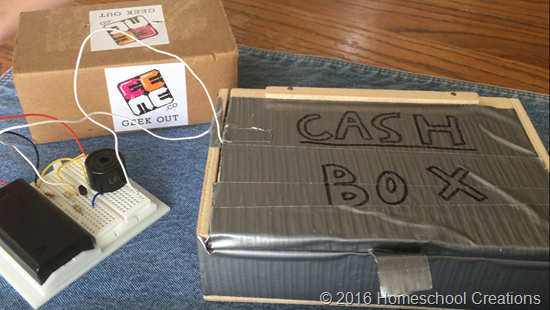
Apparently Zachary has something special that needs protecting from his dangerous siblings or the animals roaming in our woods. He had the option of creating a door alarm, but decided instead that his cash box needed more protection. Using our most recent EEME kit, Project Tentacle, Zachary worked to build an alarm using electronics.

Over the past six months, Zachary has learned so much about bread boards, resistors, capacitors, and how to get his wires crossed (or not). It has been a fabulous learning time for him and something he has soaked up and absolutely loved.

IMG_6986

While we made a suggestion to not label his cash box, the alarm he built using the lessons from EEME were clearly a better option (grins). The alarm system using Project Tentacles was definitely a more creative option for his cash protection, and again Zachary learned more about circuits and different components, including NPN transistors – this was fun for me to learn as well, and you’ll hear more about it in the video clip below.

Building an Alarm – The Process

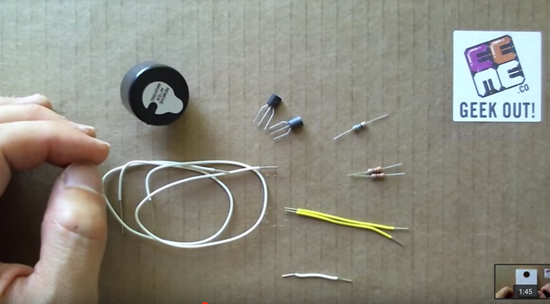
Contents for building EEME Project Tentacle

Because we have worked on several other projects from EEME, we had a few of the key components already on hand: a power supply and a breadboard. Otherwise, we received the following items in our kit:

  • buzzer
  • 2 – 6+” long white wires
  • 2 – 2” yellow wires
  • 1 – 1” blue wire
  • 2 resistors: orange band
  • 1 resistor: blue/green band
  • 2 3-prong transistors

I’ll be honest and tell you, the name of the project scared me a little bit at first! Fortunately, it wasn’t anything that involved lots of legs and crawled around the house – although the finished project did have some long wires that were all over the place.

IMG_6992

Zachary has a much better understanding of circuitry now that he has completed three projects with EEME, so it didn’t take him as long to complete this project overall other than figuring out the best way to ‘rig’ his cash box with an alarm and make it work every time the box was opened (a little duct tape goes a long way).

A Peek at How the Alarm Works


Zachary did a great job explaining the different components and how his alarm worked (ignore that I called the base a breadbox, please? I do know better than that!). Feed readers can click here to watch the video.


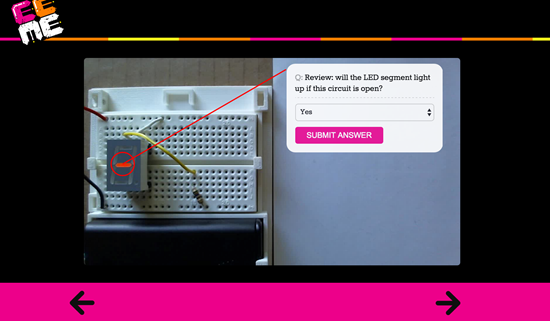
review questions

One thing I really appreciate about the projects from EEME is the constant review between the video clips. Some are review from the lesson while others are overall electronic questions based on what they have learned throughout.

You can see the three other projects we’ve worked on here:


A Little More About EEME

EEME makes hands-on projects and provides FREE online lessons to teach kids electronics, fostering their curiosity for how things work and prepping them for the STEM opportunities of tomorrow.

Each project kit is paired with online curricula to not only show your family how to assemble the kit, but more importantly, teach them how it works.

They also have FREE interactive online lessons to teach your family the fundamentals of electronics. Sign up for FREE to access EEME’s online lessons.

Project Tentacles is one of the projects in the Builder Basic 6 Project Set and also the third project in EEME’s monthly subscription program. Zachary has thoroughly enjoyed all he has worked on (especially Project Amp) – a HUGE thumbs up from our family!

 build an alarm - electronics for kids with EEME Project Tentacles

Perfect for ages 7+

Time Required: 1-2 hours

Parental involvement: varies based on child

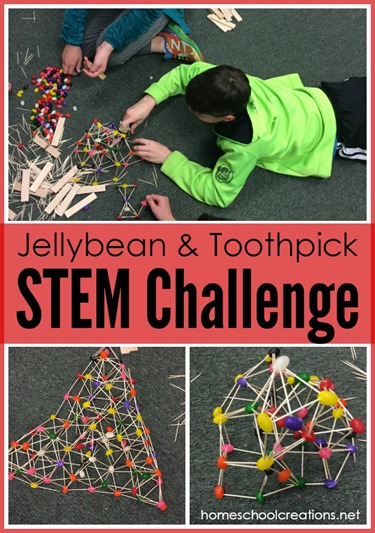
Jellybean and Toothpick Structure STEM Challenge

Jellybean and toothpick STEM challenge - building a structure that supports weight

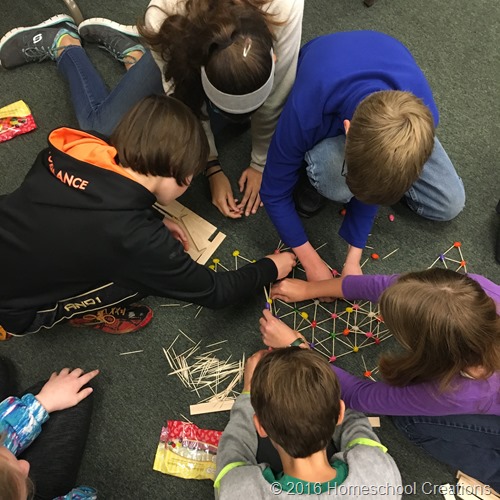
For one of our most recent STEM classes at co-op we took advantage of Dollar Tree jellybeans and an overabundance of toothpicks. The kids have had so much fun with our hands-on challenges and learning about the best ways to build structures that are weight bearing and can stand a little pressure.

IMG_6948

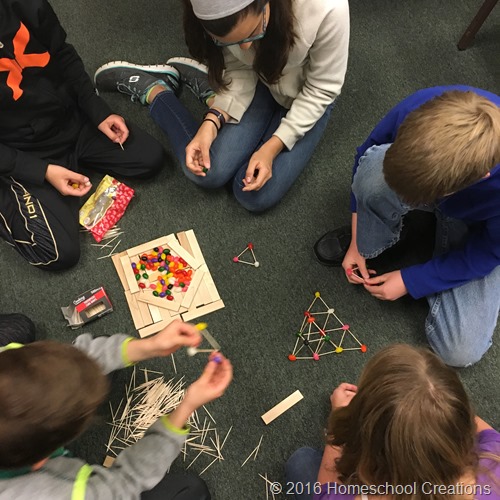
Initially we divided up into four teams of 2-3 students each but gave the kids the option of combining with one other team to build their jellybean and toothpick structure. The kids decided that was definitely the better option and quickly moved together. They also realized it provided them with more jellybeans for eating, should they not used two entire bags for their structure (smart kids).


IMG_6951

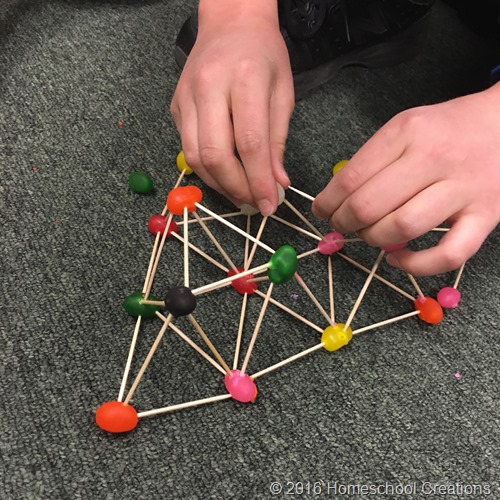
One of the BEST things I heard came immediately after the kids combined (and while I eavesdropped on their strategy talk). Both teams were discussing the best way to build a structure that would support the most weight and still have a good height. From each team, the words “a triangle allows the strongest support” was heard. (Yes, they are listening!!)

IMG_6952

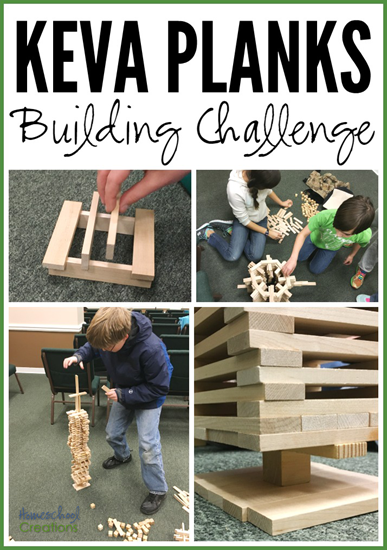
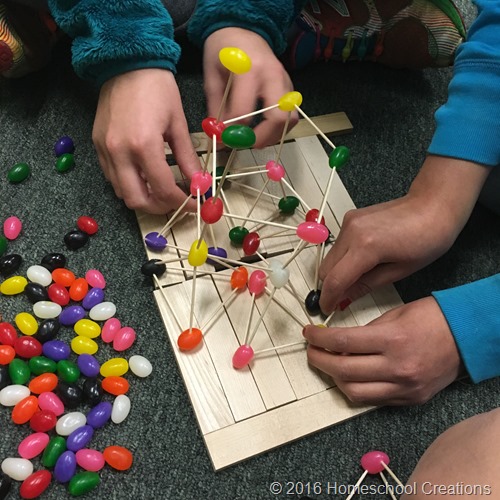
KEVA Planks were used as a sort of ‘holding pen’ for one of the teams – they didn’t want to risk floor contamination of jellybeans that may possibly be edible later. The other team obviously had no regard for where their beans ended up.

IMG_6955

IMG_6947

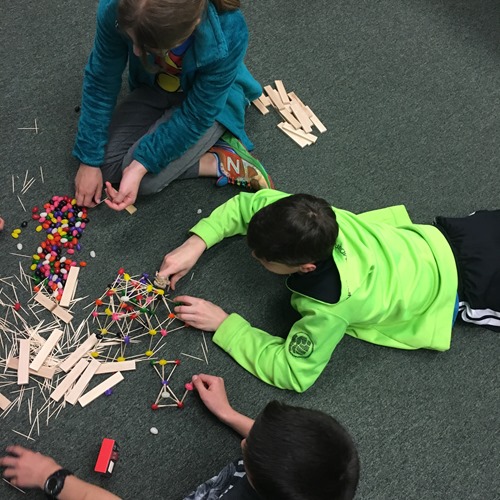
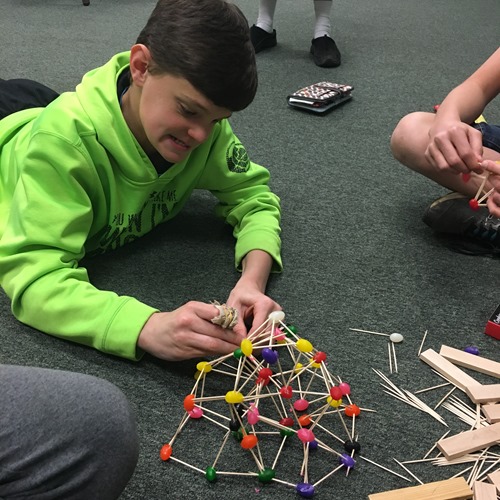
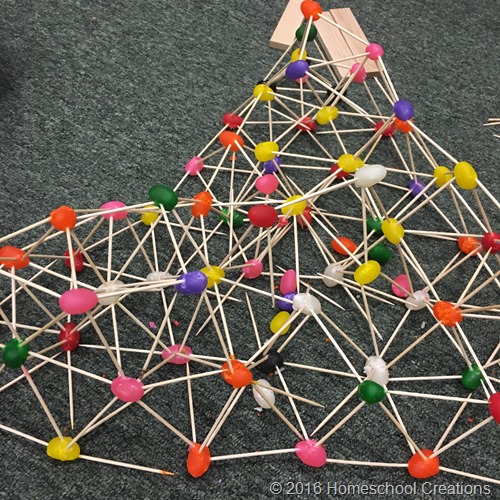
Both teams worked with a triangular setup for their structures, although one took a more systematic approach, setting up an assembly line of sorts. Team members started the process of putting a toothpick into a jellybean and creating piles, while others created pre-made triangles for another team member to work into their structure.


IMG_6953

Overall both teams had a blast with this challenge.  One structure was definitely more organized and that may be the team that wasn’t distracted by eating jellybeans along the way. 

IMG_6954

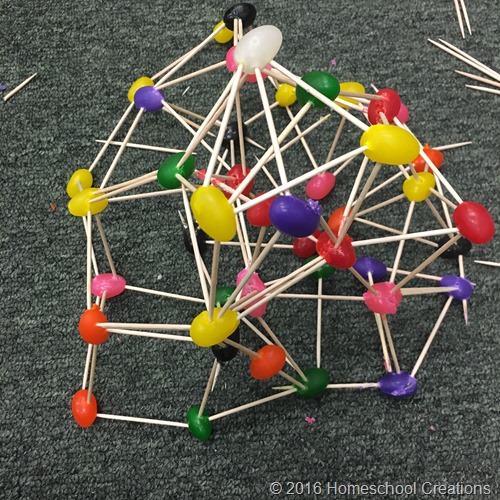
While Team 1’s structure was taller overall, it came to a definite peak and would not support as much weight when added (we stacked file folders on each structure to see how many it would hold). Team 1 eventually lost their triangular structure as their building continued( see the note on jellybean consumption), lost focus, and that ended up being their downfall.

IMG_6960

Team 2 had a much wider and elaborate base design (neater overall) thanks to their assembly line process. While their structure didn’t reach quite as much height as Team 1’s design, it supported more than twice the weight since it was able to more evenly distribute the weight when stacked.

(And jellybeans were consumed by all).

Such a fun and sticky challenge. Incidentally, picking up a box of 500 toothpicks that are spilled can be pointy and painful.


Additional STEM Challenges