- Like
- Digg
- Tumblr
- VKontakte
- Buffer
- Love This
- Odnoklassniki
- Meneame
- Blogger
- Amazon
- Yahoo Mail
- Gmail
- AOL
- Newsvine
- HackerNews
- Evernote
- MySpace
- Mail.ru
- Viadeo
- Line
- Comments
- SMS
- Viber
- Telegram
- Subscribe
- Skype
- Facebook Messenger
- Kakao
- LiveJournal
- Yammer
- Edgar
- Fintel
- Mix
- Instapaper
- Copy Link

As part of our history time this year, each week we are working on simple projects with friends to go along with our studies. One week we may make miniature teepees, another we tie knots that sailors use. This past week we talked more about how compasses work and had fun making a simple compass of our own.

We’ve been learning about early explorers to the Americas and talking about how they used compasses to help them find their way across the wide ocean. Truly they were much more adventurous than I am, because I don’t believe I’d be willing to do what they all did (however thankful I am to be living in North America now).
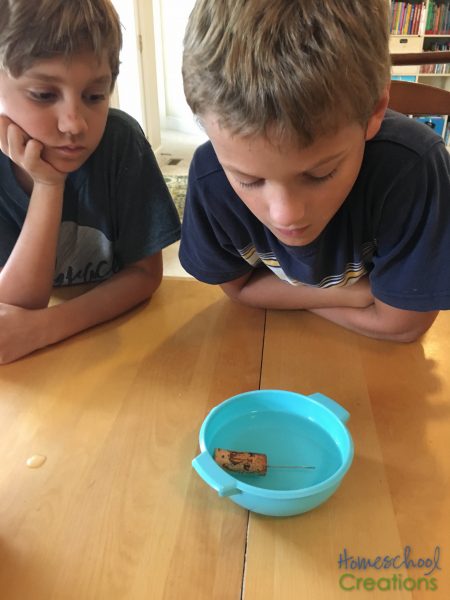
It only require a few simple supplies to put our compass together and the best part of all – it really worked! Granted, we won’t be taking our compass on any grand ocean expeditions in the near future, but the kids were so excited and carefully watched as it found north each time. We tried it with several different needles to see if there was any difference, but all three we tried worked well.
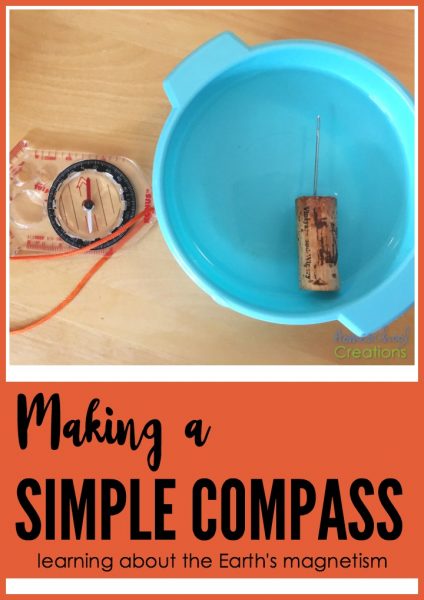
Making a Simple Compass

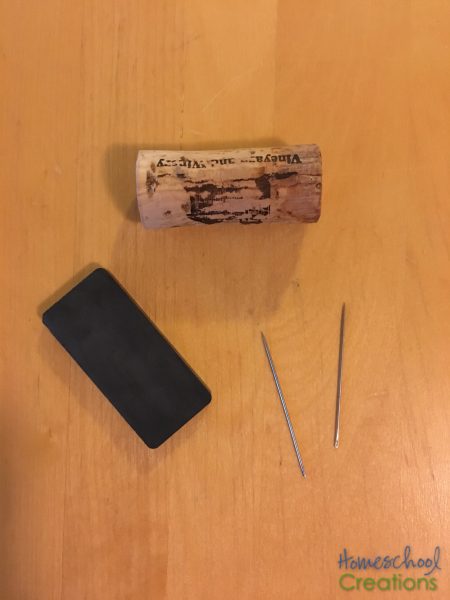
Here’s a quick look at what we used to create our compass. You’ll need:
- a needle
- a magnet (a washer-sized magnet will work as well – we used one the size of a domino)
- a cork
- a bowl and water
- tape (optional)
Directions:
- Carefully rub the sewing needle on the magnet at least 30 times in the same direction (be sure not to rub it back and forth).
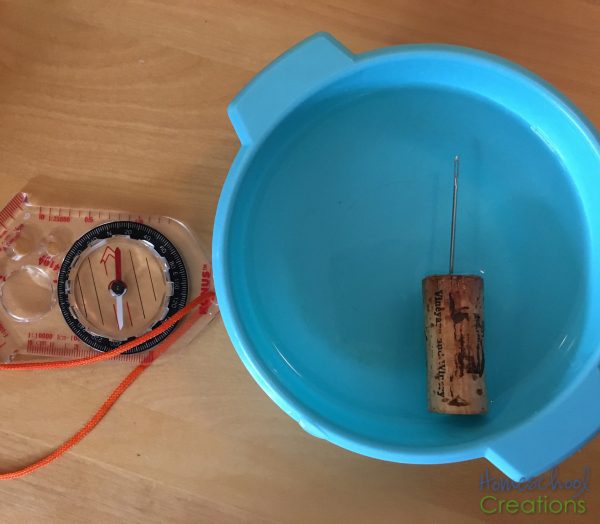
- Tape the needle to the outside of the cork. We didn’t have any tape handy, so instead we poked it into the side of the cork.
- Place the cork in a bowl full of water. Be sure the bowl is wide enough to let the cork rotate and move around a bit.
- Once the cork has stopped moving, check and see what direction it is pointing. Compare the location to an actual compass – don’t hold the compass too closely to your homemade compass because it can skew the results. Gently turn the cork again and wait to see where it is pointing this time (is it the same area?).

Why it works: When the iron/steel needle is rubbed against the magnet, the particles line up and turn the needle into a temporary magnet. The needle then aligns with the Earth’s magnetic field.
The entire project took us less than ten minutes – super easy and a great chance to talk more about magnetism and compasses.


 The printables shared on this site are FREE of charge unless otherwise noted, and you are welcome to download them for your personal and/or classroom use only. However, free or purchased printables are NOT to be reproduced, hosted, sold, shared, or stored on any other website or electronic retrieval system (such as Scribd or Google docs). My printables are copyright protected and I appreciate your help in keeping them that way.
If you download and use some of my printables and then blog about them, please provide a link back to my blog and let me know - I'd love to see how you are using them! Please be sure to link to the blog post or web page and not directly to the file itself. Thank you!
Leave a Comment